Solar Battery Storage for Overlanding: Placement, Wiring, and Charging Basics
A reliable off-grid power system comes down to three things: the right battery chemistry, a placement that keeps it safe and accessible, and a charging plan with a backup. Get those right and everything else — lights, a fridge, a phone charger, a fan — just works.
Choosing a Battery Chemistry
Most overlanding power systems today are built around lithium batteries, usually a lithium iron phosphate (LiFePO4) chemistry rather than the lithium-ion cells used in phones and laptops. Compared to lead-acid batteries, they offer several practical advantages:
- They are significantly lighter for the same usable capacity, which matters in a loaded vehicle.
- They can be discharged much more deeply without damage, so you get more usable energy out of a similarly rated battery.
- They generally don't need external venting, which gives more flexibility in where they can be mounted.
- They tend to last many more charge cycles over their life, which can make them more economical over the long run even though the upfront cost is higher.
Whatever chemistry you choose, check that it's rated for deep-cycle use and that any battery you mount inside a vehicle is designed to be safe in an enclosed space.
Sizing Your Battery Bank
Before buying anything, add up the power draw of everything you plan to run — a fridge, lighting, a fan, device charging, maybe a water pump — and estimate how many hours a day each runs. This gives you a rough daily watt-hour requirement. Add a margin for cloudy days or unplanned extra use, then size your battery bank and solar panels to comfortably cover that number, not just the bare minimum. Oversizing slightly is cheap insurance against running out of power on a trip.
Where to Place the Battery
Inside the Vehicle
Mounting a battery inside a cabin or storage box protects it from weather, dust, and temperature swings, which also helps it last longer. This works well with sealed, non-venting chemistries. Make sure the battery is secured against movement, protected from accidental contact with tools or cargo, and easy to reach for inspection or troubleshooting.
Outside the Vehicle
Exterior mounting — on a rack, in a truck bed box, or in a dedicated enclosure — frees up interior space and can simplify wiring to roof-mounted solar panels. The tradeoff is more exposure to weather, road grime, and temperature extremes, so an enclosure with some weather resistance is worth the effort. Whichever location you pick, prioritize a mount that keeps the battery from shifting or vibrating loose over rough terrain.
Weight and Stability
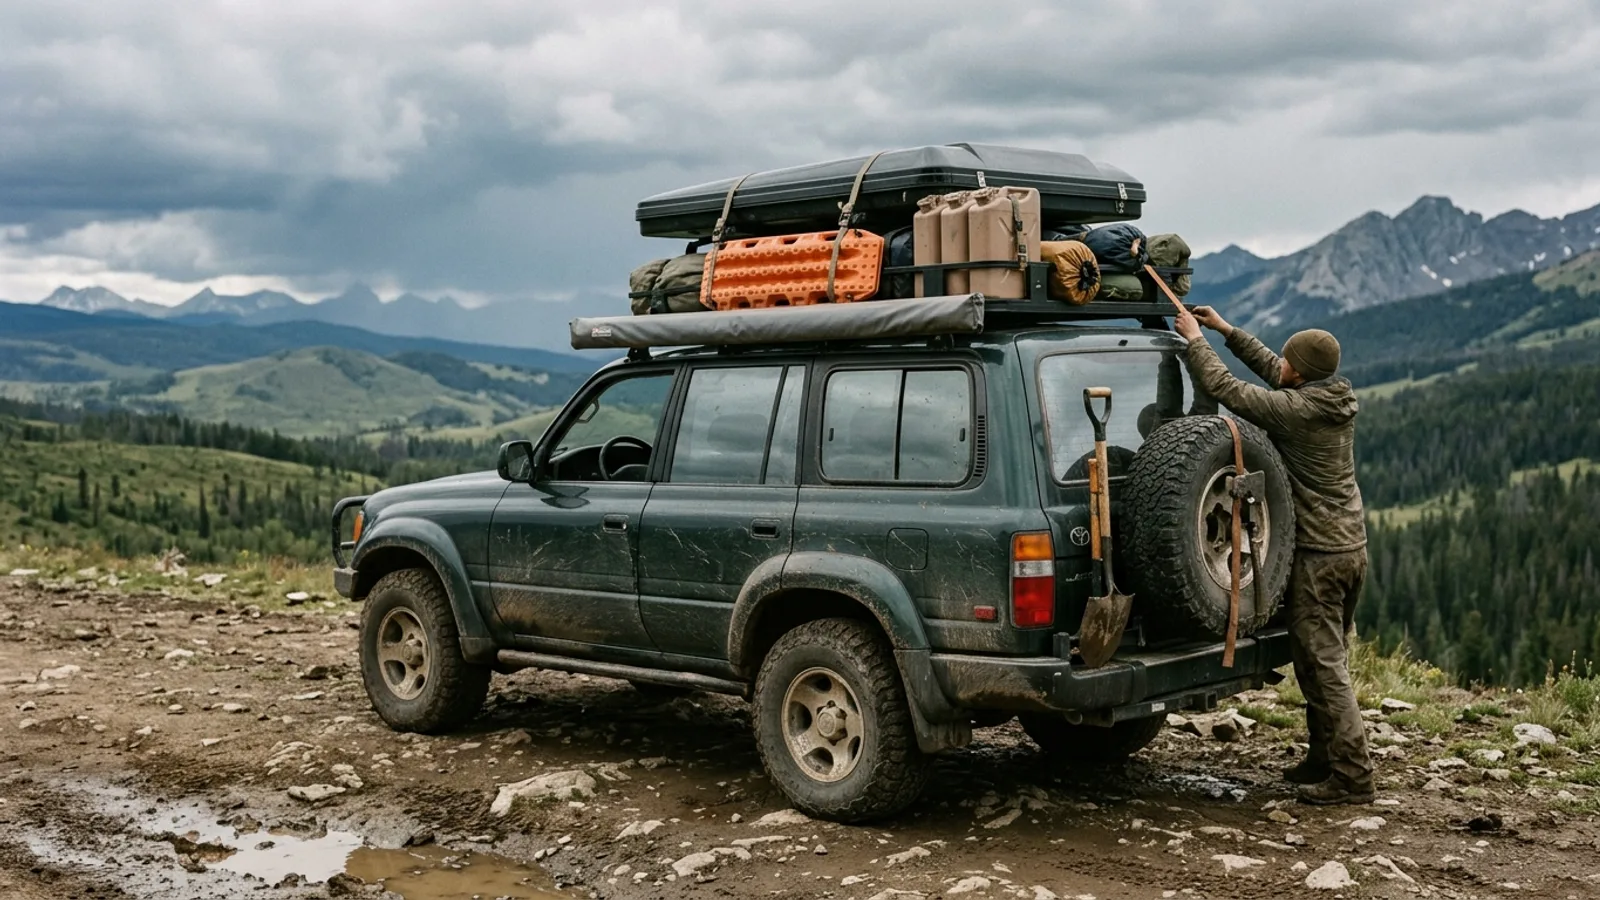
Batteries are heavy and dense, which makes them a good candidate for keeping weight low and centered in the vehicle. Mounting them high — on a roof rack, for instance — raises the center of gravity and can make the vehicle feel less stable on uneven ground. Where possible, place the battery bank low and near the vehicle's centerline, and distribute other heavy gear around it evenly rather than stacking weight to one side or the rear.
Wiring and Cable Sizing
Undersized cable is a common source of power loss and heat buildup in DIY systems. Cable gauge needs to match both the current the system will carry and the length of the run — longer runs need thicker cable to avoid voltage drop. Use an appropriately rated fuse or circuit breaker close to the battery to protect against short circuits, and secure all cable runs so they can't chafe against metal edges or get pinched by moving parts. If you're not confident sizing a system yourself, it's worth having a qualified installer check your plan before you wire everything permanently.
Charging Options
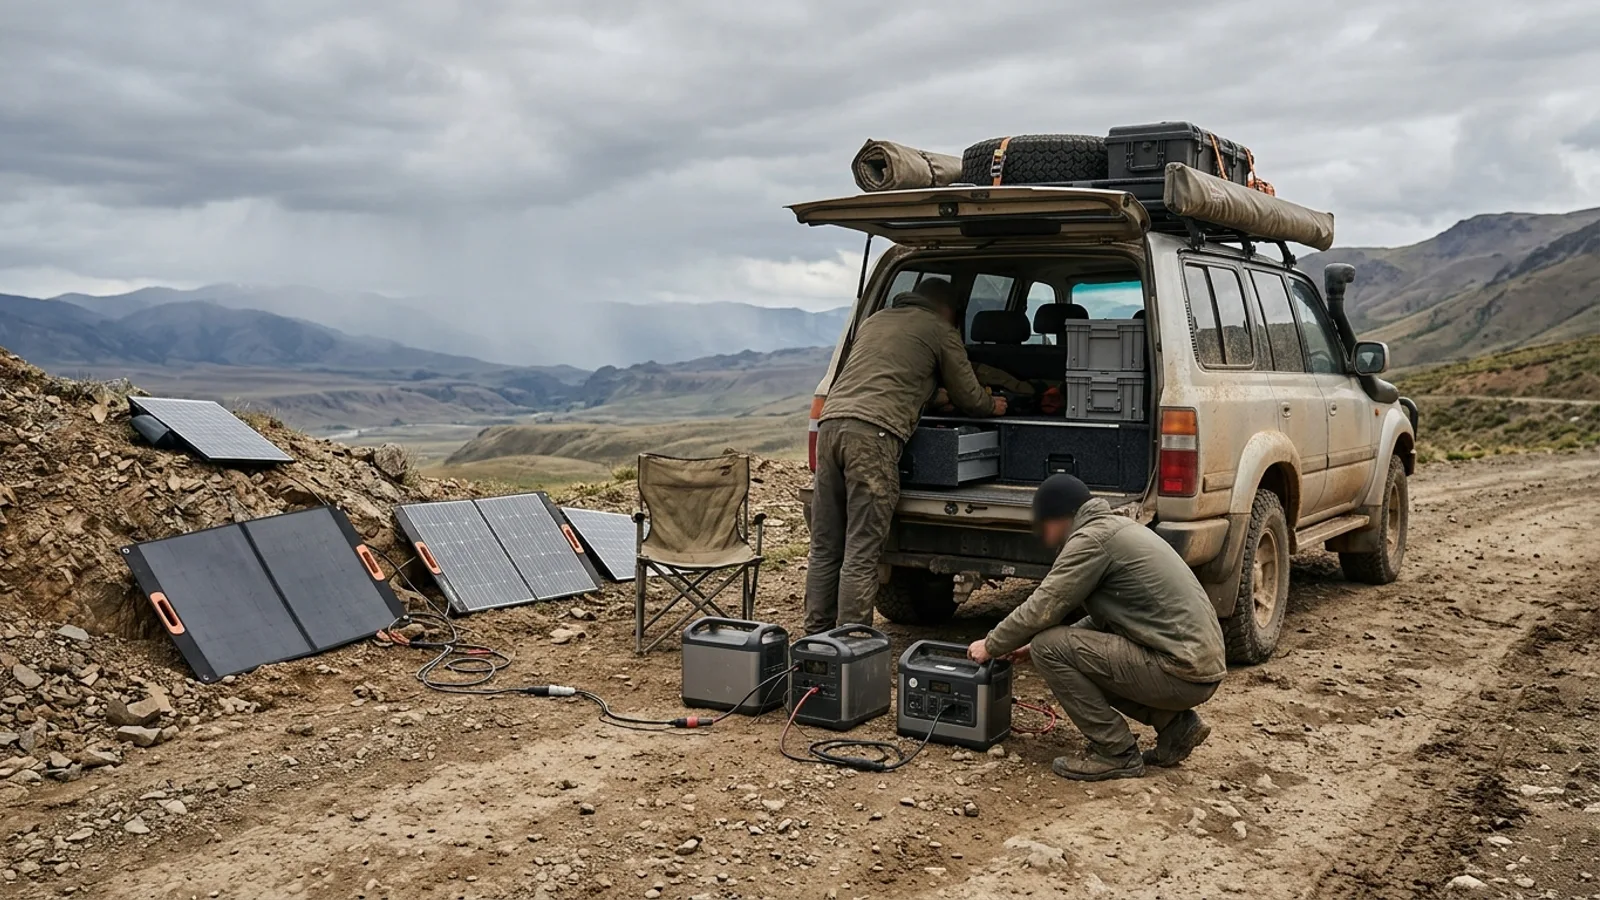
Solar panels are the most common charging method for extended off-grid stays. Panels can be mounted on the roof or set up portably on the ground, angled toward the sun for better output. A charge controller — ideally one using maximum power point tracking (MPPT) — improves charging efficiency and protects the battery from overcharging.
The vehicle's alternator can charge a battery bank while you're driving, using a dedicated DC-DC charger to manage the connection safely and prevent the house battery from drawing down the starting battery. This is a good complement to solar on trips with a lot of driving between camps.
Shore power — from a generator or a campground hookup — provides a steady, weather-independent charge when it's available, which is useful for topping off before heading into more remote terrain.
Building In a Backup Plan
Any single charging method can fail you: a string of cloudy days, a generator that won't start, an alternator connection that comes loose. Carrying at least two independent charging methods — for example, solar plus a DC-DC charger from the alternator — means one failure doesn't leave you without power. Before a remote trip, check that all charging methods are actually working, not just installed.
Custom Touches Worth Considering
- A dedicated battery box or cabinet keeps connections tidy, protects against accidental shorts, and makes it easy to inspect terminals for corrosion.
- Using otherwise wasted space, such as under a bed platform or behind rear seating, keeps the battery low and out of the way of daily gear.
- Labeling circuits and keeping a simple wiring diagram on hand makes troubleshooting far easier when something stops working miles from help.
Bringing It Together
A dependable off-grid power system isn't about buying the biggest battery available — it's about matching capacity to your real needs, mounting it somewhere safe and accessible, wiring it properly, and having more than one way to keep it charged. Take the time to plan the system before you build it, and it will quietly do its job trip after trip.