Building a Reliable Water System for Overlanding
A dependable water system is one of the quiet backbones of overlanding. Get it right and you barely think about it; get it wrong and every stop becomes a chore. The core decisions are where to put the tank, what to store it in, how to move the water, and how to make sure it's safe to drink.
Where to Mount the Water Tank
Most rigs mount a tank either inside the cabin or storage area, or underneath the vehicle on the frame. Each has real tradeoffs.
Mounting inside keeps the tank out of the weather and away from impacts with rocks or brush. It also makes plumbing runs shorter, which reduces the number of fittings that can leak or freeze. The tradeoff is lost interior space, which matters a lot in a small rig.
Mounting underneath frees up interior room and can help keep weight low and centered, which is useful for stability on uneven terrain. It also puts the tank in the path of rocks, stumps, and debris, so it needs real skid protection and secure mounting hardware. In freezing conditions, an exposed underslung tank and its lines are far more exposed to freezing than one kept inside.
There isn't a universally "correct" answer. Weigh how much interior space you can spare, the climates you'll be traveling in, and how much underbody protection you're willing to add.
Choosing a Water Tank
Tanks made for RVs or marine use are widely available and work fine for many setups. A custom tank shaped to fit an odd space can make better use of a cramped vehicle, at the cost of needing custom fabrication.
Material matters. Food-grade plastic tanks are light, resist corrosion, and are usually the simpler choice. Stainless steel tanks are heavier and pricier but stand up better to abrasion and UV exposure over years of use. Either material is safe for drinking water as long as it's rated for potable use.
Size the tank to your actual water use, not to the biggest space you can fill. A bigger tank means fewer refills but more weight to carry at all times, including when you don't need it full. Think about how many days you typically go between reliable water sources, and how many people and animals you're supplying.
Whatever tank you choose, make sure it has an accessible fill port and an opening large enough to reach inside for cleaning. Tanks that are hard to inspect are hard to keep sanitary.
Filtration and Treatment
Even water that looks clean can carry organisms or sediment that cause illness. If you're filling from a tap of known municipal quality, treatment may be unnecessary. If you're filling from a stream, lake, well, or any source you can't verify, treat the water before you drink it.
Common approaches include:
- Mechanical filters that physically strain out sediment, bacteria, and protozoa. Filter fineness is usually described by the smallest particle size they reliably block.
- UV purifiers that use ultraviolet light to disable microorganisms. They don't remove sediment or improve taste, so they work best paired with a pre-filter.
- Combination systems that layer sediment filtration, carbon filtration for taste and odor, and sometimes UV treatment for a more complete barrier against contaminants.
Portable filters or purifiers give you flexibility to treat water from any source you find along the way. Systems built into your rig's plumbing are more convenient day to day but only protect water that passes through them.
Whatever system you use, follow the maintenance schedule for filter cartridges or UV components. A neglected filter can become a source of contamination rather than protection.
Pumps: Getting Water Where You Need It
A 12-volt pump with a pressure switch is the standard way to deliver running water in a rig, letting you use a faucet, sprayer, or shower head without manual effort.
When choosing a pump, focus on:
- Flow rate and pressure that match your fixtures — enough for a comfortable shower or faucet, but not so much that it strains small-diameter plumbing.
- Power draw, since the pump runs off your house battery and should not become a significant drain during extended stays off shore power.
- Noise, particularly if the pump is mounted near sleeping areas.
- Accessibility for maintenance, since pumps eventually need their diaphragms, seals, or strainers serviced.
Bigger is not automatically better. A pump sized to your actual tank and fixture setup will run more efficiently and last longer than one that's oversized for the job.
Filling and Using Your Tank
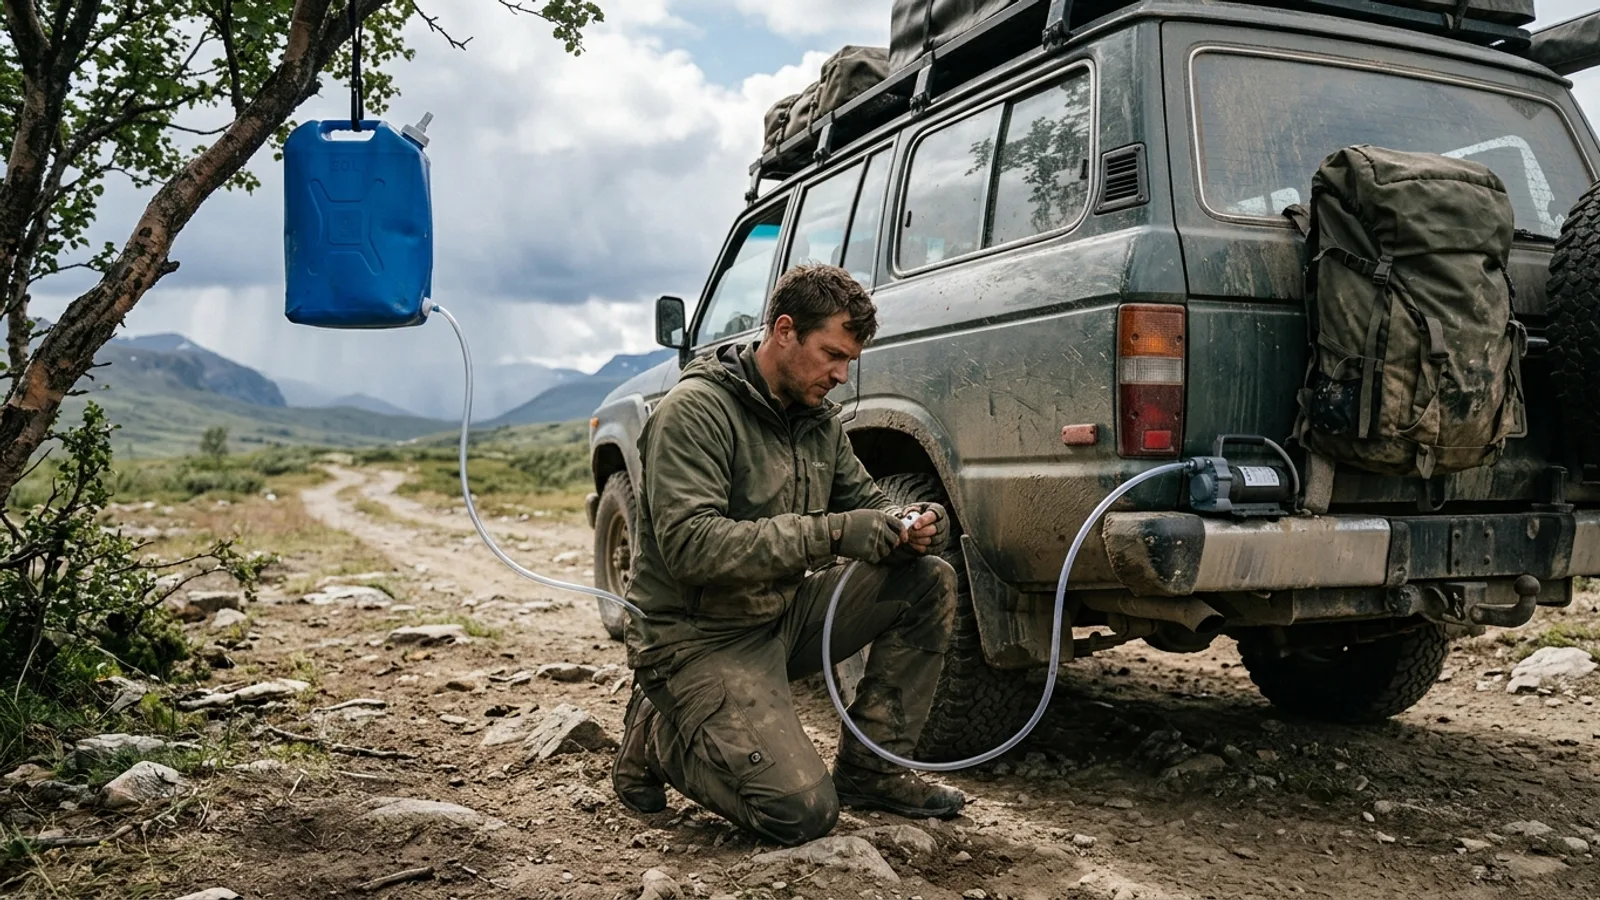
Gravity feed is the simplest way to fill: if your water source sits above the tank opening, you can often fill by hose without any pump. This works well at established fill stations or when drawing from an elevated container.
A portable pump gives you more flexibility, letting you draw from streams, lakes, or low-lying containers where gravity alone won't help. Keep a dedicated hose and pump for this purpose so you're not cross-contaminating your treated water lines with untreated source water.
Once water is in the tank, route it through your filtration system before it reaches any faucet or shower you'll use for drinking or cooking. Keep a separate line or valve if you want unfiltered water for tasks like rinsing gear or washing hands, so you're not running filtered water through a filter it doesn't need.
Keeping the System Clean
Sanitize tanks periodically, especially after any period of storage. Rinse and dry hoses and fittings before packing them away to discourage mold and bacterial growth. Inspect seals, caps, and connections at the start of each season, since UV exposure and vibration from rough roads gradually wear down gaskets and fittings.
A little routine maintenance keeps your water system working quietly in the background, which is exactly where you want it on a long trip.