How to Winterize a Camper: A Practical Cold-Weather Guide
Why Winterizing Matters
Cold weather threatens an RV in two distinct ways: frozen water lines that can crack pipes and fittings, and heat loss that makes the living space uncomfortable or forces heating systems to work harder than they should. A thorough winterization addresses both, whether you're storing the camper for the season or living in it through freezing nights.
Sealing and Insulating the Exterior
Heat escapes an RV fastest through windows, doors, vents, and the thin floor. Start by checking door and window seals for cracks or gaps, and replace worn weatherstripping. Interior thermal curtains or reflective insulation panels cut over windows to size add a real barrier against cold glass, and they're easy to remove when not needed.
Skirting is one of the most effective upgrades for cold-weather camping. It closes off the open space under the RV, trapping ground-radiated warmth and blocking wind from reaching plumbing and holding tanks underneath. Skirting can be a fitted commercial product, rigid foam board, or even a simple tarp system, depending on how long you plan to stay put. In a pinch, packed snow banked around the base works similarly, though it's less reliable than a proper skirt.
Check roof seams and seals before cold weather sets in, since temperature swings can open small cracks that let in moisture. A quick inspection and resealing in fall prevents a much bigger problem in winter.
Choosing a Heat Source
Most RVs come with a built-in propane furnace, and it remains the safest default because it's vented and designed for the space. Supplemental heat sources can help on especially cold nights or reduce propane use, but each comes with tradeoffs.
Portable propane heaters rated for indoor use can add warmth without draining the RV's battery, but any combustion heater consumes oxygen and produces carbon monoxide, so a working carbon monoxide detector is essential whenever one is running, and it should never be left on unattended or overnight unless it's specifically designed and certified for that use.
Electric space heaters are simpler and carry no combustion risk, but they depend on shore power or a generator and can strain an RV's electrical system if paired with other high-draw appliances. Placing one on a hard, level, non-flammable surface away from bedding and curtains reduces fire risk.
Whatever heat source you choose, never rely on the cooking stove or oven for space heating — this is a well-known carbon monoxide hazard in enclosed vehicles.
Protecting the Water System
Freezing water expands and can split pipes, hoses, and fittings, so protecting the water system is often the highest-priority task.
If you're using the RV through winter with a connected water source, a heated hose designed for freezing temperatures keeps water flowing without ice blockages. Wrapping exposed pipes, the fresh water inlet, and any exterior fittings with foam pipe insulation or heat tape adds another layer of protection. A simple insulated cover over the city water connection point also helps block cold air from reaching that vulnerable joint.
For the sewer connection, rigid PVC pipe holds up to freezing temperatures better than a standard flexible sewer hose, which can crack or collapse when waste inside it freezes. Keep gray and black tank valves closed between uses rather than leaving them open to drain continuously — standing waste in a closed tank is less prone to freezing solid than a thin stream trying to flow through a cold hose.
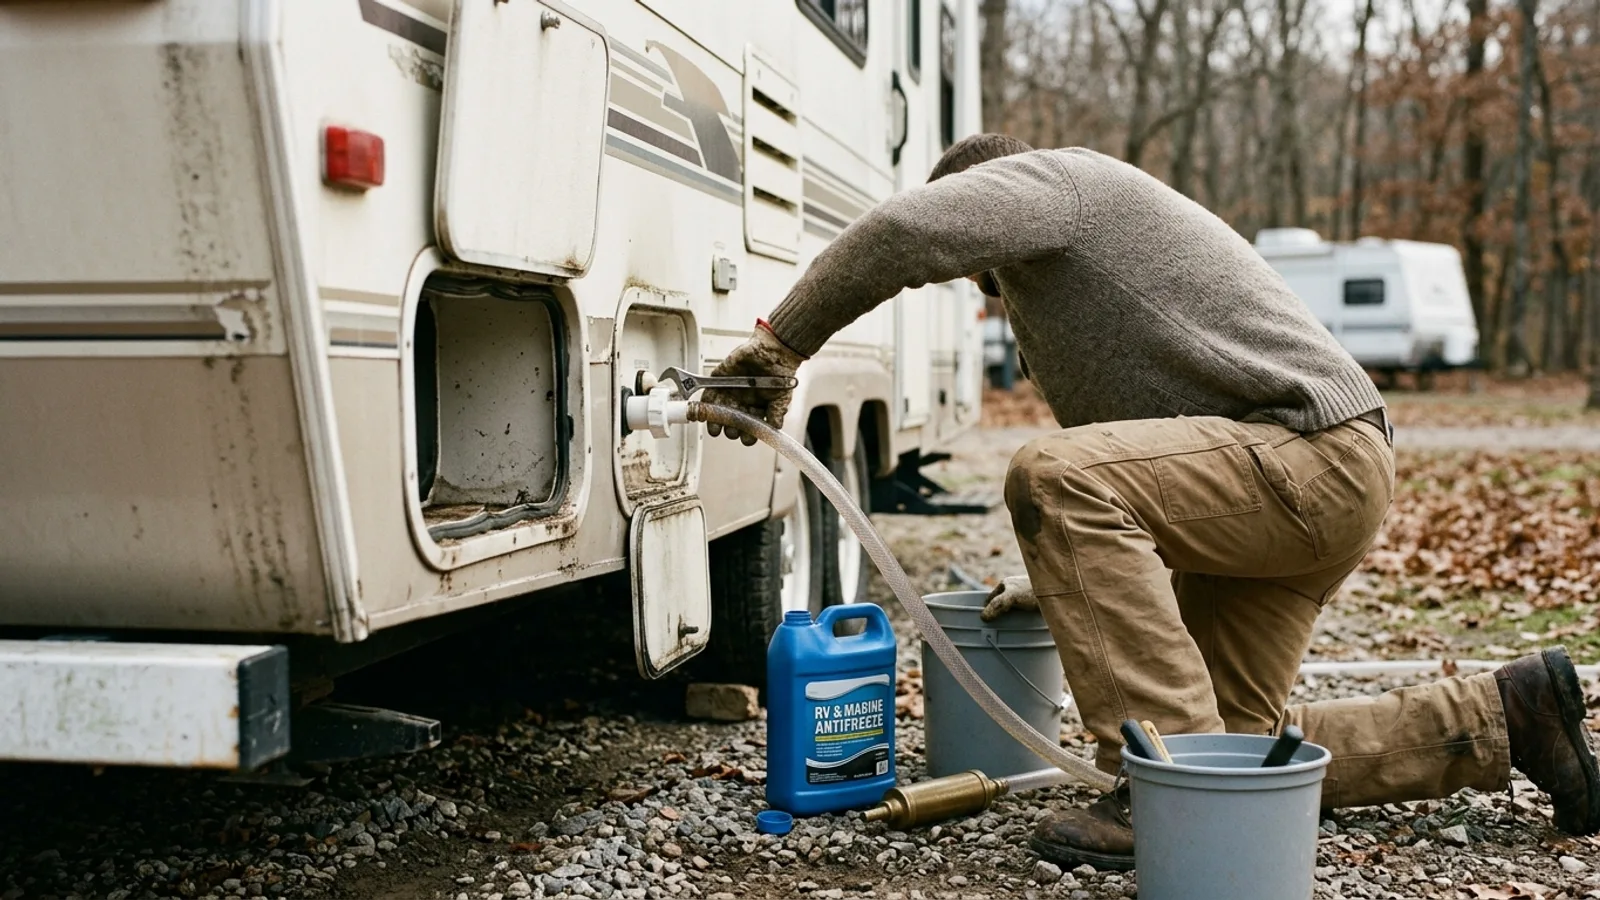
If you're storing the RV rather than using it, a full winterization means draining the fresh water tank and lines completely, bypassing the water heater, and running non-toxic RV antifreeze through the plumbing system, drains, and toilet according to the RV's specific setup. This is the most reliable way to prevent freeze damage in a camper that won't be heated all winter.
Keeping the Interior Comfortable
Layering matters indoors as much as outdoors. Insulated window coverings, rugs over cold flooring, and draft stoppers at door thresholds all reduce how hard your heat source has to work.
Ventilation is still necessary even in cold weather. Moisture from cooking, showering, and breathing condenses on cold windows and walls, and without some airflow it can lead to mold. Cracking a roof vent slightly or running a vent fan periodically helps manage humidity.
Electric mattress pads or heated blankets can add warmth at night with less energy use than heating the entire cabin. If you're relying on battery power, check your system's capacity before assuming it can run heating accessories through a full night.
Before leaving the RV unattended in freezing weather, even briefly, open cabinet doors under sinks so warmer cabin air can reach the plumbing, and confirm that any heat source will keep running unattended safely or that you've taken steps to protect the pipes another way.
Quick Pre-Winter Checklist
- Inspect and reseal roof seams, windows, and door weatherstripping
- Install skirting or another barrier to block wind under the RV
- Confirm your carbon monoxide and propane detectors are working
- Insulate exposed pipes and the water inlet connection
- Switch to a heated hose or fully winterize the water system, depending on how you'll use the RV
- Use rigid PVC for the sewer connection and manage tank valves carefully
- Add interior insulation layers and a plan for ventilation