Using Dry Ice in a Cooler for Camping: A Practical Guide
What Dry Ice Is and Why Campers Use It
Dry ice is solid carbon dioxide. Instead of melting into liquid the way water ice does, it sublimates directly into gas. That means no meltwater pooling in the bottom of your cooler and soaking your food.
It is also far colder than frozen water, so it can hold perishable food at safe temperatures for longer stretches without needing to be topped off. For multi-day trips, especially in warm weather, this is the main appeal.
How to Pack a Cooler With Dry Ice
Dry ice works best as part of a layered cooling strategy rather than the only cold source in the cooler.
- Pre-chill the cooler. Cool the interior with regular ice or cold packs before adding dry ice. A cooler that starts cold holds temperature much longer.
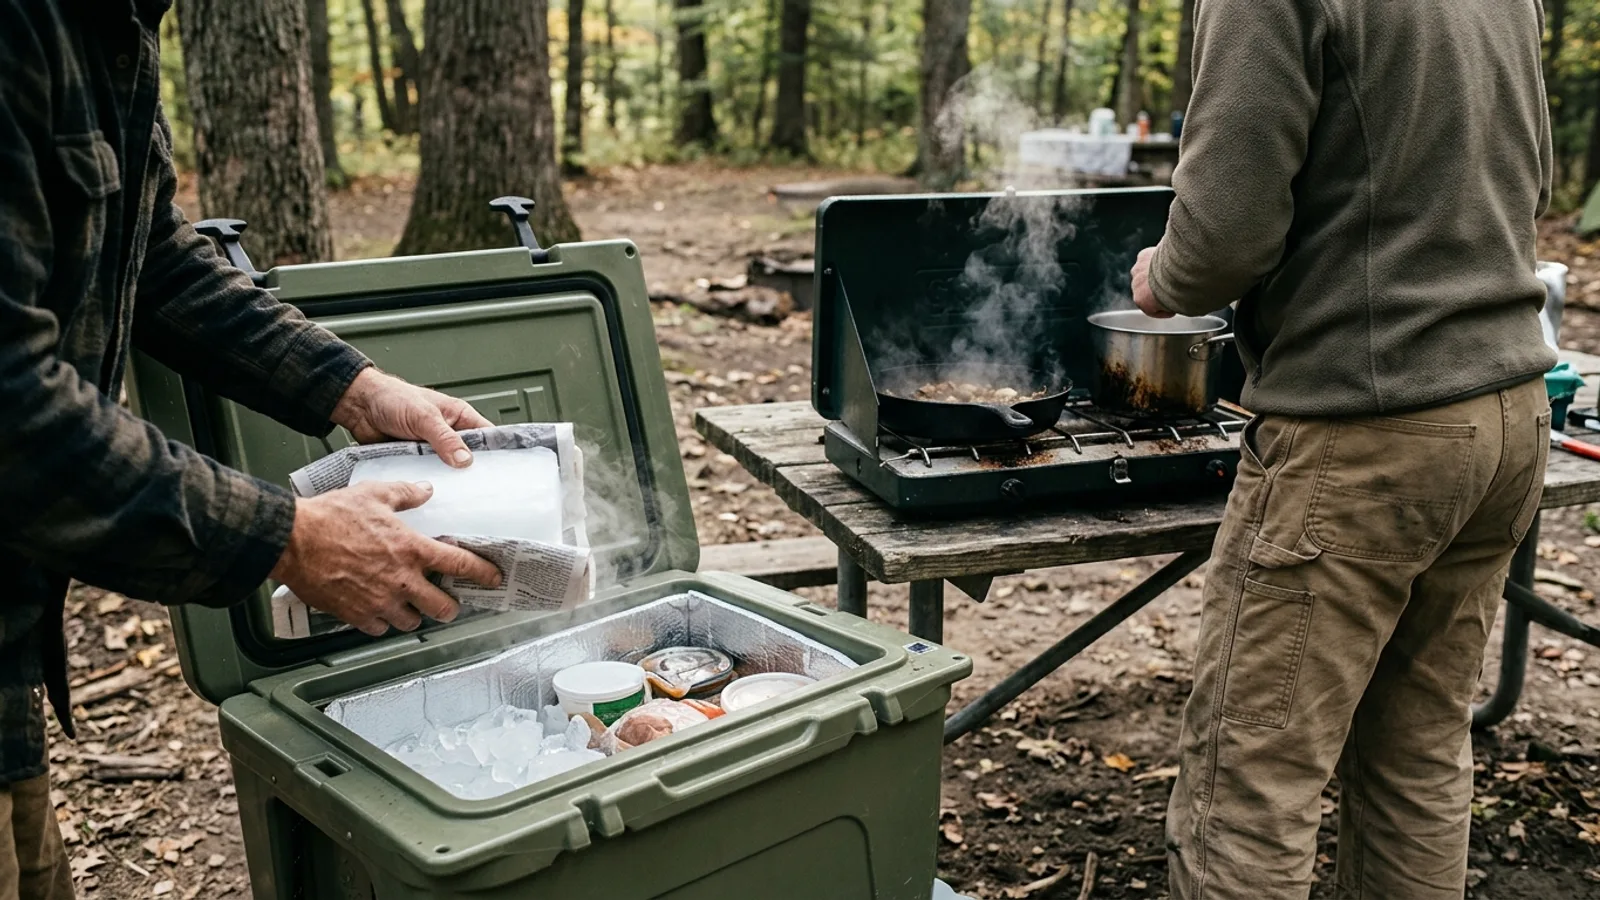
- Wrap it, don't seal it airtight. Insulating the dry ice in a few layers of newspaper or a towel slows sublimation and protects other contents from direct contact. Never wrap it in plastic or seal it in an airtight container — it needs somewhere for gas to go.
- Put it on top. Cold air sinks, so placing dry ice above your food lets the chill settle downward through the cooler.
- Separate it from anything you might grab barehanded. Keep it away from drinks and containers people will reach for without thinking.
Ventilation and CO2 Safety
As dry ice sublimates it releases carbon dioxide gas. In a sealed space, that gas can build up and become dangerous to breathe, and it can pressurize sealed containers to the point of rupture.
- Never seal a cooler containing dry ice completely airtight. Most hard-sided coolers vent enough on their own, but check that the lid isn't cinched down with an airtight seal or locking straps that block any gap.
- Open the cooler periodically, especially if it's been closed for many hours, to let gas escape and fresh air in.
- Keep coolers with dry ice in open or well-ventilated areas — not inside a tent, a sealed vehicle cabin, or any small enclosed space where gas could accumulate.
- Never store dry ice in a fully enclosed room, cabin, or vehicle interior overnight.
Handling Dry Ice Safely
Dry ice is cold enough to cause skin injury within seconds of direct contact, similar to a burn. Always handle it with insulated gloves or tongs, never bare hands.
Keep it out of reach of children and pets, and make sure everyone in your group understands not to touch it directly. Store any unused dry ice in a well-ventilated spot away from sleeping areas.
Advantages of Using Dry Ice
- Colder than regular ice, which extends how long perishable food stays safely chilled.
- No meltwater, so food and drinks stay dry and there's no need to drain the cooler.
- Takes up less volume for the same cooling effect, freeing up space for food and drinks.
Disadvantages of Using Dry Ice
- It sublimates continuously and has a limited usable window, so it's not ideal for very long trips unless you can resupply.
- It cannot be stored in a standard freezer at home and needs to be sourced close to departure.
- It carries a real risk of skin injury and requires careful ventilation, which adds a layer of caution regular ice doesn't need.
Where Not to Use It
Dry ice should only go in a rigid, hard-sided cooler with some natural venting — never in a soft-sided or backpack cooler, and never in a fully airtight container. The gas has to have somewhere to escape, and rigid coolers handle that far more safely than flexible ones.
Getting the Most Out of It
For most camping trips, a combination works well: dry ice for the extra-cold, long-lasting core of your cooling, paired with regular ice or cold packs to buffer the temperature and protect food from freezer-burn-level cold. Plan for how you'll dispose of any leftover dry ice responsibly at the end of your trip, since it will continue to sublimate wherever it's left.