How to Brew Coffee with a Camping Percolator (And Other Backcountry Methods)
Why a Percolator Works Well Outdoors
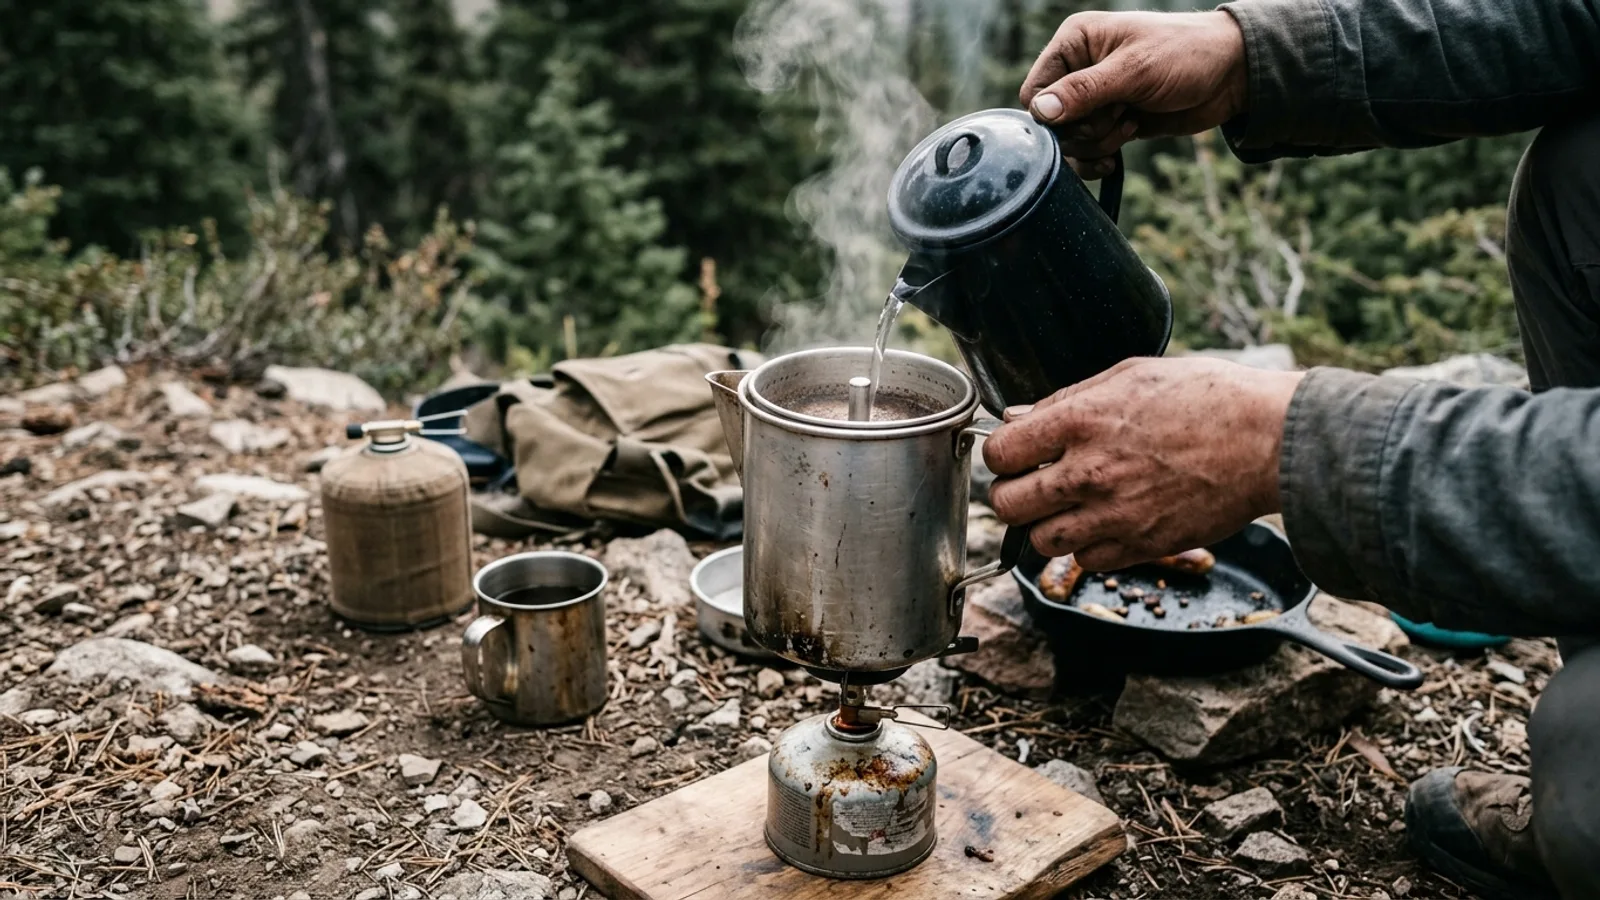
A percolator is one of the simplest coffee makers to bring camping because it has no paper filters to pack, no batteries, and few parts to break. It works by cycling boiling water up through a tube and down over the grounds repeatedly until the coffee reaches the strength you want. That repeated cycling is also why percolator coffee tends to taste bolder and sometimes more bitter than drip coffee — you have direct control over strength simply by adjusting time on the heat.
Choosing a Percolator for Camping
Look for a percolator made entirely of metal, ideally stainless steel or enamel-coated steel. Plastic knobs or handles can warp or melt if the pot sits too close to open flame, and a metal percolator holds up better to repeated use over a campfire or camp stove.
Match the size to how you actually camp. A small pot is lighter and heats faster for solo trips or minimalist backpacking, while a larger multi-cup percolator makes more sense for car camping with a group.
Decide whether you'll mostly brew on a camp stove or directly over a fire. Stove use gives you steadier, more controllable heat, which makes it easier to avoid over-extraction. Brewing over an open flame is more variable — flames lick unevenly around the pot — but it's a classic camping ritual and works fine once you get a feel for your fire's heat.
How to Brew Coffee with a Percolator
- Fill the bottom chamber with cold water, and insert the stem and basket assembly.
- Add coarsely ground coffee to the basket — a grind roughly the texture of coarse sea salt works best, since fine grounds tend to clog the mesh or seep through.
- Don't overfill the basket. Leave some room so water can flow through the grounds instead of just sitting on top of them.
- Set the percolator on your stove or over the fire and bring it to a boil.
- Once you see it starting to perk (you'll hear a bubbling and see coffee splashing against the glass knob on the lid, if it has one), reduce the heat so it maintains a gentle, steady percolation rather than a violent boil.
- Let it percolate for several minutes. Shorter times give a milder cup; longer times build strength, though too long can push the coffee toward bitterness.
- Remove from heat and let it sit briefly so the grounds settle to the bottom before pouring.
Cowboy Coffee: The No-Equipment Method
If you don't want to carry a percolator at all, cowboy coffee is the simplest fallback. All you need is a pot or kettle, water, and coffee grounds.
- Bring water to a rolling boil in your pot.
- Remove it from the heat and stir in your coffee grounds directly.
- Let the grounds steep for a few minutes off the heat — this avoids scorching the coffee and gives it time to settle.
- Give the pot a light tap or a splash of cold water on top, which helps heavier grounds sink faster.
- Pour slowly and steadily, leaving the last bit of coffee (and the grounds) in the pot rather than in your cup.
Expect some sediment at the bottom of your mug — that's part of the method. Pouring through a bandana, fine mesh strainer, or even a clean sock in a pinch will catch most of the grit if you'd rather avoid it.
Practical Tips for Better Percolator Coffee
- Use freshly ground coffee if you can manage it; pre-ground coffee loses aroma and flavor the longer it sits exposed to air.
- Stick to a medium-coarse grind. Finer grounds are more likely to slip through the filter basket and end up in your cup.
- Treat brewing time as your main strength control — a shorter cycle for a lighter cup, longer for something bolder.
- Rinse and dry the percolator fully after each use. Leftover coffee oils can turn rancid and affect the taste of your next pot, especially after a trip sitting in a pack.
Making Espresso-Style Coffee While Camping
A stovetop moka-style pot lets you make a concentrated, espresso-like coffee over a camp stove without needing electricity. The bottom chamber holds water, the middle basket holds finely ground coffee, and steam pressure pushes brewed coffee up into the top chamber as it heats.
Keep the heat on the lower side — high heat can scorch the coffee and produce a burnt, bitter result rather than the rich flavor you're after. Once you hear a hissing or gurgling sound and see the flow slow to a trickle, take it off the heat; that's the sign brewing is finished.
Other Ways to Brew Coffee Outdoors
Beyond percolators and moka pots, a few other lightweight options work well in camp:
- Camp French press: Combine hot water and coarse grounds, let it steep several minutes, then press the plunger down slowly to separate the grounds.
- Pour-over dripper: Lightweight and compact, a pour-over cone with a disposable or reusable filter gives a cleaner cup, though it requires pouring water in a slow, controlled stream.
- Instant coffee: Not everyone's favorite, but it remains the simplest and lightest option for backpacking trips where minimizing gear matters most.
Whichever method you choose, the fundamentals stay the same: use enough coffee for the amount of water, control your heat to avoid scorching, and give the grounds a moment to settle before you pour. Good camp coffee is less about specialized gear and more about technique.