Choosing and Using a Camp Shovel: A Practical Guide
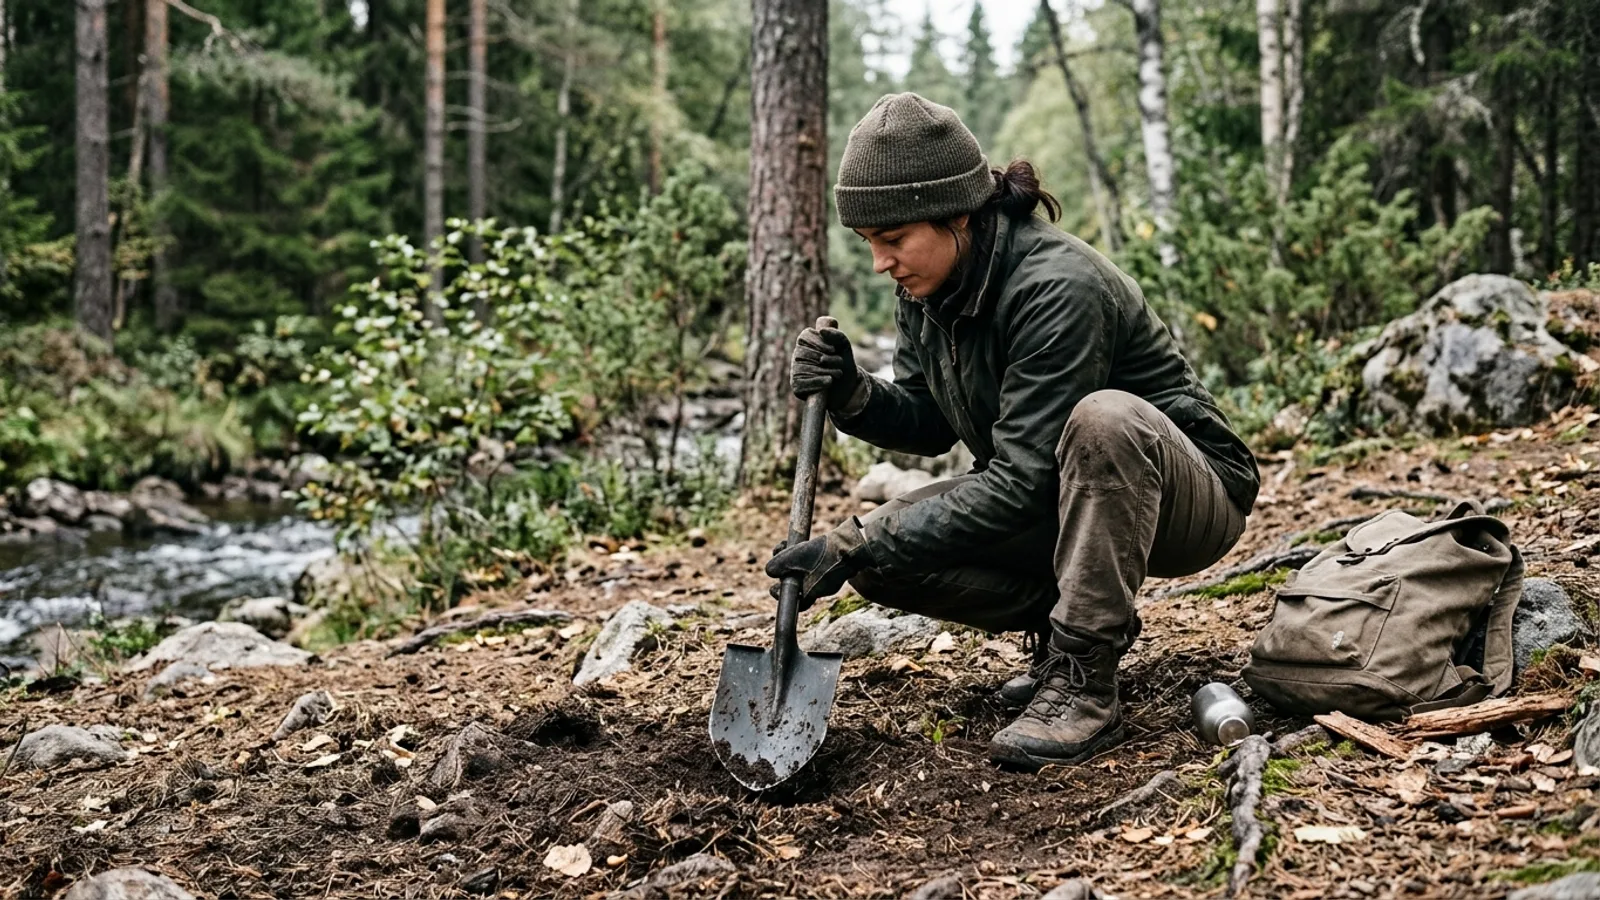
A camp shovel is one of those tools you rarely think about until you need it — digging a fire pit, burying human waste, or freeing a tent stake jammed in rocky ground. Choosing the right one and using it well makes camp chores faster and safer.
What a Camp Shovel Is Used For
The core jobs are simple: digging catholes or latrines, clearing a flat spot for a tent, cutting a drainage channel around a shelter in wet weather, breaking up compacted soil for a fire pit, and shoveling out ash and coals safely when breaking camp. Some shovels also have a serrated edge for light sawing through small branches, or a flat spine that can be used to split kindling or tap in stakes. Treat these as secondary features, not replacements for a dedicated saw or hammer.
Types of Camp Shovels
Fixed-Handle Shovels
These have a solid, one-piece or two-piece construction with no folding joints. They tend to hold up better under repeated hard digging because there are fewer moving parts to loosen or fail. The tradeoff is bulk: they take up more space and add more weight to a pack.
Folding Shovels
Folding designs hinge at the handle or blade so the tool collapses into a compact shape for storage. They're popular for backpacking and vehicle kits because of the space savings. The hinge is also the weak point — grit and moisture can work into the joint over time, so it needs occasional attention to keep it from stiffening or loosening.
Multi-Tool Shovels
These combine a shovel blade with other features built into the handle or head — a saw edge, a small pry bar, sometimes a bottle opener or wrench cutouts. They add versatility but usually at the cost of how well any single function performs. If you already carry a separate saw or multi-tool, a simple shovel may serve you better than a crowded hybrid.
Key Features to Look For
- Blade material: Steel blades generally hold an edge and resist bending better than aluminum, but weigh more. Aluminum is lighter and fine for loose soil or snow, but can flex or dent in rocky or root-filled ground.
- Weight versus sturdiness: A lighter shovel is easier to carry on a long hike, but very thin blades and handles can bend under real digging pressure. Match the shovel's build to how hard you expect to work it.
- Handle and grip: A textured or contoured grip helps you keep control when your hands are cold, wet, or gloved. A shaft long enough to let you dig without bending over saves your back on repetitive tasks.
- Corrosion resistance: Any coated or stainless finish will hold up better than bare metal if the shovel gets wet and isn't dried right away. This matters more for gear that lives in a vehicle or garage between trips.
- Folding joints, if present: Check that the mechanism locks solidly in the open position. A joint with play in it will flex and wear faster under load.
How to Use a Camp Shovel Well
For digging, let the blade's angle do the work: drive it in near vertically for loosening ground, then angle it to lift and toss soil to the side. Short, controlled strokes are more efficient and less tiring than trying to muscle through large scoops.
In rocky or root-bound soil, work the edges of the hole first to loosen material before trying to remove it — forcing the blade straight down into an obstruction is how handles and welds fail.
If the shovel has a serrated edge, use it as you would a small saw: light, even strokes rather than heavy chopping, which can dull or chip the teeth quickly.
When filling in a hole (for a cathole, fire pit, or drainage channel), pack the soil back down firmly with the flat of the blade to reduce erosion and discourage animals from digging it up.
Safety Basics
Keep a firm grip and use controlled motions rather than swinging the shovel with force — sudden slips are the most common way people injure a hand or wrist with this tool.
Give yourself and others clear space when digging; a shovel's arc is wider than people expect, especially when lifting and tossing soil.
Gloves help prevent blisters during extended digging and add a little protection against scrapes from rough or worn edges.
Store the shovel with the blade covered or pointed down and away from foot traffic, whether that's in a pack, a vehicle, or propped at a campsite. A shovel left blade-up near a trail or tent is an easy tripping and cutting hazard.
Care and Maintenance
Knock off caked mud and dirt after each use before it dries hard, and wipe the blade dry to prevent rust, especially on carbon steel. A light coat of oil on bare metal blades helps them survive storage between trips.
Check folding joints and handle attachments periodically for looseness or corrosion, and tighten or clean them as needed. A shovel that folds smoothly and locks solidly will last far longer than one left gritty and neglected.
Inspect the blade edge for chips or bends after heavy use, particularly if it's been used for anything beyond digging soil, like prying or light chopping — tasks it wasn't strictly designed for.
Choosing the Right One for Your Trip
For car camping, a sturdier fixed-handle shovel is usually worth the extra bulk since weight isn't a major concern and you'll appreciate the durability. For backpacking, a compact folding shovel that locks securely is the better trade-off. If you expect to need a saw or pry tool anyway, a multi-tool shovel can save pack space — just don't expect it to outperform dedicated single-purpose tools at any one job.