How to Seal a Camper Roof: Materials, Prep, and Technique
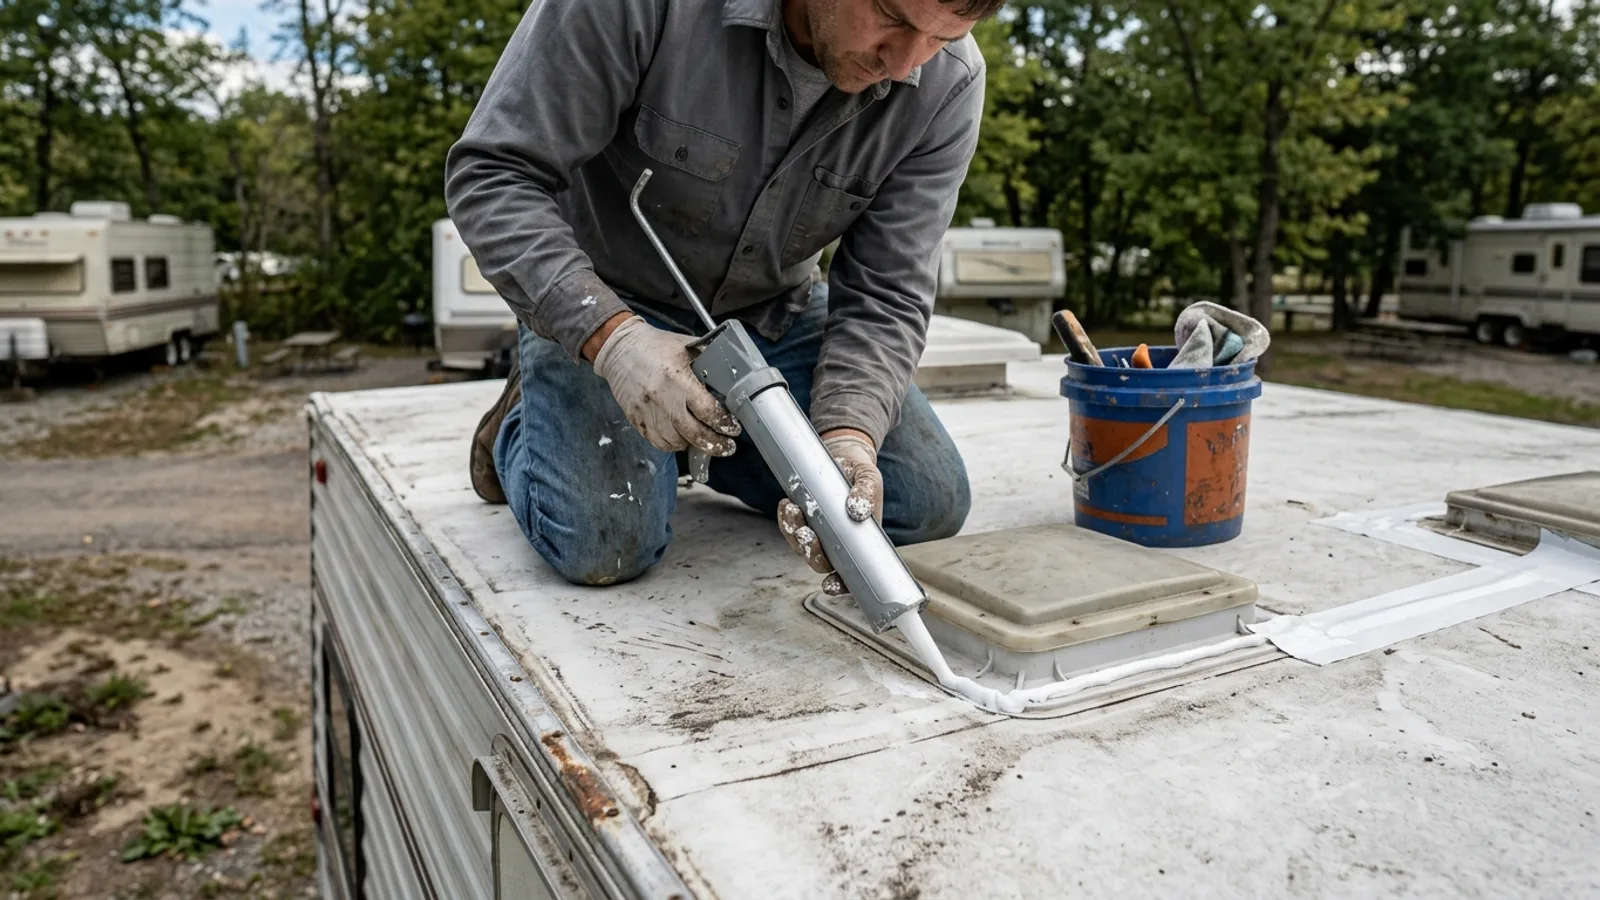
Why Roof Sealing Matters
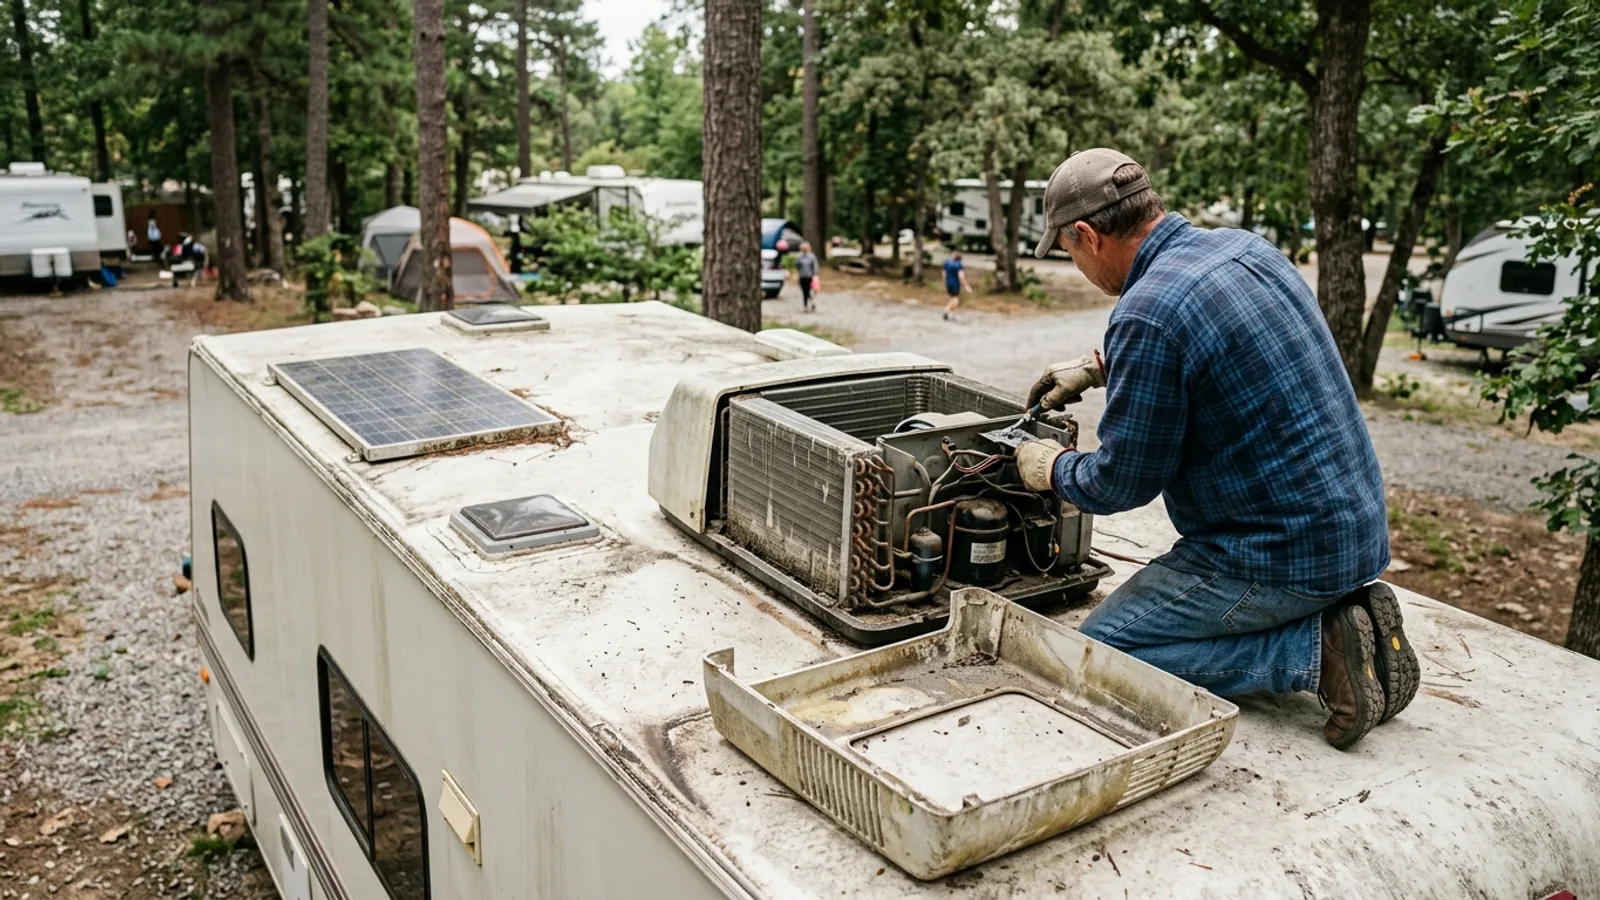
A camper or RV roof takes constant abuse from sun, rain, temperature swings, and the flexing that happens every time the vehicle moves down the road. Seams around vents, skylights, antennas, and air conditioners are the weak points where water most often finds its way in. Left unchecked, a small gap can lead to soft flooring, delaminated walls, and mold long before the leak is ever visible from inside. Routine inspection and resealing is one of the cheapest and most effective things an owner can do to protect the vehicle's structure.
Know Your Roof Material First
Not all camper roofs are the same, and using the wrong sealant on the wrong material can do more harm than good. Common roofing types include rubber (EPDM), TPO (a different type of rubber-like membrane), fiberglass, and aluminum. Some sealants that work well on one type will degrade or fail to bond on another. Before buying anything, confirm what your roof is made of — check the manufacturer's documentation, or ask a dealer or RV service center if you're unsure. Once you know the material, choose a sealant labeled as compatible with it.
Preparing the Roof
Good preparation matters more than the sealant itself. Sealant applied over dirt, chalky residue, or old failing caulk will not bond properly and may peel away within a season.
- Clean thoroughly. Sweep off debris, then wash the roof with a cleaner recommended for your roof type. Avoid harsh solvents or abrasive pads on rubber and TPO roofing, since they can damage the membrane. Rinse well.
- Let it dry completely. Trapped moisture under new sealant can cause bubbling or premature failure.
- Inspect every seam and penetration. Run a hand and eye along vent housings, skylights, edge trim, antenna bases, and any roof seams. Look for cracking, gaps, or old caulk that has shrunk or lifted.
- Remove failing old sealant. Cracked or peeling caulk should be cut or scraped away rather than sealed over. New sealant needs a clean, sound surface to grip.
Applying Sealant
Work in mild, dry weather. Most sealants need a moderate temperature range to cure properly, and rain or heavy dew during curing can ruin the job. Check the product's guidance for temperature and humidity limits before you start.
- Address seams and joints first. Many roofers use a flexible sealing tape over long seams or joints before applying liquid sealant, since it bridges gaps that caulking alone might not cover evenly.
- Caulk around fixtures. Use a caulking gun to apply a bead around vents, antennas, and other roof penetrations, tooling it smooth so it sheds water rather than trapping it.
- Apply the main sealant coat. Depending on the product, this may go on with a brush, roller, or straight from a tube. Work in manageable sections, keeping a wet edge so the coat blends evenly rather than leaving visible lap lines.
- Don't skimp at edges and low points. Roof edges and any area where water naturally pools deserve a slightly heavier coat.
After Application
Let the sealant cure for the full time stated by the manufacturer before driving the vehicle or exposing it to rain — curing times vary widely by product and by weather conditions, so don't estimate based on how the surface feels to the touch. Once cured, walk the roof again in good light and check for thin spots, especially around edges and seams, and add a touch-up coat where needed.
Clean brushes, rollers, and caulking guns promptly with the method appropriate for the sealant used — some rinse out with soap and water, others require a solvent. Letting sealant harden in a tool usually means replacing it.
Storing Leftover Sealant
Sealant left in a partly used tube or container can skin over or cure in place if not sealed well. Press out excess air, seal the opening tightly, and store the container upright in a cool, dry place out of direct sunlight. Extreme heat or freezing can shorten a sealant's usable life even in an unopened container, so avoid storing it in an uninsulated attic, shed, or vehicle exterior compartment exposed to temperature swings.
A Simple Maintenance Habit
Rather than treating roof sealing as a one-time project, build it into regular vehicle upkeep. Inspect the roof at the start and end of each camping season, and after any period of storage. Catching a small crack in old caulk before it becomes a leak is far easier and cheaper than repairing water damage inside the camper.