How RV Air Conditioners Work (And How to Keep Yours Running Well)
The Basic Cooling Process
An RV air conditioner works on the same principle as a home or car air conditioner: it uses a refrigerant cycle to move heat rather than "make" cold air. A compressor pressurizes refrigerant, which then passes through a condenser coil and releases heat outside the RV. The refrigerant then expands and flows through an evaporator coil inside the unit, where it absorbs heat from the air inside your RV. A fan pulls warm cabin air across that cold evaporator coil, cooling it before pushing it back into the living space.
The result is a continuous loop: warm indoor air goes in, heat gets extracted and dumped outside, and cooler, drier air comes back into the RV. This is why air conditioners also reduce humidity — moisture in the air condenses on the cold coil and drains away.
Power Requirements
RV air conditioners are one of the biggest power draws in any RV, particularly during startup when the compressor first kicks on. Once running, they settle into a lower, steady draw. Because demands vary by unit size, efficiency, and climate, it's more useful to think in terms of general electrical concepts than fixed numbers:
- Startup surge: Compressors need a brief jolt of extra power to start, which is why some RV air conditioners include or benefit from a soft-start device, especially if you plan to run one off a generator or limited shore power.
- Shore power service: Most RVs connect to either a smaller or larger amperage shore power service. Running an air conditioner alongside other high-draw appliances (like a microwave or electric water heater) can trip breakers if the total load exceeds what the service provides.
- Generators: If you plan to run your air conditioner off a generator, check the generator's rated running and starting wattage against your air conditioner's specifications, not just its running amperage.
- Multiple units: Larger RVs with more than one air conditioner often need to run them one at a time on lower-amperage shore power or generator setups, or invest in a soft-start device for each unit.
Routine Maintenance
Regular upkeep keeps an RV air conditioner cooling efficiently and helps it last longer.
- Air filter: Clean or replace the filter regularly, especially during heavy use. A clogged filter restricts airflow and forces the unit to work harder for less cooling.
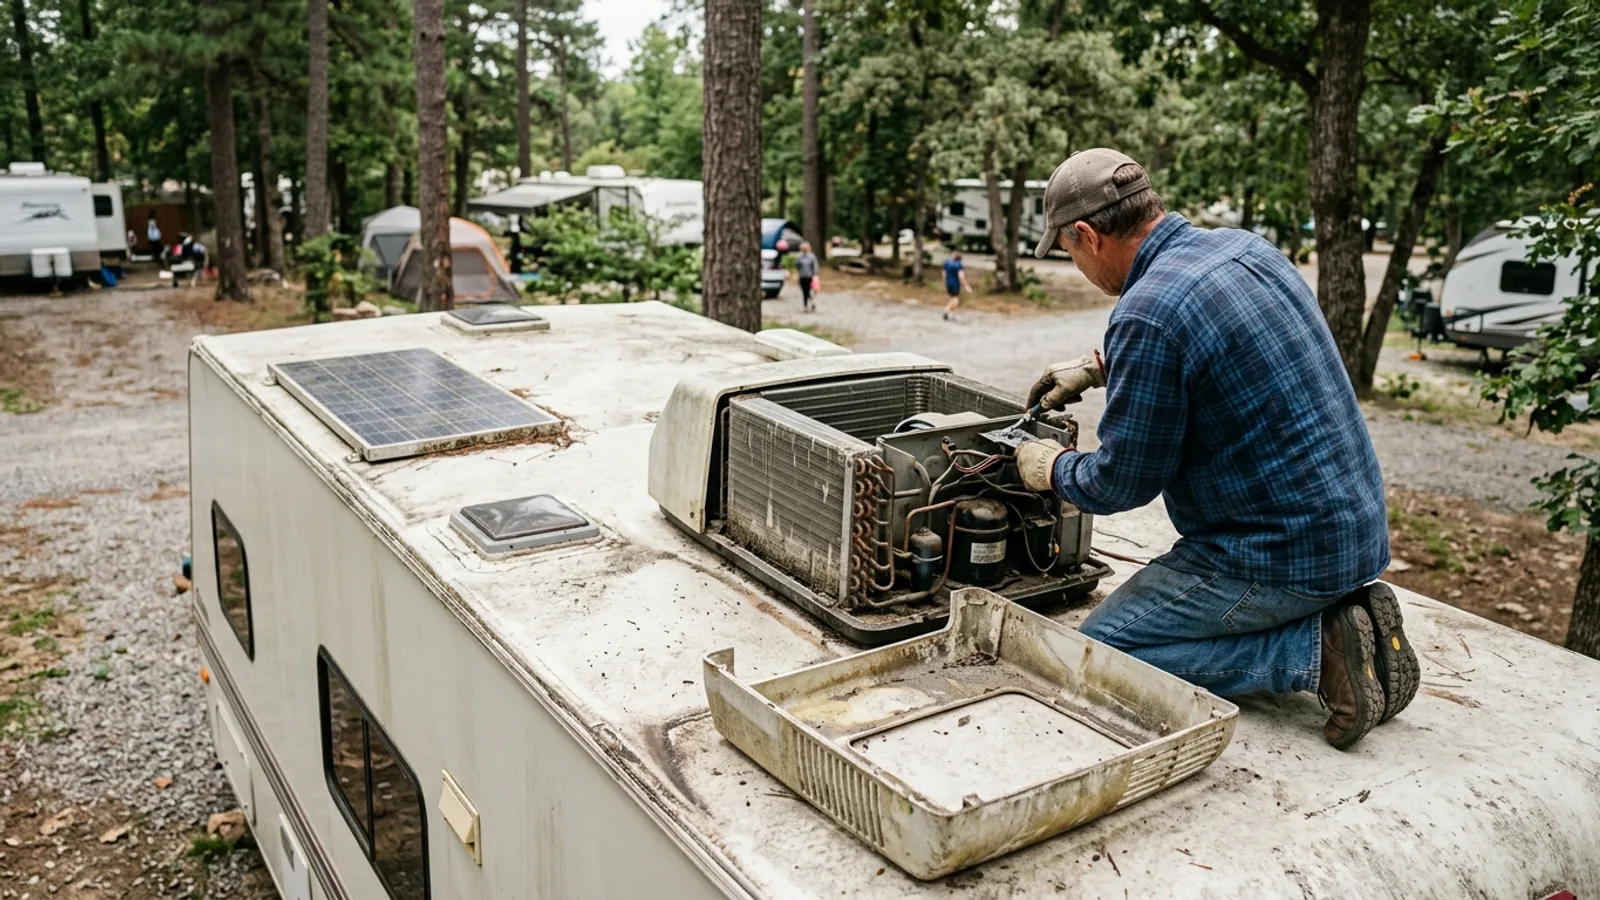
- Coils and fins: Dust and debris on the evaporator or condenser coils reduce heat transfer efficiency. Gently clean them with a soft brush or approved coil cleaner, and straighten any bent fins carefully.
- Roof shroud and gasket: Inspect the exterior housing and roof seal periodically for cracks, sun damage, or gaps. A compromised seal can let water into the roof structure, causing damage well beyond the air conditioner itself.
- Drain and condensate path: Make sure water generated during cooling has a clear path to drain outside; blockages can lead to leaks inside the RV.
Troubleshooting Common Problems
If your air conditioner isn't cooling well, work through these checks before assuming the unit has failed:
- Thermostat settings: Confirm it's set to cooling mode at an appropriate temperature, and check batteries if it's a digital or wireless model.
- Power supply: Verify the RV is receiving stable, adequate voltage. Low voltage — common with long extension cords or overloaded circuits — can prevent the compressor from starting or cause it to shut off as a protective measure.
- Airflow blockages: Check that vents, ducts, and the return air filter are clear of obstructions, furniture, or debris.
- Ice buildup: Frost on the coil often signals restricted airflow or low refrigerant, and it's a sign the unit needs professional attention rather than continued use.
Persistent issues — unusual noises, weak airflow despite a clean filter, or a unit that won't start at all — generally call for a qualified RV or HVAC technician rather than DIY repair, since refrigerant systems are sealed and require specialized tools and certification to service.
Types of RV Air Conditioners
Roof-Mounted Units
The most common setup, roof-mounted air conditioners sit atop the RV and are usually paired with ducting that distributes cool air through vents in the ceiling. This allows more even cooling throughout the living space and is standard on most towable and motorized RVs.
Portable Units
Portable air conditioners sit inside the RV and vent hot exhaust air through a hose routed out a window or wall port. They require no roof installation, making them an option for RVs without a rooftop unit or as supplemental cooling, though they take up interior floor space and are generally less efficient than built-in systems.
Ducted vs. Non-Ducted Systems
Ducted systems push air through a network of ceiling vents, spreading cool air more evenly and reducing noise near any single vent. Non-ducted (or "ceiling assembly") units blow air directly down into the room below the unit, cooling that area quickly but creating more temperature variation elsewhere in the RV.
Low-Profile vs. Standard-Profile Units
Low-profile air conditioners have a shorter roof height, which helps with clearance under garage doors, carports, or low bridges, and can slightly reduce wind noise and drag while driving. Standard-profile units are taller but often move more air, making them a common choice for larger RVs needing greater cooling capacity.
RV Heating Systems
Most RVs pair their cooling system with a separate heating solution, since a standard air conditioner only cools. Two common approaches:
- Heat pumps: Some rooftop air conditioners include a heat pump function, using electricity to reverse the refrigerant cycle and pull warmth from outside air into the RV. Heat pumps work well in mild cold but lose efficiency as outdoor temperatures drop toward freezing.
- Propane furnaces: A separate furnace that burns propane to generate heat, distributed through the RV's ducting or vents. Propane furnaces remain effective in much colder conditions than heat pumps, making them the more reliable choice for winter camping.
Many RVers use a heat pump for shoulder-season comfort and rely on the propane furnace once temperatures drop significantly, balancing efficiency with reliable heat output.