How to Pack a Backpack for Camping: A Practical Guide
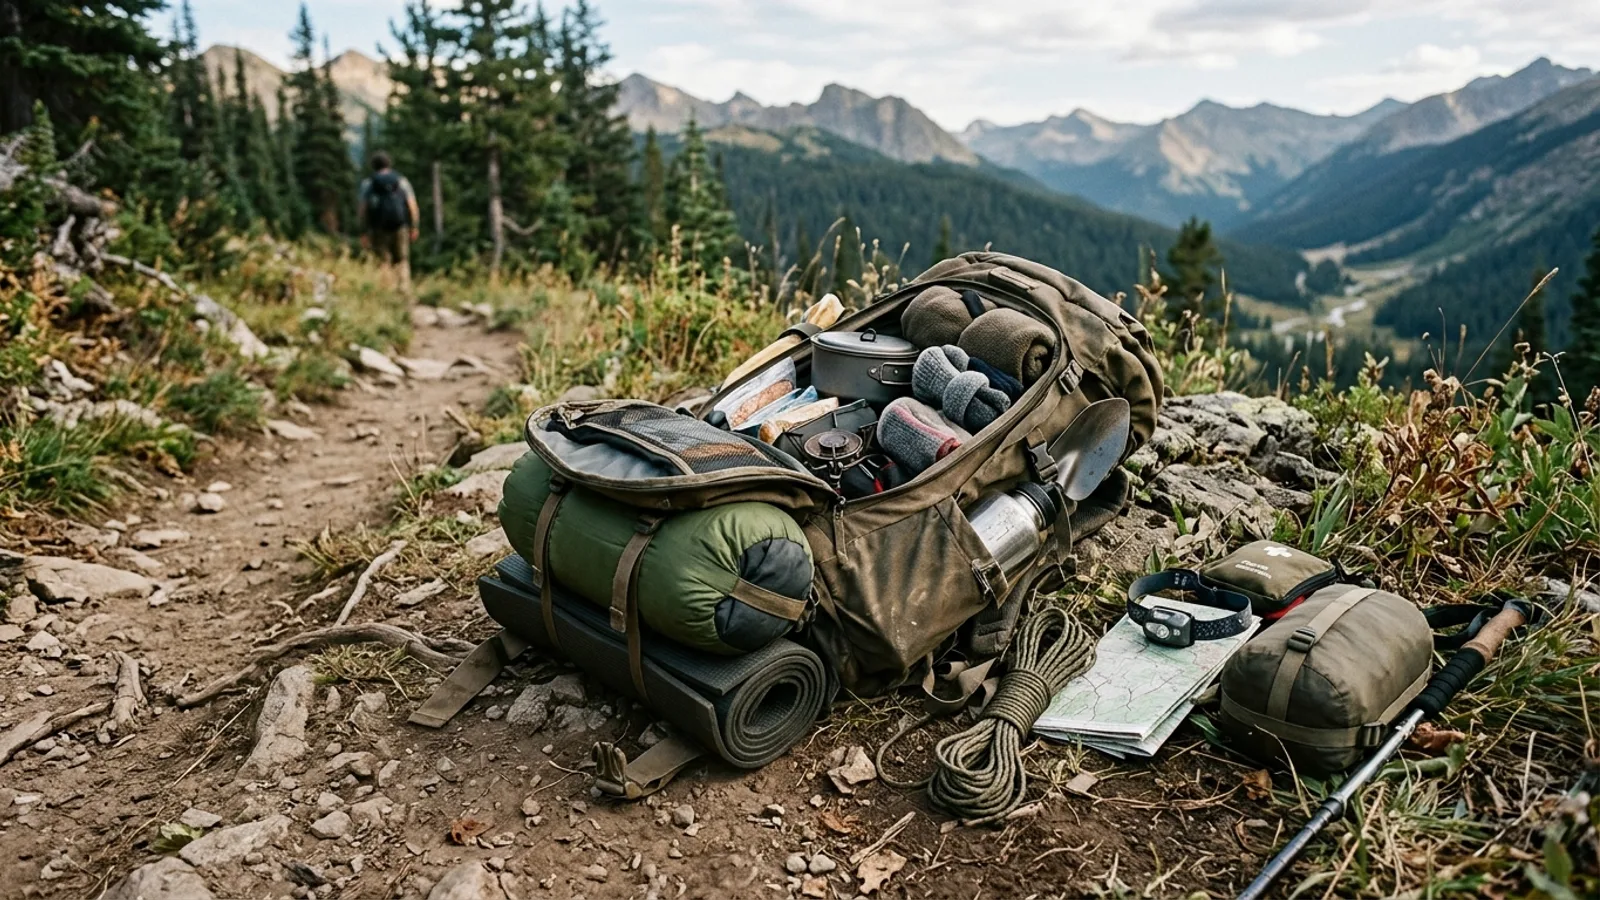
A well-packed backpack makes the difference between an enjoyable hike and a sore back. The goal is simple: keep the load stable, keep the weight close to your body, and keep the things you need most within easy reach.
Choosing a Backpack That Fits Your Trip
Backpack size should match the length of your trip and how much gear your style of camping requires. A short overnight trip needs far less capacity than a multi-day backcountry trek where you're carrying a tent, sleeping system, and several days of food. Rather than fixating on a specific liter count, think about what you'll actually carry: bulky insulated gear and winter clothing take up more room than warm-weather layers, and packs shared with group gear like a stove or water filter will need extra space.
Fit matters more than volume. A pack that doesn't match your torso length will feel unstable no matter how well you pack it, and can wear your shoulders or hips raw over a long day. Many outdoor retailers can measure your torso and help you test different frame sizes and hip belt fits before you buy. If you're borrowing or already own a pack, adjust the shoulder straps, hip belt, and load lifter straps until the pack sits close to your back and most of the weight rests on your hips, not your shoulders.
Beyond size and fit, consider how the pack is built. Adjustable torso length lets one pack work for multiple users or body changes over time. More pockets and compartments make organization easier but add weight and complexity. Sturdier fabrics last longer under abrasion from rocks and branches but often weigh more, so there's a real tradeoff between durability and pack weight.
Building a Packing List Before You Load Up
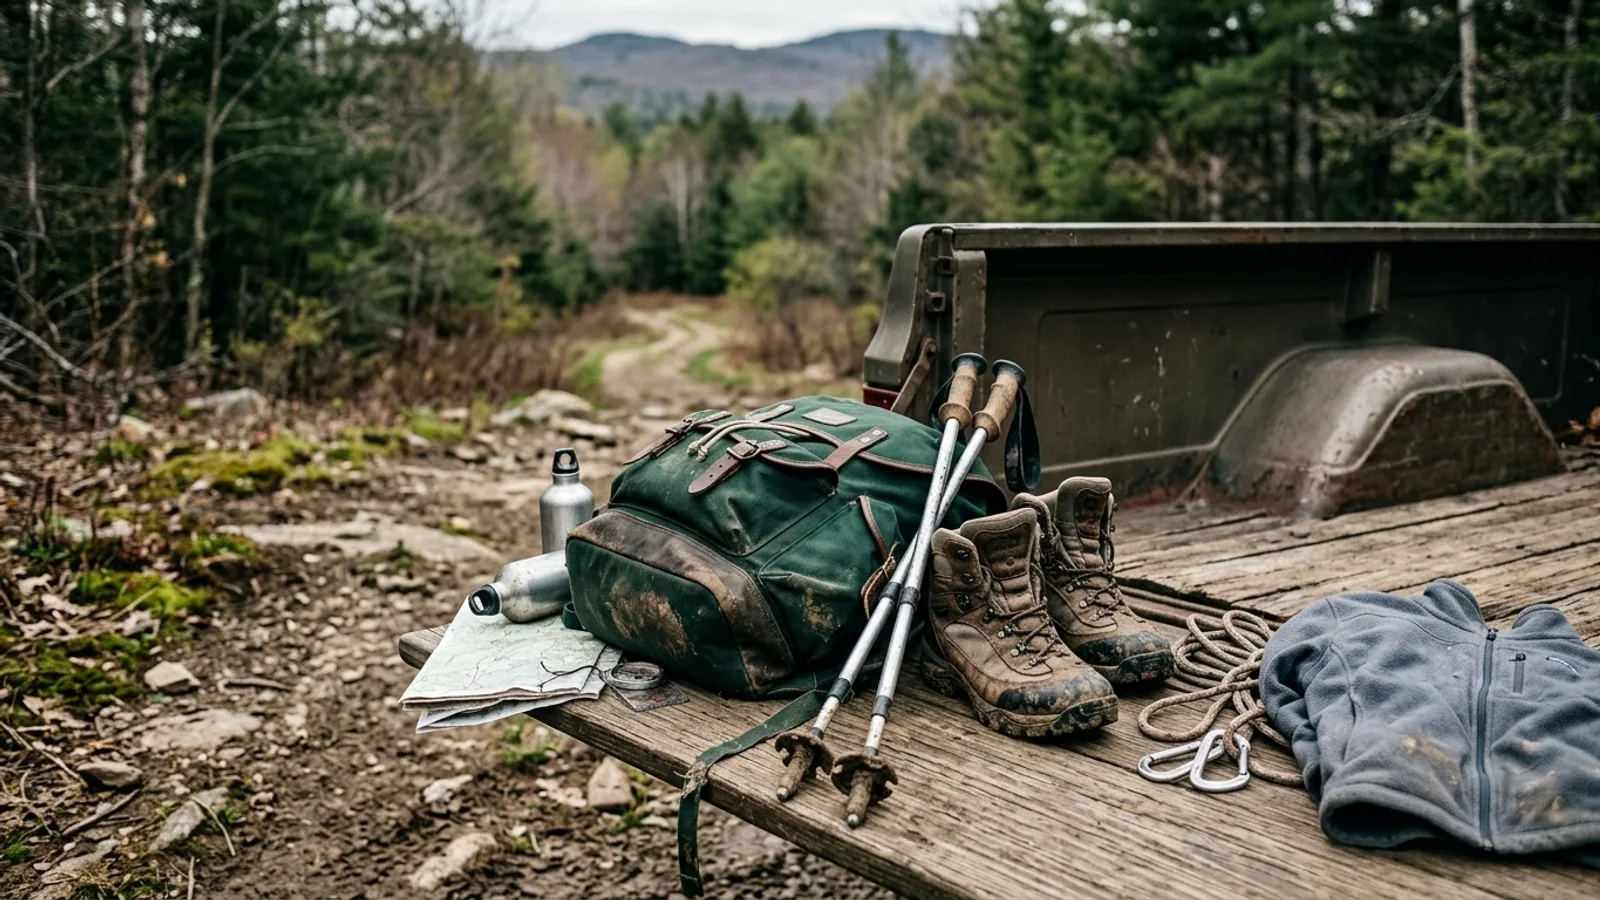
Before you start stuffing gear into your pack, lay everything out and check it against a list. This catches gaps early, when you can still fix them, rather than at camp. A useful list groups gear by category: shelter, sleep system, cooking and food storage, clothing layers, navigation and safety items, and personal essentials like a first aid kit and any medications. Checking items off as you pack them, rather than as you gather them, helps confirm that everything you set out actually made it into the pack.
Loading the Pack: Where Weight Should Go
How you distribute weight inside the pack affects your balance and comfort far more than most people expect. A good rule of thumb is to think of your pack in three zones.
- Bottom: Reserve this for bulky, lighter items you won't need until camp, such as a sleeping bag or sleeping pad. This layer also cushions the load and keeps the pack's base stable.
- Middle, close to your back: This is where the heaviest items belong; things like food, cookware, and water. Keeping heavy gear close to your spine and centered between your shoulder blades keeps your center of gravity stable, which matters most on uneven terrain.
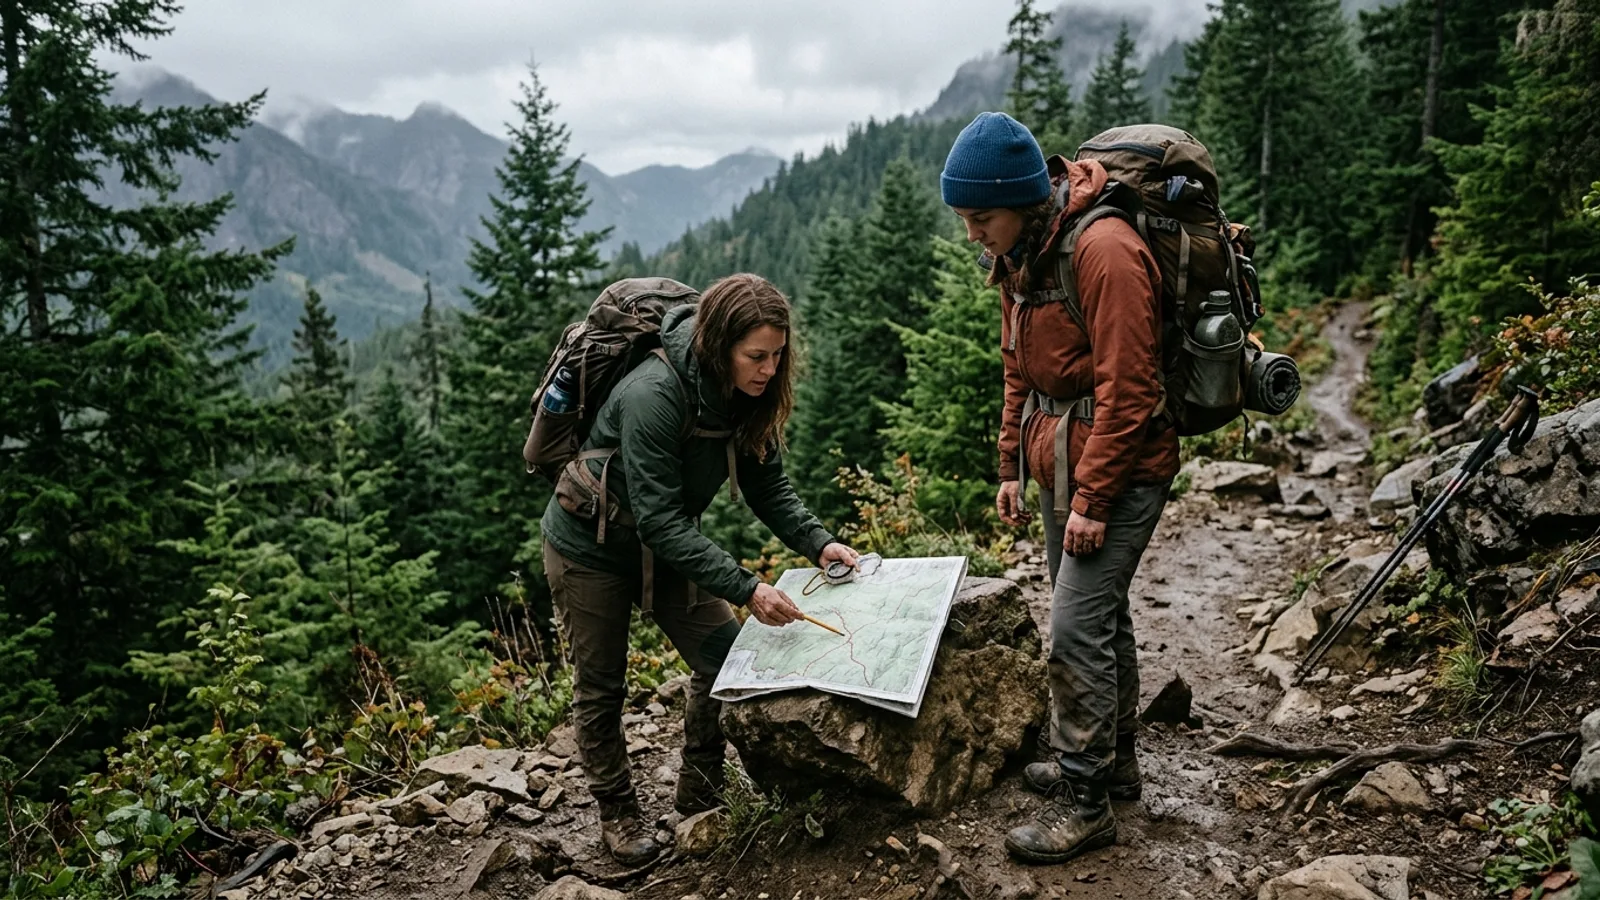
- Top and front: Use this space for lighter items and anything you might need during the day: a rain jacket, snacks, a map, or a headlamp.
A pack that feels top-heavy or swings side to side usually has weight distributed too far from the body or too high above the hips. Adjusting where dense items sit, rather than just how tightly things are packed, usually solves this.
Making the Most of Pack Space
Soft items like sleeping bags, clothing, and insulated layers compress well. Rolling or stuffing them into dedicated compression sacks removes trapped air and shrinks their footprint, freeing up room for bulkier or rigid gear. It also keeps similar items grouped together, so you're not digging through the whole pack to find a spare layer.
Use the pack's pockets and compartments deliberately rather than as overflow space. Hip belt pockets and top lid pockets are best for things you'll want without breaking stride, like snacks or a compass. Side pockets are convenient for water bottles or a rain cover. Internal compartments or dividers can separate items you want to keep dry or clean, such as electronics or a first aid kit, from the rest of your gear.
Larger items that don't fit well inside the pack, such as trekking poles, a sleeping pad, or a tent, can often be strapped to external loops or lash points. This keeps the main compartment free but adds bulk to the outside of the pack, so secure these items firmly. Loose gear swinging from the outside of a pack is both an annoyance and a snag hazard on narrow trails.
Keeping Your Gear Dry
Rain and dampness are a matter of when, not if, on most extended trips. A pack cover made for wet weather sheds direct rain effectively, though it won't fully protect gear from water spray on the trail or from a pack set down in a puddle. Lining the inside of your pack with a large waterproof liner or heavy-duty bag adds a second layer of protection and is worth doing even if you're also using a cover.
Inside the pack, separating gear into smaller waterproof bags gives you added insurance: if one bag gets wet, the rest of your gear stays dry. This is especially useful for anything that ruins your trip if it gets soaked, like a sleeping bag, dry clothing, or electronics.
Before you head out, double check that zippers and pocket flaps are fully closed. Small gaps are often where water finds its way in during sustained rain, regardless of how good your cover or liner is.
Putting It All Together
Good packing is less about following a rigid formula and more about understanding a few principles: match your pack to your trip, keep heavy items centered and close to your back, use compression and compartments intentionally, and plan for wet weather before you need to. Once these habits become routine, packing gets faster and your pack rides more comfortably no matter where the trail takes you.