How to Build Your Own Glamping Tent

What "Glamping" Really Requires
A glamping tent is really just a regular tent or shelter with more attention paid to comfort, layout, and durability. Before building anything, decide what you're actually solving for: a stationary weekend setup at a campground, a semi-permanent structure on private land, or something you break down and move each trip. The answer changes almost every decision that follows, from the type of frame you use to how much you spend on flooring.
Choosing a Base Structure
Most DIY glamping builds start with one of three approaches:
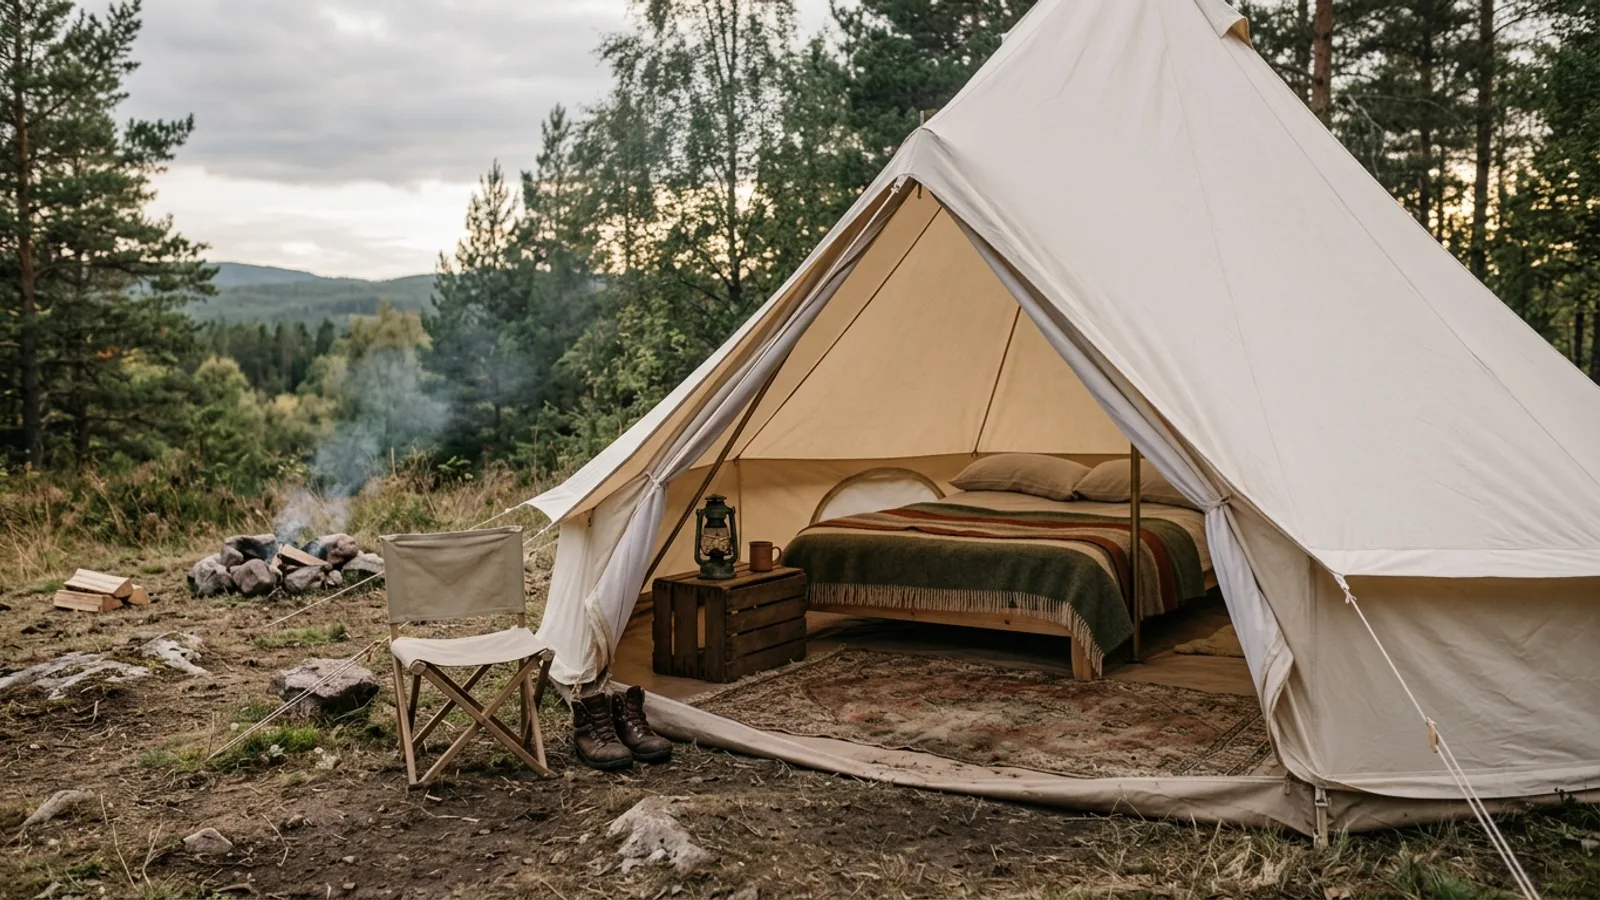
- Modify an existing large tent. Canvas wall tents, bell tents, and large dome tents already have the volume and headroom glamping needs. Adding flooring, lighting, and furniture is usually easier than building a frame from scratch.
- Build a simple wood or pipe frame with a canvas or tarp cover. This gives you more control over shape and size but requires basic carpentry skills and more setup time.
- Use a yurt-style or A-frame kit as a starting point. These give you a stronger structure for long-term or seasonal use, at the cost of portability.
If you're new to building shelters, modifying a large existing tent is the most forgiving starting point. It lets you focus effort on comfort and design rather than structural engineering.
Site Selection
Wherever you set up, look for level, well-drained ground away from dead trees or branches that could fall in wind. Avoid low spots where water pools after rain, and avoid pitching directly under trees that drop sap, seeds, or debris.
If you're on public land, check the rules for the specific site first — many parks restrict where structures can be built, how long they can stay up, and whether stakes, ropes, or ground anchors can be used at all.
Think about sun and wind exposure too. Morning sun on the tent face can make for a warmer wake-up in cool weather; afternoon shade can make a big difference in comfort during hot months.
Planning the Layout
Before you build or set up, sketch a rough floor plan. Decide where the bed goes, where you'll walk, and where storage and seating fit. In a small structure, keep pathways clear and put taller furniture against the walls to preserve headroom in the center.
Leave room near the entrance for shoes, boots, and anything wet or dirty, so it doesn't end up on bedding or soft furnishings.
Materials and Tools
Regardless of which structure you choose, a few materials come up in almost every build:
- A weatherproof outer layer — canvas, heavy-duty tarp, or treated fabric
- A sturdy frame material — wood poles, metal conduit, or a manufactured pole set
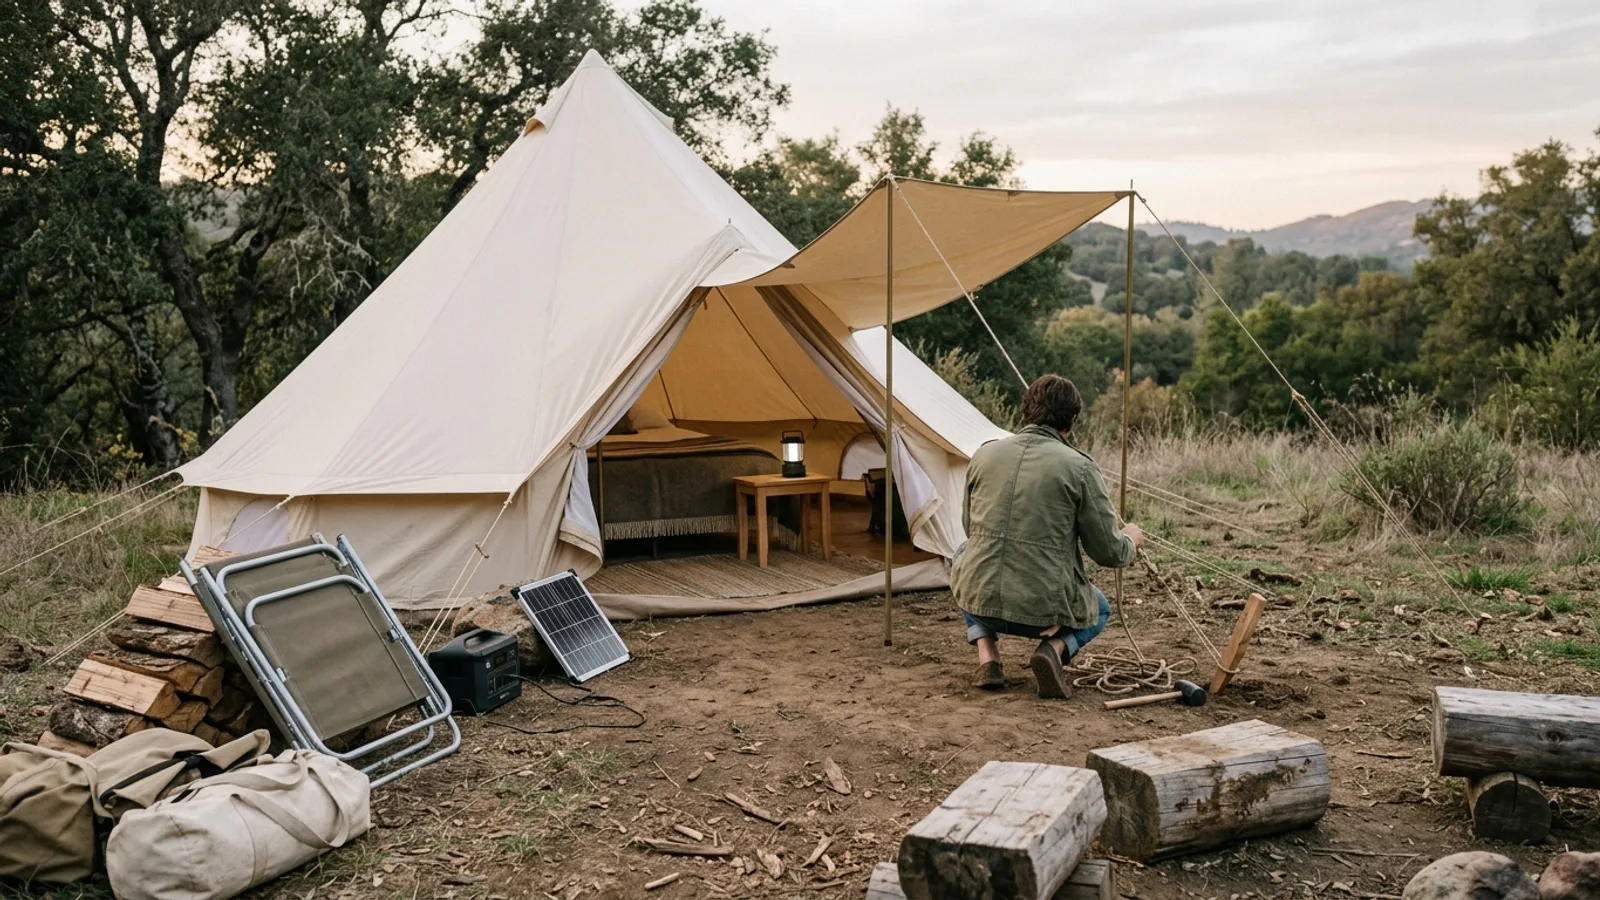
- Strong cordage or straps for securing the frame and cover
- Stakes or ground anchors rated for the soil type you'll be using
- A seam sealant or waterproofing spray suited to your cover material
Useful tools include a mallet or hammer, a saw or pipe cutter if you're cutting frame material to length, a heavy-duty needle and thread or a sewing machine for fabric modifications, and a staple gun or grommet kit for attaching fabric to a frame.
Building the Frame
If you're constructing a frame rather than modifying an existing tent, the general process is similar across designs:
- Clear and level the site, removing rocks, roots, and debris that could puncture flooring or destabilize the frame.
- Lay out your dimensions on the ground before cutting or assembling anything, so you know your cover material will actually fit.
- Assemble the frame on the ground first if possible, then raise it — this is safer and easier than building it upright piece by piece.
- Secure joints thoroughly. A frame that shifts even slightly during assembly often works itself loose under wind load later.
- Stretch the cover over the frame evenly, working from the center outward, and secure it before fully tensioning — this prevents lopsided pulling that can distort the frame.
- Check tension and stability again after the cover is on. A fabric that's too loose will flap and wear faster; too tight can strain seams and stitching.
Test the structure in calm conditions before relying on it in wind or rain. Re-tension ropes or straps as needed — natural fiber rope and some fabrics stretch or shrink with humidity.
Flooring
Flooring affects comfort, cleanliness, and how well moisture stays out. Options generally fall into a few categories:
- Ground cloths or footprints: lightweight, easy to pack, and effective at blocking ground moisture, but offer little cushioning.
- Rugs or interlocking foam tiles: add warmth and comfort underfoot and are easy to clean, but add bulk if you need to pack the tent out.
- Raised wood platforms: the most comfortable and durable option, especially for semi-permanent setups, but require more building skill and aren't portable.
Whatever you choose, a vapor barrier beneath the flooring layer helps prevent ground moisture from working its way up into bedding and furniture over time.
Bedding and Sleep Setup
Comfortable sleep is the difference between a glamping trip and ordinary camping. A real mattress, thick sleeping pad, or cot with substantial padding underneath makes the biggest difference of any single choice.
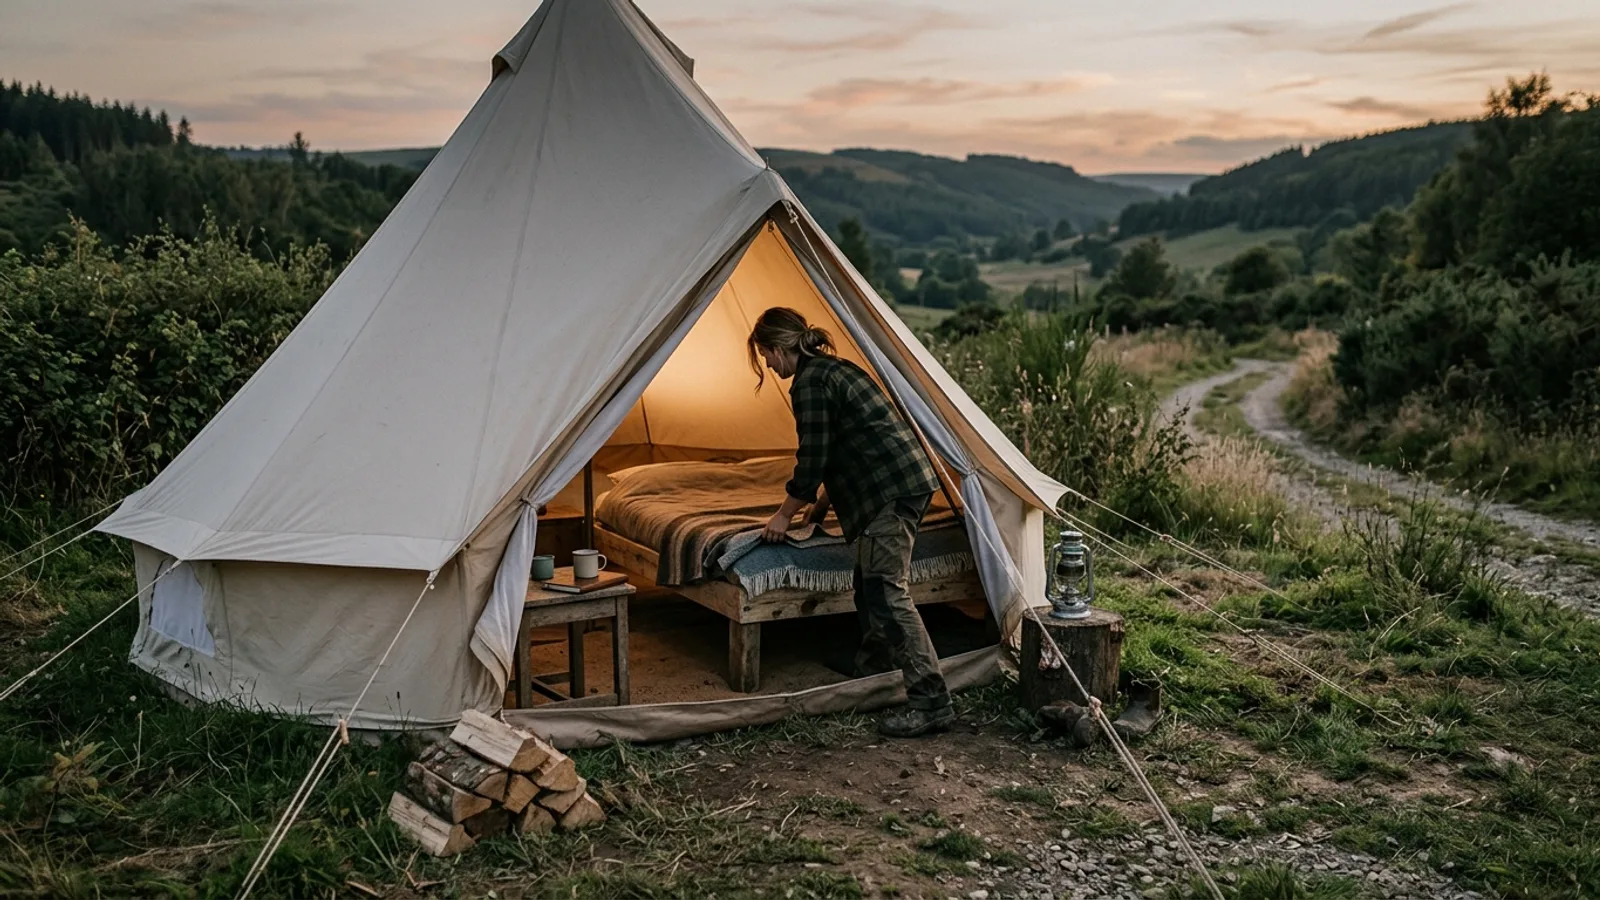
Layer bedding the way you would at home: a fitted sheet, a warm layer suited to expected overnight temperatures, and enough pillows for support. In damp or bug-prone environments, a canopy or mosquito net over the bed adds real function along with atmosphere.
Furnishing and Decor
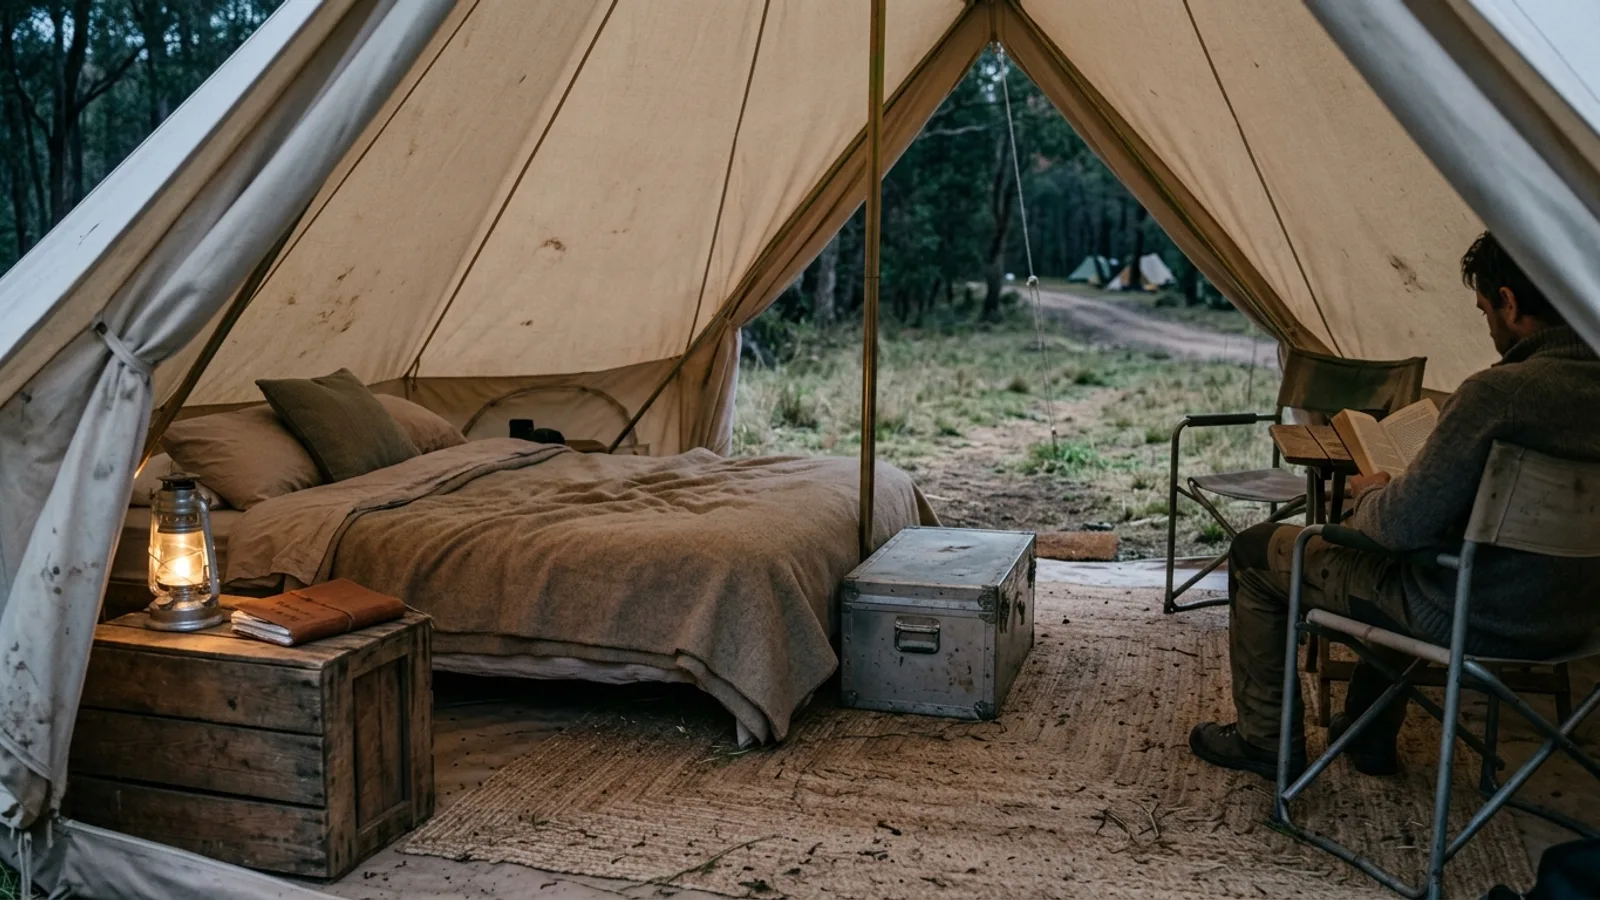
Once the structural elements are in place, furnishing is where a glamping tent earns its name. A few approaches that hold up well outdoors:
- Battery or solar lighting. String lights, lanterns, and small battery fixtures give you ambient light without the fire risk of open flame near fabric.
- Weather-appropriate textiles. Rugs, throws, and cushions add comfort, but choose materials that can handle humidity and dust, and can be aired out or washed easily.
- Compact, multi-use furniture. Folding stools, storage ottomans, and stackable bins let you furnish a small space without clutter.
- Personal touches. Photos, small art pieces, or a travel journal make a rented or shared site feel like your own, without adding bulk.
Keep an eye on total weight and volume if you'll be packing the tent in and out each trip — comfort items add up quickly, and overpacking a small tent undermines the sense of space you're trying to create.
Weatherproofing and Maintenance
Reapply seam sealant or waterproofing spray periodically, especially after long exposure to sun and rain, both of which break down coatings over time. Check ropes, stakes, and frame joints before each use, since UV exposure and repeated setup and teardown wear down cordage and hardware faster than most people expect.
Let canvas or fabric dry completely before storing it. Packing away a damp tent is one of the most common causes of mold and mildew damage.
Safety Considerations
Keep any open flame — candles, lanterns, cooking equipment — away from fabric walls and bedding, and never leave them unattended. Ensure there's adequate ventilation if you use any fuel-burning device inside or near the tent, since carbon monoxide buildup in an enclosed space can be dangerous. Secure the frame well enough to withstand the wind conditions typical for your area, and know your evacuation plan if severe weather moves in.
Using It Across Seasons
A canvas or heavy fabric tent with good flooring can be comfortable across most of the year if you adjust bedding and add supplemental heating or cooling appropriate to the season. Cold-weather use benefits from added floor insulation and heavier bedding; hot-weather use benefits from better airflow, shade, and lighter fabric choices. Very few DIY setups are truly four-season without significant added insulation and a heating source, so match your expectations to your build.