How to Build a DIY Camping Toilet
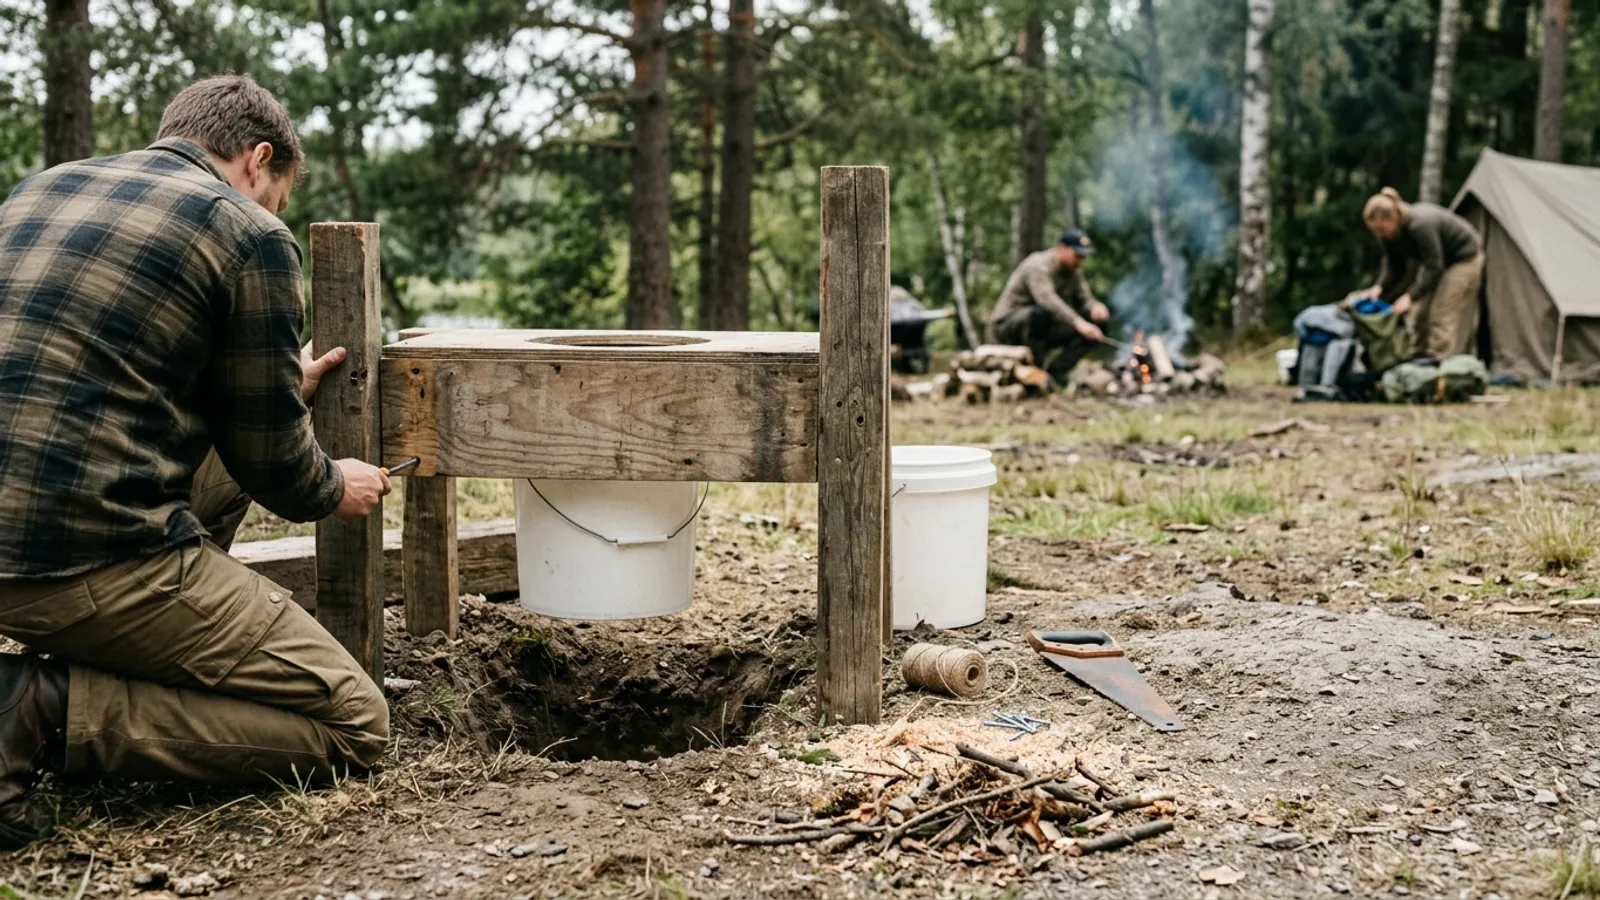
Why Build Your Own
When you're camping away from established facilities, a simple homemade toilet can make a significant difference in comfort. Building one yourself avoids the higher cost of manufactured units and lets you size the system to how you actually camp — a weekend trip versus an extended stay in one spot.
There are two common approaches: an all-in-one design that collects everything in a single container, and a separating design that keeps liquid and solid waste apart. Each has real tradeoffs worth understanding before you build.
All-In-One Toilet: The Basics
An all-in-one toilet is the simplest version to build. It's a single sturdy container — a bucket works well — lined with a bag and filled with an absorbent material at the bottom. Both liquid and solid waste go into the same liner.
The tradeoff is smell. Because liquids and solids mix, odor builds up faster than in a separating system, so this design rewards frequent emptying and a tight-sealing lid between uses.
This setup is best suited to short trips, backup use, or situations where simplicity matters more than long-term comfort.
Materials
- A sturdy bucket with a lid, sized for the length of your trip
- Heavy-duty bags to line the bucket
- An absorbent material such as sawdust, wood pellets, or unscented clumping litter
- A cushioned rim cover or a separate toilet seat attachment for comfort
Assembly
- Line the bucket with one or two heavy-duty bags, pressing them down into the corners so they won't slip.
- Add a layer of absorbent material to the bottom of the liner — enough to soak up initial liquid and control odor.
- Fit a cushioned rim cover around the bucket's edge, or attach a portable toilet seat if you have one, for stability and comfort.
- Keep a lid on the bucket between uses to limit odor and keep out insects.
After each use, add a small amount of additional absorbent material over the waste. This is the single biggest factor in keeping the smell manageable.
Separating Toilet: The Basics
A separating toilet routes liquid waste away from solid waste using a diverter, so the solids stay drier and odor stays lower. This is the same principle used in manufactured composting toilets, just built from simpler materials.
It takes more effort and more parts to set up, but it pays off on longer trips: solid waste composts better when it isn't sitting in liquid, and you'll empty the solid-waste container far less often.
Materials
- A bucket or bin for solid waste, sized to fit inside your outer frame or box
- A urine diverter (a funnel-shaped insert designed to route liquid separately)
- A separate container or jug to collect diverted liquid
- A composting medium, such as sawdust, coconut coir, or peat moss
- A wood or plastic frame or box to hold everything together, with a seat attached on top
- Liner bags for the solid waste container
Assembly
- Build or adapt a frame that holds the solid-waste bucket securely underneath the seat opening.
- Mount the urine diverter at the front of the seat opening so liquid is funneled forward into its own container, separate from the solids bucket.
- Line the solid-waste bucket with a bag, then add a layer of composting medium over the bottom.
- Attach the seat securely to the frame, and add a lid that closes fully when not in use.
After each solid-waste use, cover the addition with a scoop of composting medium, the same way you would in a home composting system. This keeps airflow and moisture in balance and slows odor.
Using and Maintaining Either System
Empty containers before they're completely full — waiting until the last moment increases the odds of spills and makes cleanup harder. How often you'll need to do this depends on group size and trip length, so plan around your specific usage rather than a fixed schedule.
Where and how you dispose of waste depends entirely on local rules. Some areas allow burial of solid waste at a sufficient depth and distance from water sources and trails; others require you to pack it out. Liquid waste disposal is similarly governed by local guidance. Always check the rules for the specific area you're visiting rather than assuming a general practice applies everywhere.
Clean containers with soap or a mild detergent and water after emptying, and let them dry fully before reuse. Replace liners as needed to avoid leaks. Keep hand sanitizer or soap and water at the toilet site and use it before and after each visit.
Store extra composting medium and liners in a dry place so they're ready when needed, and keep the lid closed between uses to reduce both odor and the chance of attracting wildlife.
Choosing Between the Two
If you want the simplest possible setup for a short trip, the all-in-one design gets you there with minimal parts and minimal effort. If you're camping longer, camping in a group, or want to reduce how often you deal with waste disposal, the extra work of building a separating toilet is generally worth it. Either option, built and maintained carefully, is a workable alternative to hauling gear to a fixed facility or making do without one.