How to Clean an RV Toilet and Keep the Black Tank Odor-Free
Understanding Your RV Toilet System
Most RV toilets are simple mechanical valves connected to a black water holding tank below. Pressing a pedal or lever opens the valve, water rinses the bowl, and waste drops into the tank. Some smaller or off-grid setups use a self-contained cassette that you remove and empty by hand, and others use composting systems that separate liquid and solid waste entirely.
The cleaning approach differs slightly by type, but the core goals are the same: keep the bowl seal clean so it doesn't leak air or odor, prevent solids from drying and sticking, and keep the tank itself from building up scale and residue.
Daily Habits That Prevent Most Problems
A few habits matter more than any product you can buy.
- Leave water in the bowl. A dry bowl lets waste stick to the sides and lets tank odors rise straight up. Add enough water after each flush to cover the bottom of the bowl.
- Flush with enough water each time. Rushing the flush is the single biggest cause of solid buildup in the tank. Hold the pedal or lever a beat longer than feels necessary, especially after solid waste.
- Only put human waste and RV-safe toilet paper in the bowl. Standard household toilet paper is designed to hold together, which works against you in a tank that needs everything to break down and drain. Toilet paper labeled for RV or marine use breaks apart quickly in water.
- Use a dedicated trash bin for anything else — wipes, feminine products, paper towels — even if a product claims to be flushable. These are common causes of clogged valves and stuck sensors.
Cleaning the Bowl
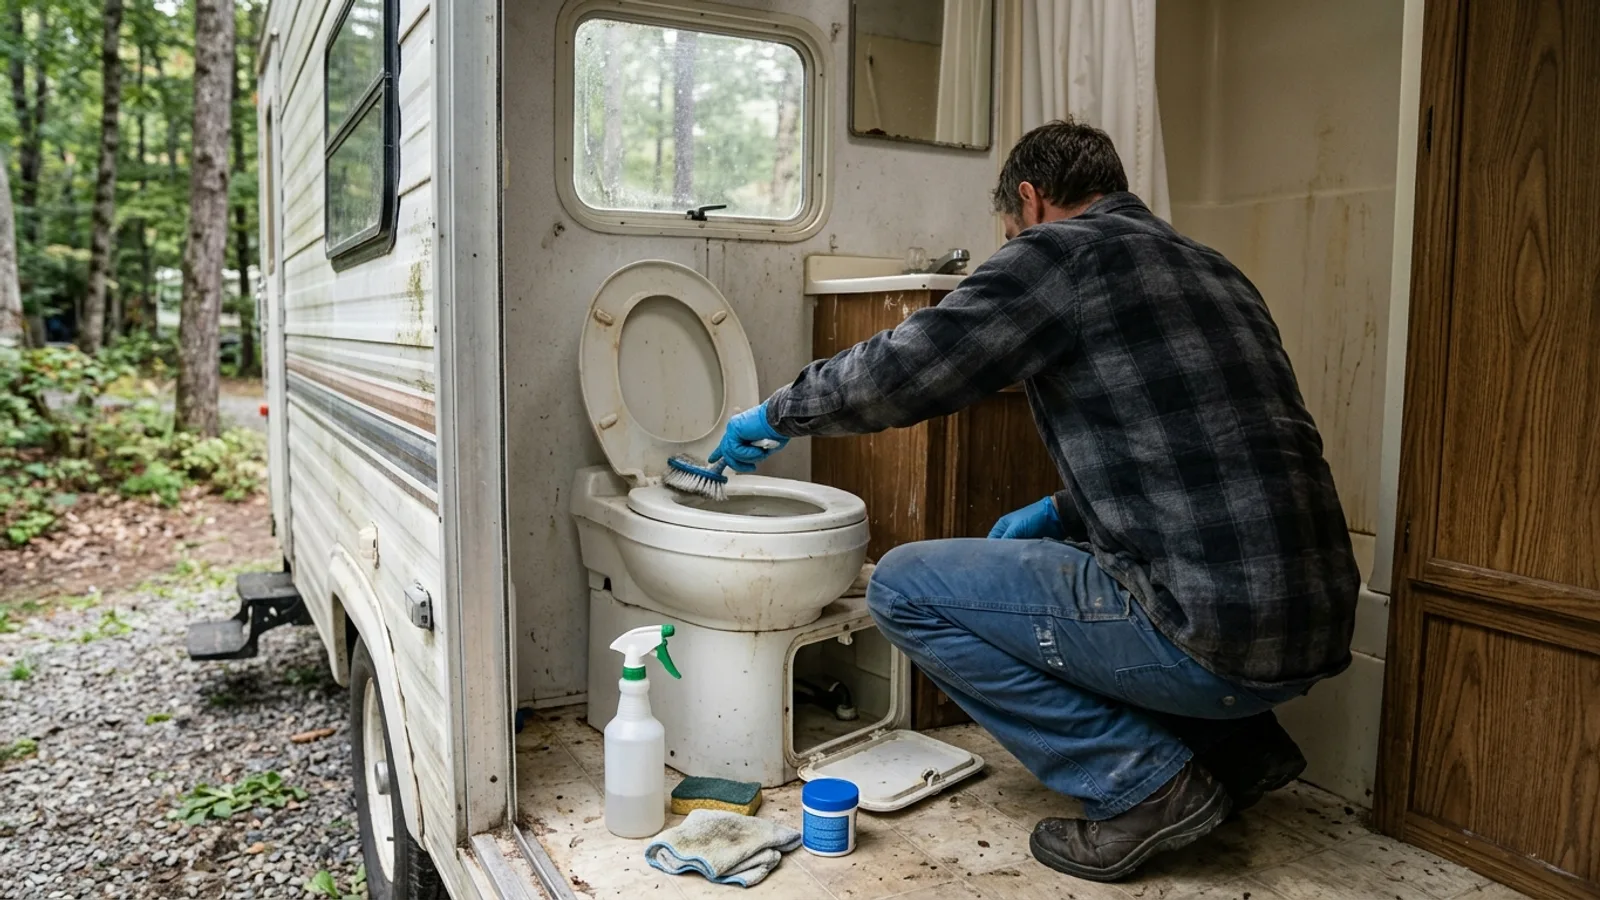
Use a soft brush or non-abrasive sponge on the bowl. Abrasive pads and harsh scouring powders can scratch the plastic or fiberglass surface, and those scratches trap bacteria and stains over time, making future cleaning harder.
For routine cleaning, a mild, non-bleach cleaner made for RV or marine toilets is the safest choice. Bleach and heavy household cleaners can degrade rubber seals and gaskets over repeated use, leading to leaks around the valve. Plain vinegar and baking soda also work well for routine freshening: baking soda left in the bowl overnight helps lift mild stains and absorb odor, and a vinegar-and-water rinse cuts through mineral deposits without harming seals.
If your model has a spray wand or built-in sprayer, use it after flushing to rinse the bowl and valve area thoroughly. Without one, a cup of water poured around the bowl before flushing accomplishes the same thing.
Caring for the Black Tank
The tank needs its own attention, separate from the bowl.
- Empty it before it's completely full, and always at a proper dump station — never anywhere else. Waiting too long lets solids settle and compact, which is much harder to clear later.
- Add water after emptying. A few gallons left in the tank after each dump keeps solids from drying onto the bottom and walls before your next stop.
- Use a tank treatment, either a liquid or a drop-in packet, to help break down waste and control odor between dumps. These work by supporting the natural breakdown of solids and neutralizing odor-causing compounds, rather than just masking smell.
- Flush the tank thoroughly after dumping if your rig has a built-in tank flush system, or use a wand made for the purpose through the toilet if it doesn't. This clears residue that plain draining leaves behind and helps keep level sensors accurate.
Keeping Tank Sensors Accurate
Level sensors on the tank read as "full" more often than they should because residue sticks to them, not because the tank is actually full. Regular tank flushing after dumping is the most reliable way to keep sensors reading accurately. Avoid pouring loose paper towels, wipes, or heavy tissue into the tank, since these are common culprits for sensor buildup and blockages. If sensors read inaccurately even after flushing, a dedicated tank cleaning treatment designed to dissolve residue can help before assuming there's a hardware problem.
Tracking Down Odors
Persistent odor almost always comes from one of a few sources: a dry bowl seal, a tank that needs more water or a fresh treatment, a loose or damaged vent pipe connection, or a roof vent cap that needs cleaning. Work through these in order before assuming something is broken.
Turning off the bathroom exhaust fan while flushing can help, since some fans draw air — and odor — up out of the bowl during the flush rather than after it. Check that the roof vent stack is clear and that its cap isn't damaged, since this is the black tank's main path for venting gas outside rather than into the bathroom.
General Upkeep
Inspect the bowl seal and valve periodically for cracks or stiffness, since these tend to wear out with age and heavy use. Keep a small stock of RV-safe toilet paper and tank treatment on hand so you're not tempted to substitute something less suitable. And build tank dumping and flushing into your regular travel routine rather than waiting for a problem to prompt it — consistency is what keeps an RV toilet trouble-free over the long run.