RV Black Tank Care: How Long to Wait Before Dumping and How to Keep It Clean
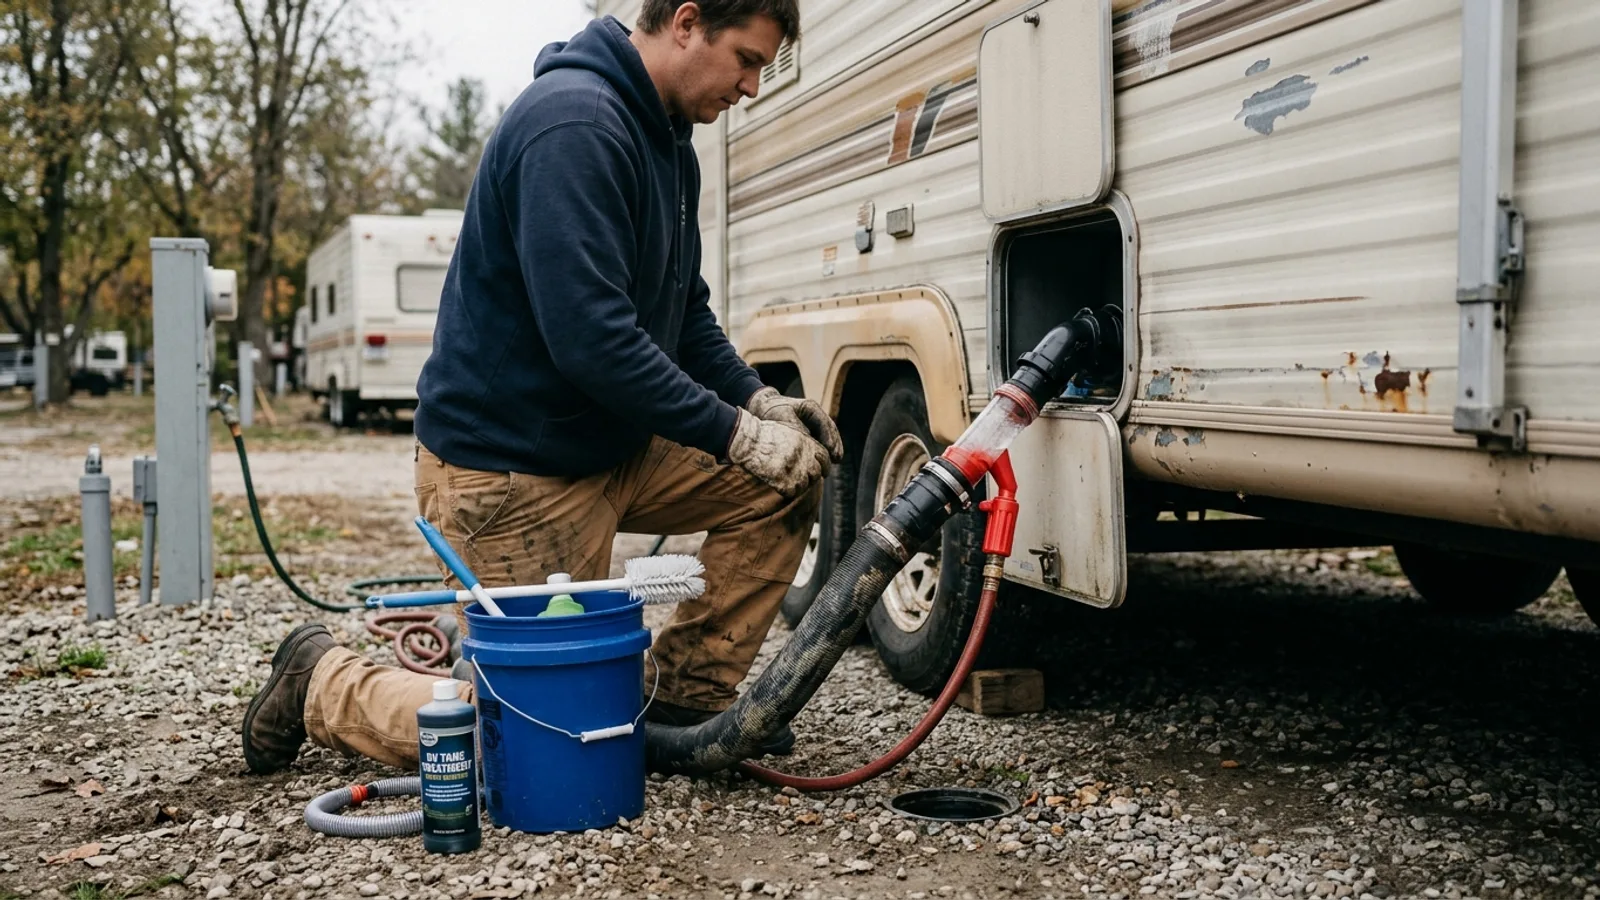
How Long Waste Can Sit in the Tank
There's no fixed countdown clock on a black tank, but waiting too long causes real problems: solids settle and harden, odors work their way back through the plumbing, and level sensors get coated and start giving false readings. As a practical rule, plan to dump once the tank reaches roughly two-thirds full rather than waiting until it's completely full.
Letting some liquid volume build up before dumping actually helps. A tank that's mostly empty when you dump doesn't generate enough flow to carry solids out effectively, which is one of the most common causes of clogs and stubborn residue. If you're staying at a site with a sewer hookup, it's still better to let the tank fill partway rather than leaving the valve open continuously — a steadily open valve lets liquid drain while solids stay behind and dry out.
The Three Tanks on a Typical RV
Most RVs with onboard plumbing have three separate tanks, each with a different job:
- Black tank: holds toilet waste and the water used to flush it.
- Grey tank: holds wastewater from sinks and the shower. Some smaller units route everything into a single tank instead of keeping grey and black separate.
- Fresh water tank: holds the clean water used for drinking, cooking, and washing when you're not connected to a water source.
Keeping these systems separate and properly maintained protects both your comfort and the plumbing itself. Cross-contamination or neglect in one tank tends to create problems in the others.
How to Dump the Black Tank
Locate the tank valves at the RV's sewer outlet, usually a black valve for the toilet tank and a grey valve for sink and shower water. Keep both valves closed between dumps — this is what allows liquid to accumulate and generate the flow needed to flush solids out cleanly.
When you're ready to dump:
- Connect your sewer hose securely to the outlet and make sure the other end is properly seated in the dump station or sewer connection.
- Open the black tank valve first and let it drain completely before closing it.
- Open the grey tank valve next. The soapier, cleaner grey water helps rinse out any residue left in the hose from the black tank.
- Close both valves fully before disconnecting the hose.
Dumping black water before grey water, in that order, is standard practice and keeps your equipment cleaner with less unpleasant work at the end.
Keeping the Tank Clean and Odor-Free
A few habits go a long way toward avoiding buildup, clogs, and smells:
- Use enough water. Every flush should include a generous amount of water, not just enough to clear the bowl. Adequate water is what keeps solids suspended and moving toward the outlet instead of settling.
- Choose toilet paper made to break down quickly in a holding tank. Standard household paper is designed to resist breaking apart and can contribute to clogs over time.
- Flush the tank itself after dumping. A built-in tank rinser or a wand-style attachment run through the toilet lets you spray the inside of the tank with water after the solids have drained, breaking up anything left on the walls or sensors.
- Use a tank treatment. Enzyme or bacteria-based treatments help break down solids and control odor between dumps. Follow the product's directions for how much to use and how often.
- Deep clean periodically. Every so often — especially before long-term storage — run a thorough flush cycle with plenty of water until it runs clear, to clear out accumulated residue that routine dumping doesn't fully remove.
Storing an RV for the Season
How you store your tanks depends heavily on climate and how long the RV will sit unused.
Before any extended storage, dump and thoroughly rinse both the black and grey tanks. Leaving waste sitting for weeks or months makes it far harder to clean out later and increases odor problems.
In climates where temperatures stay above freezing, it's reasonable to store the black tank with a small amount of water and a maintenance treatment to keep things from drying out and to control odor over time.
In climates where freezing is a possibility, the priority shifts to protecting the plumbing itself. Water expands as it freezes and can crack pipes, valves, and the tank. Draining all tanks completely and adding the appropriate antifreeze to the plumbing system is the standard approach — follow your RV manufacturer's winterization instructions, since the process varies by model.
Storage Between Trips
For shorter gaps between camping trips, the guidance is simpler: dump and rinse the tanks as soon as possible after you get home rather than letting waste sit. Store the RV with tanks empty rather than partially full, since sitting waste is what leads to odor and residue buildup, even over just a few weeks.
Give the fresh water tank the same attention — empty it out between trips if it will be sitting for a while, and clean and disinfect it periodically so stored water doesn't develop an off taste or smell.
Quick Reference
- Dump the black tank when it's roughly two-thirds full, not immediately after every use.
- Keep valves closed between dumps so liquid builds up enough to flush solids out effectively.
- Dump black water before grey water so the grey water helps rinse the hose.
- Use ample flush water and tank-safe toilet paper to prevent clogs.
- Rinse the tank interior after dumping and use a treatment to control odor and breakdown.
- Before storage, clean tanks thoroughly and winterize the plumbing if freezing temperatures are possible.