What to Check Before Buying a Used RV
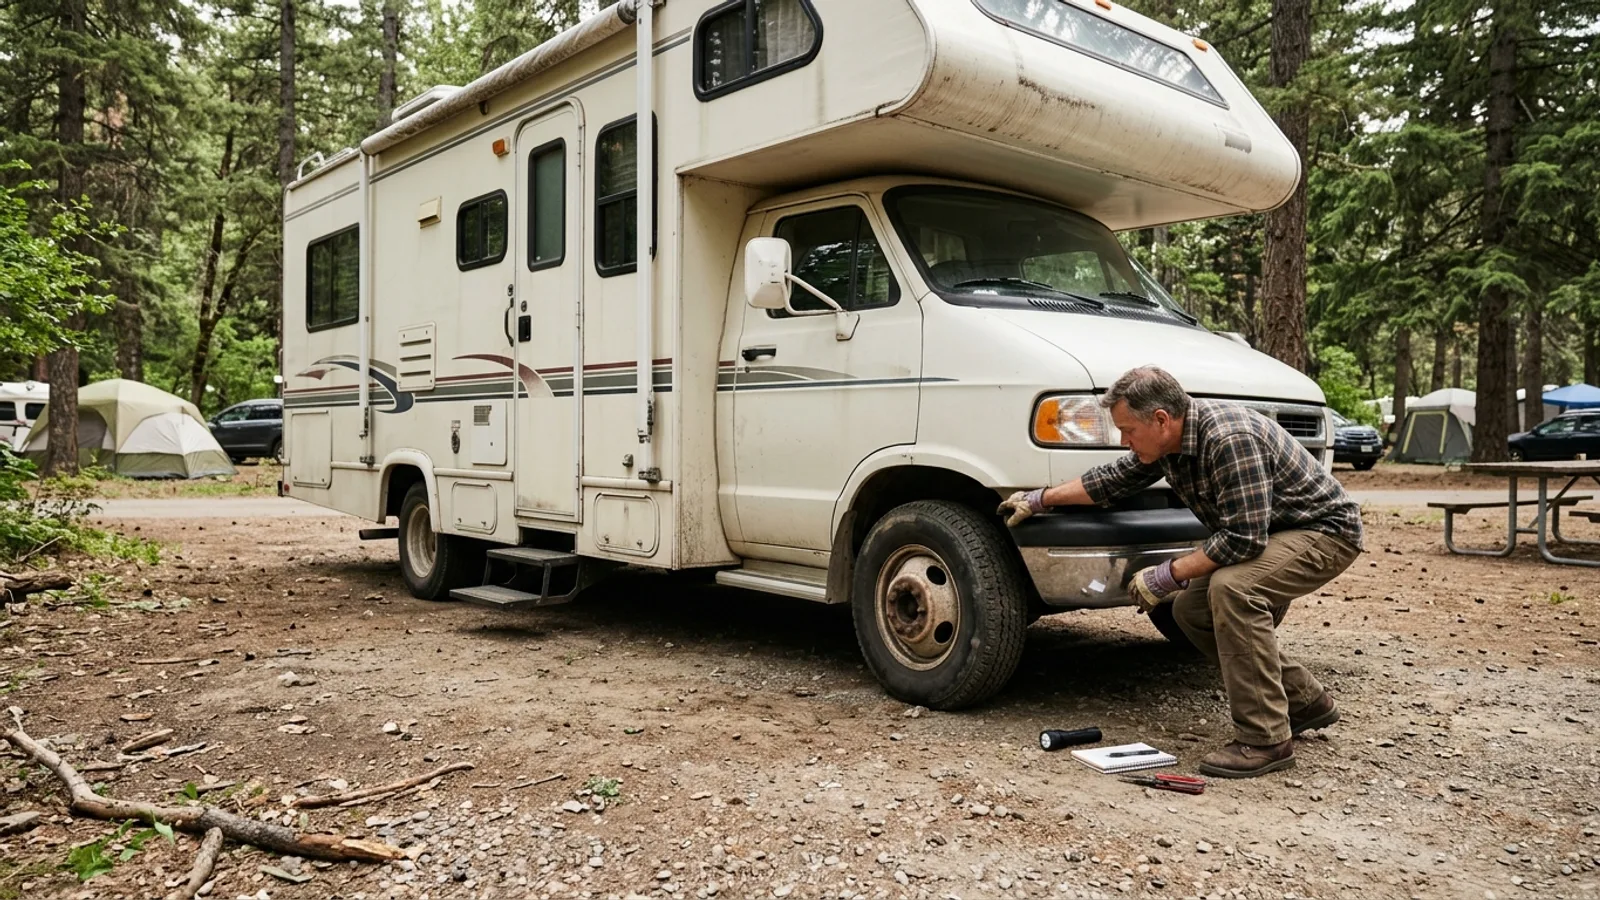
Start With a Professional Inspection
A used RV combines a vehicle, a home, and several independent systems (plumbing, electrical, propane, HVAC) into one purchase. Very few buyers have the expertise to evaluate all of that on their own, which is why a professional RV inspection is worth arranging before you commit to a purchase.
An independent inspector works for you, not the seller or the dealership. They can climb on the roof, run the appliances, test the systems, and put findings in writing. That report becomes useful in two ways: it tells you whether to walk away, and it gives you a factual basis for negotiating on any repairs the RV will need.
If you can't arrange a full inspection, at minimum bring a flashlight, a moisture meter if you can borrow one, and enough time to look at every area described below without rushing.
Verify the Vehicle's Identity and History
Every RV with a motorized chassis has a Vehicle Identification Number (VIN), usually found on the dashboard near the windshield or on the driver's side door frame. Towable trailers have a similar identification number on the frame or tongue.
Before you buy, confirm that this number matches the title and registration paperwork exactly. A mismatch is a serious red flag. You can also run the VIN through a vehicle history service to check for past accidents, title issues (such as salvage or flood titles), and open manufacturer recalls that haven't been addressed.
A history check won't catch everything, especially on the "house" portion of the RV, but it's a low-effort way to rule out major hidden problems before you invest more time in the deal.
Inspect for Water Damage and Mold
Water intrusion is the most common cause of expensive RV repairs, and it's often hidden behind walls or under flooring until it has spread significantly. Take your time here.
Walk through the interior and use your nose first: a persistent musty smell, even if masked by air fresheners or cleaning products, is worth investigating further. Then look for visual clues:
- Soft, spongy, or discolored spots on the floor, especially near doors and slide-outs
- Staining or sagging on ceilings and around vents, skylights, and roof seams
- Bubbling, peeling, or discolored wall paneling or wallpaper
- Warped or delaminated cabinetry, particularly under sinks
- Rust or corrosion around window frames and seals
Pay close attention to areas around windows, roof penetrations, slide-out seals, the exterior seams where different wall sections meet, and all plumbing fixtures. These are the places water most commonly gets in.
Some water damage is repairable and shouldn't automatically disqualify an RV, but it should factor heavily into your offer and your decision to get a professional opinion on the extent of the damage before finalizing anything.
Check the Tires
RV tires deteriorate with age even if they still have plenty of tread, because rubber breaks down from UV exposure and from sitting under heavy, stationary loads between trips.
Every tire has a manufacture date coded into the sidewall, typically the last four digits of a longer code, representing the week and year it was made. Check this on all tires, including the spare, since they may not all be the same age.
Also look for cracking in the sidewalls (sometimes called "weather checking"), uneven wear patterns, and flat spots from long periods of storage. Tires that are old or visibly weathered should be treated as a near-term replacement cost, even if they look serviceable, and can be a reasonable point to negotiate on price.
Examine the Roof and Slide-Outs
The roof is one of the most important things to get right, since a failure here is what leads to most of the water damage described above.
Roof
Get up on the roof if it's safe to do so, or use a ladder and binoculars to inspect it closely. Look for:
- Cracked, torn, or missing sealant around vents, air conditioning units, and antennas
- Soft or spongy spots underfoot, which can indicate a compromised substrate
- Discoloration, chalking, or visible wear in the roofing material
- Proper sealing where the roof meets the walls
Roof membranes and seals need periodic maintenance, so ask when the roof was last resealed or inspected. A roof that has been neglected for years is a strong signal to have a professional look before you buy.
Slide-Outs
Extend and retract each slide-out if you're able to. Listen for unusual grinding or straining noises, and watch that the mechanism moves smoothly and seals fully when closed. Inspect the exterior seals around each slide for cracking or gaps, since these are common leak points. Inside, check the floor and walls near the slide-out for any of the water damage signs mentioned earlier.
Test the Major Systems
Before buying, test everything you can, ideally with the RV connected to power, water, and (if applicable) propane:
- Run the water pump, all faucets, and the toilet, and check under sinks for leaks afterward
- Test the water heater and confirm it produces hot water
- Run the furnace and air conditioning units through a full cycle
- Check the refrigerator on both AC power and propane if it has that capability
- Test all lights, slide-outs, and any powered awnings or leveling systems
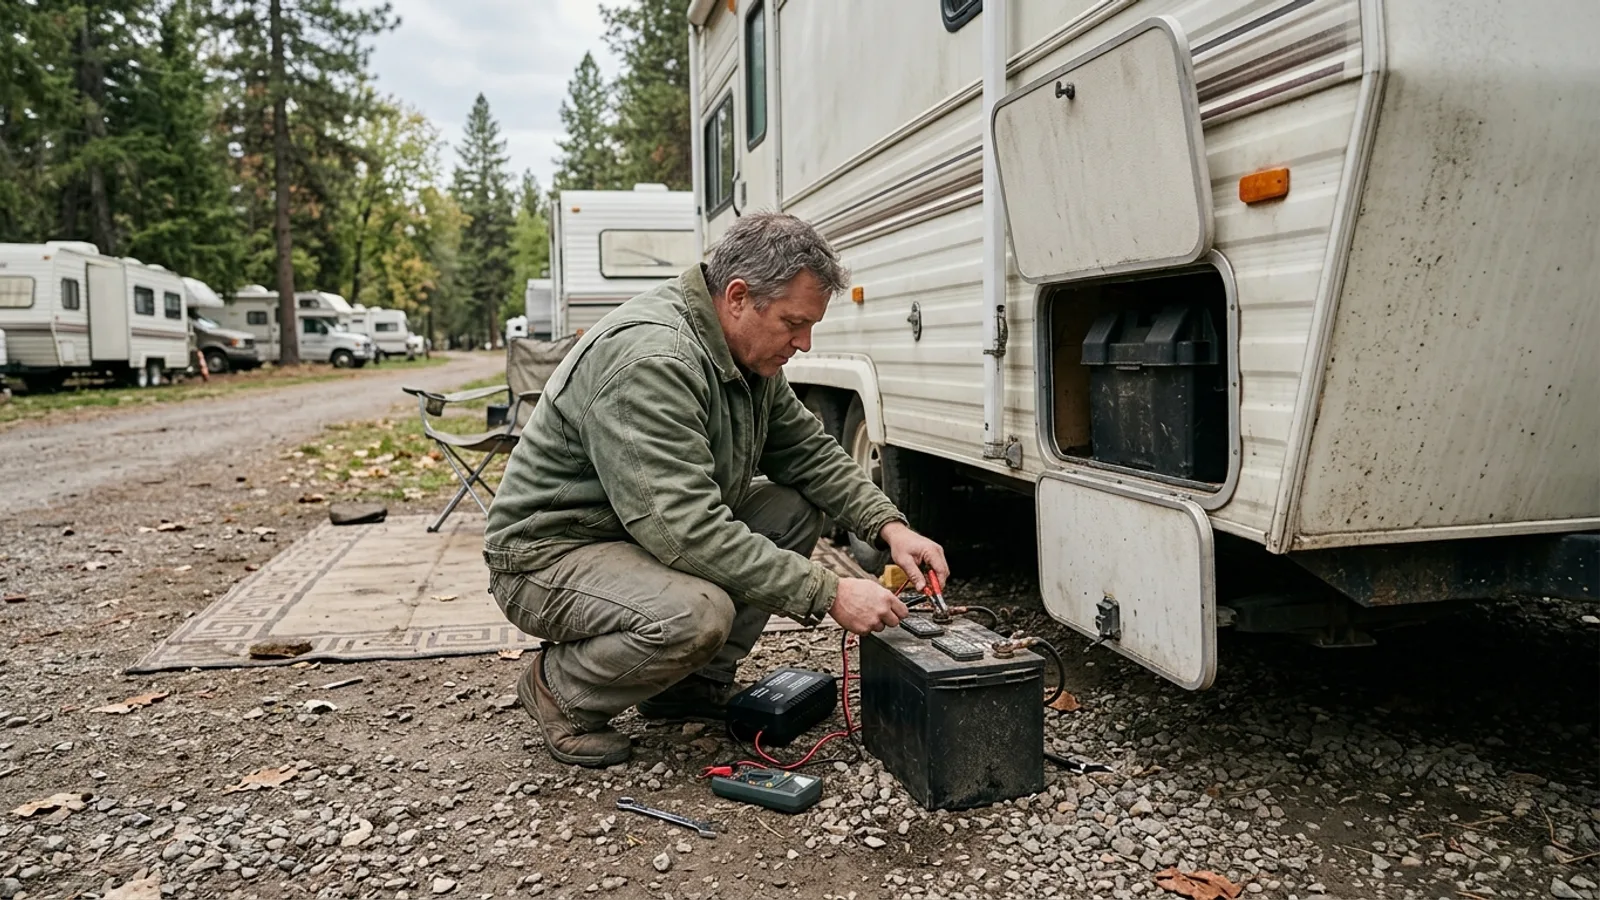
- Check the battery, and ask about its age and how it's been maintained
- Inspect propane lines and connections for wear or corrosion
Any system that doesn't respond correctly during your test is one you should assume will need repair or replacement, and it's worth pricing that out mentally before you finalize an offer.
Bringing It Together
No used RV will be perfect, and that's normal. The goal of an inspection isn't to find a flawless unit, it's to know exactly what you're buying and what it will cost to maintain. A thorough walkthrough, a VIN check, and a professional inspection when the deal is serious will give you the clearest picture and the strongest position to negotiate from.