How Much RV Antifreeze Do You Need to Winterize Your RV?
Why Winterizing Matters
Water left in an RV's plumbing system will freeze in cold weather. When it freezes, it expands, and that expansion can crack pipes, fittings, the water pump, and the water heater tank. These repairs are often hidden until you turn the system back on in spring, so damage can go unnoticed for months. Winterizing before the first hard freeze is the simplest way to avoid this.
What RV Antifreeze Is
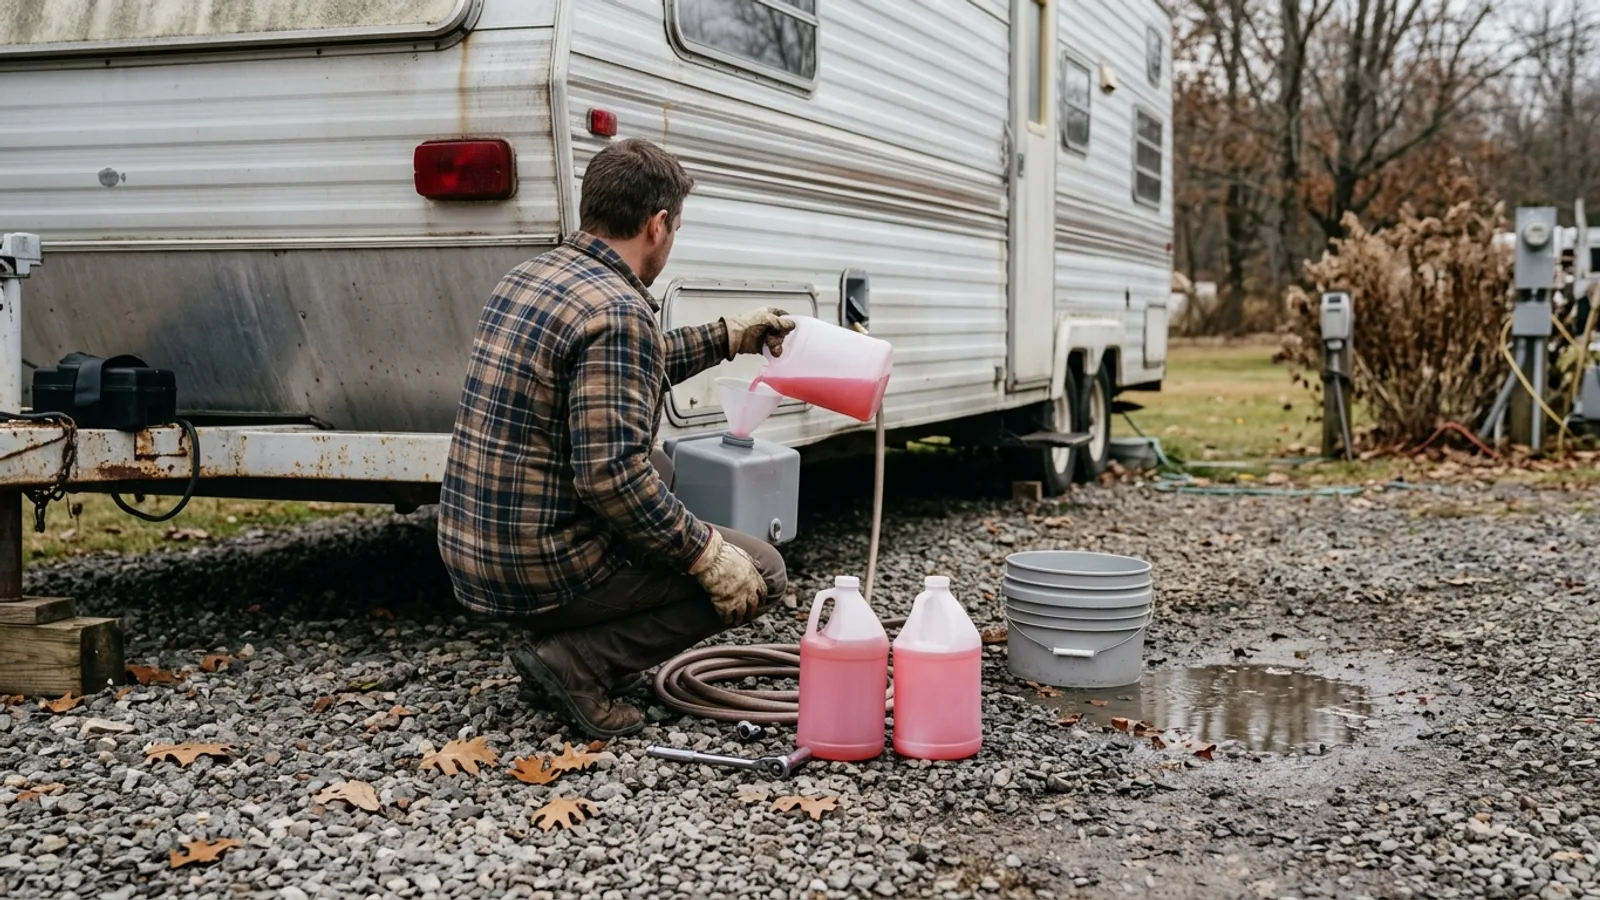
RV antifreeze is a plumbing-safe antifreeze made specifically for fresh water systems. It's formulated to be non-toxic at the concentrations used for winterizing, unlike automotive antifreeze, which is poisonous and should never be put in a drinking water system. RV antifreeze is typically dyed pink so it's easy to tell apart from automotive coolant at a glance.
Even though it's non-toxic, treat it like any other chemical product: keep it sealed, keep it away from kids and pets, and rinse the system in spring before using the water for drinking or cooking.
How Much You'll Need
Most travel trailers and smaller motorhomes take somewhere in the range of two to four gallons to fully protect the system, but the right amount depends on the length of your plumbing runs, the number of fixtures, and whether you have extra appliances like a washer, dishwasher, or ice maker connected to the water lines. Larger coaches or rigs with multiple bathrooms will need more.
Two things reduce how much you need:
- Bypassing the water heater so antifreeze doesn't fill its tank, which can otherwise take several extra gallons on its own.
- Draining the system as thoroughly as possible before introducing antifreeze, so it's displacing air rather than water.
It's worth buying an extra jug beyond your estimate. Running short partway through the job means stopping to make another purchase with a partially winterized system.
Step-by-Step: Winterizing With Antifreeze
1. Bypass the Water Heater
Most RVs with a water heater bypass kit have valves that let you route antifreeze around the tank instead of through it. Locate and switch these valves before starting; check your owner's manual if you're not sure where they are.
2. Drain the System
Turn off the water pump and empty the fresh water tank. Open all faucets (hot and cold), the low point drains, and the water heater drain to let gravity remove as much water as possible. Close the water heater drain once it's empty and the bypass is set.
3. Connect the Antifreeze
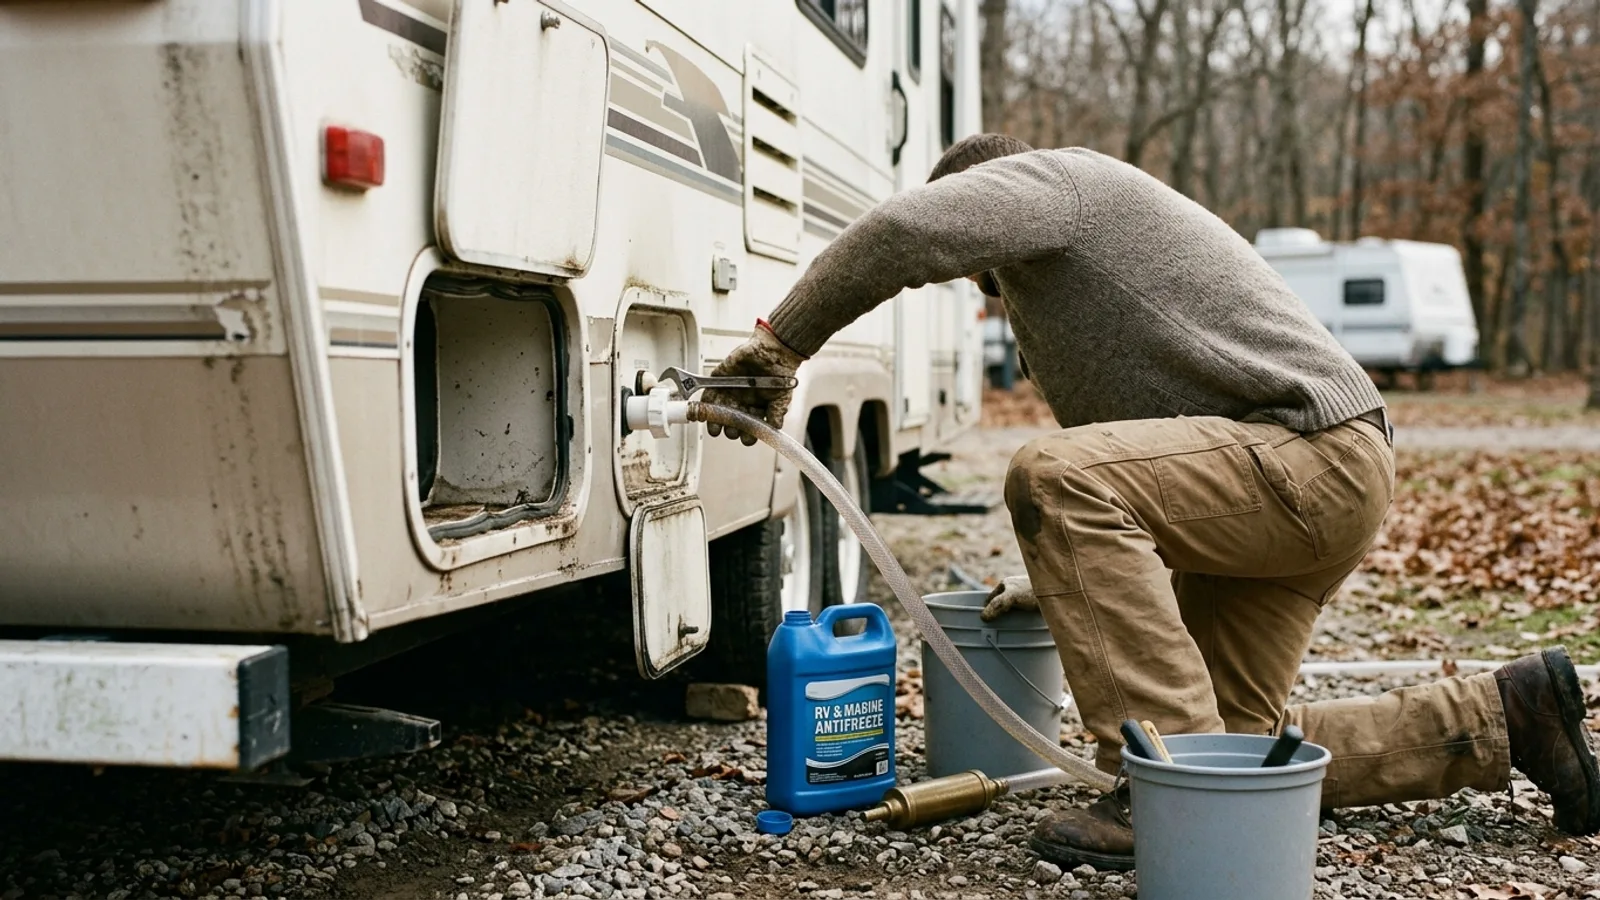
Most systems use a water pump converter kit: a short hose that runs from the pump's intake directly into the antifreeze jug, bypassing the fresh water tank. If your rig doesn't have one built in, an aftermarket kit is inexpensive and simple to install.
4. Pump It Through
Turn the pump on and open each faucet, one at a time, starting with the one closest to the pump. Let antifreeze run until the color is consistent at that fixture, then move to the next. Don't forget outdoor showers, washing machine connections, ice makers, and the toilet.
5. Protect the Drains
Pour a cup or so of antifreeze down each sink and shower drain to fill the P-trap, which otherwise holds standing water that can freeze. Flush the toilet with antifreeze as well so it sits in the bowl and tank.
Other Practical Tips
- Wear gloves and avoid splashing antifreeze in your eyes, as with any chemical.
- Check your owner's manual for model-specific bypass and drain locations before starting.
- If you have any doubt about a step, ask at an RV service center or a local owners' group for guidance specific to your rig.
Storing and Reusing Leftover Antifreeze
Reseal the container tightly after each use and store it somewhere cool, dry, and out of direct sunlight. A garage or indoor storage closet works better than an outdoor shed subject to temperature swings.
RV antifreeze doesn't last indefinitely. Over time, and especially after temperature extremes, its ability to resist freezing can degrade. Check the container for guidance from the manufacturer, and when in doubt, replace older stock rather than relying on it for a job where failure means a cracked pipe.
Winterizing Without Antifreeze: The Compressed Air Method
Some owners prefer to blow the water out of the lines using compressed air instead of pushing antifreeze through them. This avoids buying antifreeze and skips the taste it can leave behind, but it requires care and the right equipment.
What You Need
An air compressor and a blow-out plug or adapter that fits your city water inlet, sized to keep the pressure within a safe range for RV plumbing. Too much pressure can damage fittings, so start low and increase gradually.
Basic Steps
- Bypass the water heater and drain the system as you would for the antifreeze method.
- Connect the compressor to the city water inlet through the blow-out plug.
- Open one faucet at a time and apply air until only a mist, then no water, comes out.
- Work through every fixture, including the toilet, outdoor shower, and any appliance connections.
- Flush the toilet several times to clear the bowl and tank.
Even after blowing out the lines, it's common practice to pour a small amount of antifreeze into each drain and the toilet bowl to protect the P-traps, since compressed air alone won't clear standing water there.
The main risk with this method is missing a pocket of residual water in a low spot or coil of tubing that isn't obvious from the outside. If you're not confident you've cleared every line, combining this method with a smaller amount of antifreeze as backup is a reasonable compromise.
Choosing an Approach
Antifreeze is simpler and more forgiving of missed spots, since it displaces water rather than requiring perfect drainage. Compressed air avoids the taste and cost of antifreeze but demands more attention to technique. Your climate, how long the RV will sit unused, and your own comfort level with the process are all reasonable factors in deciding which method — or combination — suits you.