How to Unclog an RV Toilet: Practical Methods That Work
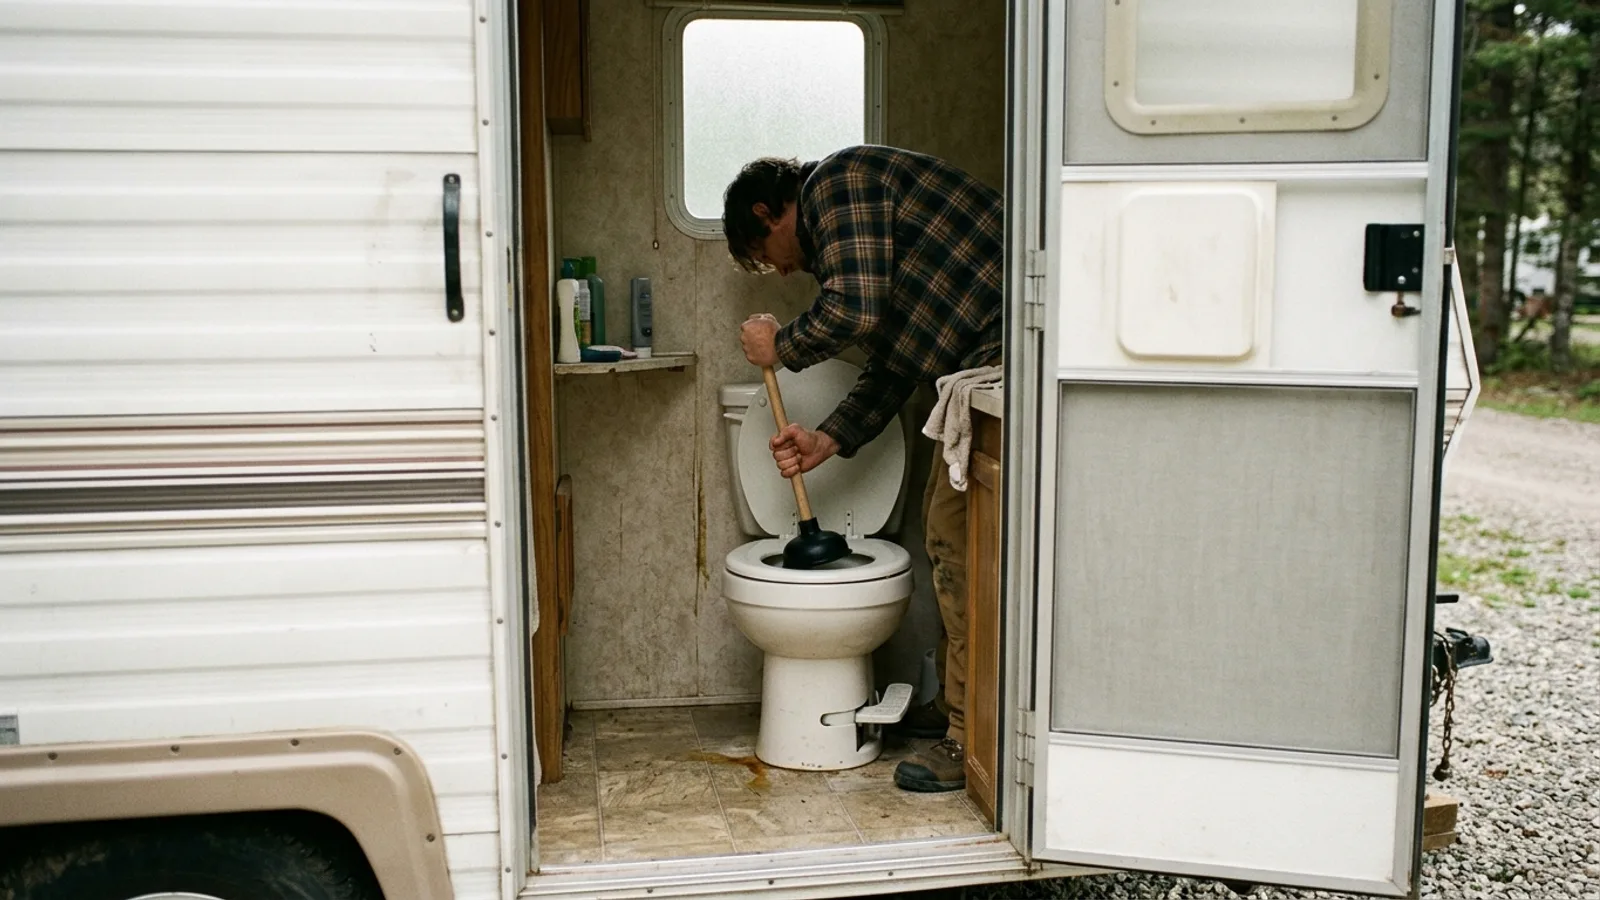
An RV toilet clog almost always comes down to one problem: not enough liquid in the black tank to carry solids and paper through the pipe to the tank. Unlike a household toilet, the RV toilet valve opens into a mostly empty tank rather than a full trap, so waste can dry out and build up on the tank's dry sides or in the drain line if the system doesn't get enough water. Understanding this helps explain why most fixes below involve adding water, agitation, or both.
Start With a Tank Wand
A flexible tank-rinsing wand attaches to a garden hose and inserts through the toilet into the black tank. It sprays water in multiple directions to break up solid buildup clinging to the tank walls or blocking the drain valve.
- Close the black tank valve and add a few inches of water before starting.
- Insert the wand through the toilet and into the tank, moving it slowly to hit different angles.
- Run water for several minutes, then let the tank sit before draining, so loosened debris has time to break down.
This tool is worth carrying even if you never clog a toilet, since periodic rinsing prevents buildup in the first place.
Hot Water Soak
Pouring hot (not boiling, to avoid stressing plastic fittings) water down the toilet can soften organic clogs made of paper or waste. Add several kettles' worth, let it sit for a few hours or overnight, then flush. If you're able to drive afterward, the motion helps slosh the water around inside the tank and can dislodge material that hot water alone loosened but didn't fully clear.
Plunging an RV Toilet
A standard plunger can work on an RV toilet, but use a lighter touch than you would at home — RV toilets and the seals around the base are less robust than residential fixtures.
- Add enough water to cover the plunger cup.
- Center the plunger fully over the drain opening to form a seal.
- Use short, controlled strokes rather than forceful slams. Aggressive plunging can damage the valve seal or crack fittings.
- Flush to check progress, and repeat a few times if needed before trying another method.
Septic-Safe Treatments
Enzyme or chemical treatments made for RV or marine holding tanks can break down paper and organic waste over time. Look for products labeled safe for septic and holding tank systems, and avoid anything meant for household sewer lines, since those formulas can be too harsh for RV tank materials and sensors.
Typical use involves adding the product to a partially filled tank, letting it sit for the time recommended on the label, then flushing thoroughly. Driving partway through the soak period can help distribute the treatment across the tank.
The Ice Method
Some RVers add ice cubes and water to the bowl before a drive, on the idea that the tumbling ice scrubs the inside of the tank and drain line as the vehicle moves. It's inexpensive and low-risk, though it works best as a mild maintenance step rather than a fix for a serious blockage. If a clog doesn't respond to this or the methods above, treat it as a sign of a more solid obstruction that needs direct mechanical clearing.
Preventing Future Clogs
- Add water with every flush. A quick splash isn't enough — hold the flush pedal long enough to send a real volume of water into the tank with the waste.
- Use RV-rated or septic-safe toilet paper. It breaks down faster than household paper, reducing the chance it accumulates before it clears the line.
- Keep the black tank valve closed until it's reasonably full. Draining a nearly empty tank lets liquid run out while solids stay behind and dry out.
- Rinse the tank regularly with a wand or built-in flush system, especially before storing the RV for an extended period.
- Watch what goes down the drain. Wipes, paper towels, and feminine hygiene products don't break down the way toilet paper does and are common causes of stubborn clogs.
Consistent water use and regular tank rinsing prevent the vast majority of RV toilet clogs, making the more involved fixes rarely necessary.