DIY Camping Showers: Simple Ways to Build Your Own
A hot day on the trail or a dusty campsite makes even a short rinse feel essential. Commercial camp showers work well, but you can build something just as functional with basic containers, tubing, and a bit of patience. Here are the main approaches, along with the tradeoffs of each.
Handheld Jug Shower
The simplest option is a jug or bottle you control by hand. Any sturdy container with a screw-on lid works. The key modifications are the same regardless of what you start with:
- Puncture or drill a pattern of small holes in the lid so water sprays rather than pours. A lid with a flip-top or sports cap gives you on/off control without needing to reseal the container each time.
- Add a small vent hole or valve away from the main opening. Without one, air pressure inside the container fights the water trying to get out, so flow sputters.
- Fill, seal, and invert to use. Tilt the container to control flow rate rather than trying to squeeze it.
This style is cheap, packs flat when empty, and needs no hardware beyond the container itself. Its main limitation is capacity — you're refilling often, and there's no real water pressure, just gravity and whatever tilt you give it.
Gravity-Fed Shower
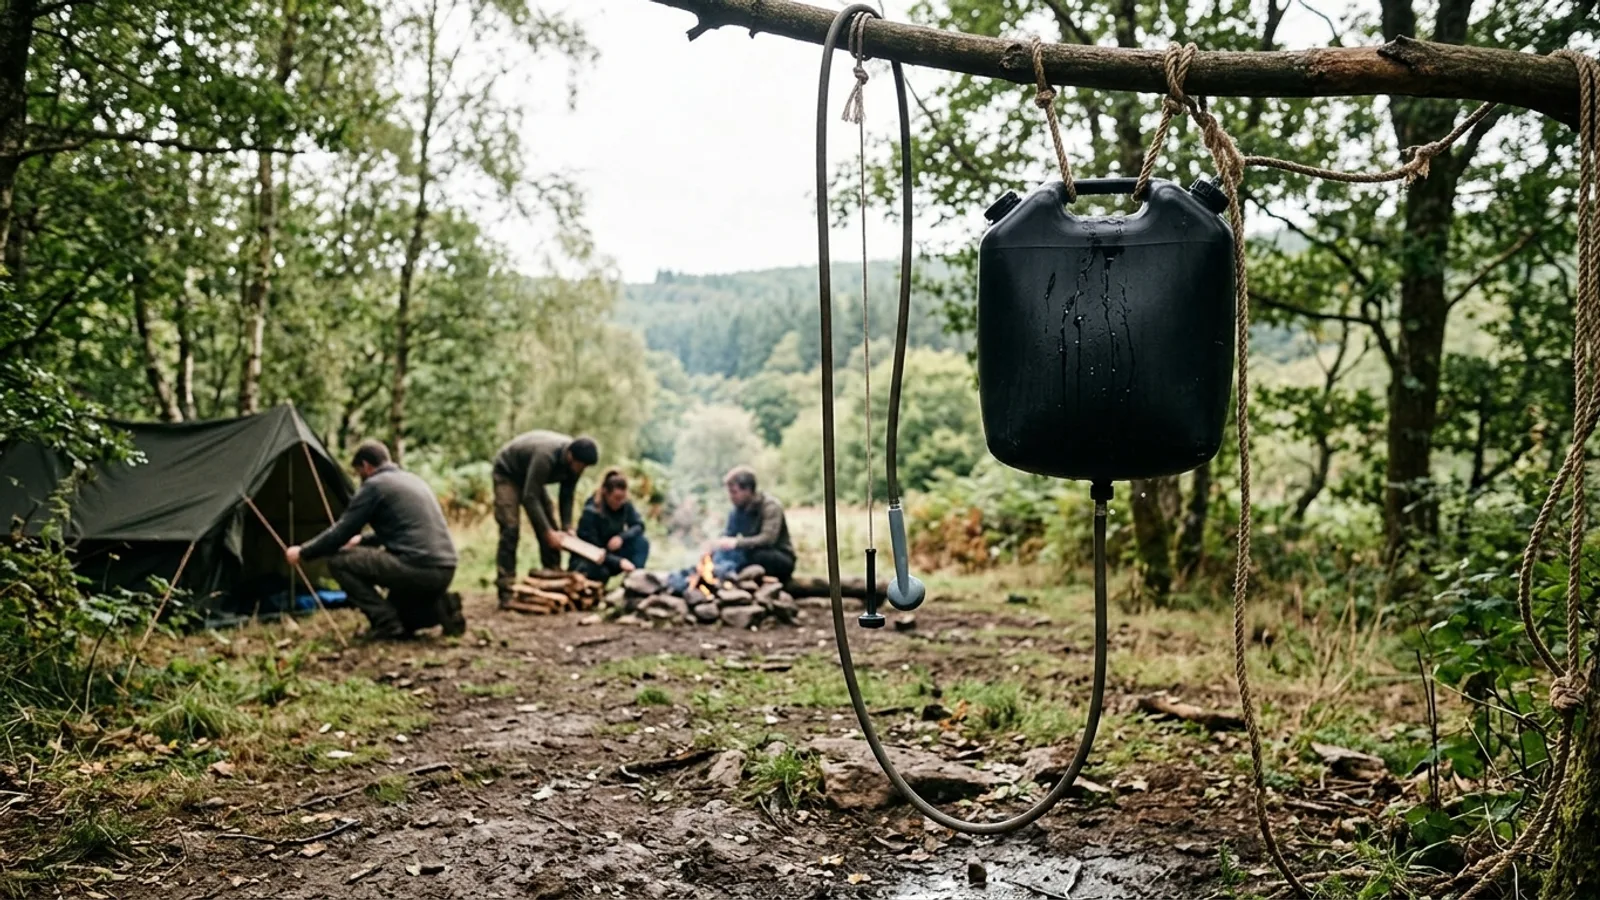
A gravity-fed shower scales up the same idea. A water container is hung above head height, and water drains down through a hose to a shower head or spray nozzle. The higher you hang it, the stronger the flow, though gravity alone will never match household water pressure.
What you need:
- A collapsible or rigid water container with an outlet fitting near the bottom
- Tubing or a short hose to route water from the outlet to a shower head or spray attachment
- A way to hang the container securely — a sturdy branch, a tripod of poles, or a vehicle roof rack
Assemble the outlet and hose, hang the full container at a height that clears your head comfortably, and open the valve to shower. Closing the valve between rinses is the easiest way to conserve water, since gravity-fed systems have no shutoff at the shower head itself unless you build one in.
The advantages are real: no pump, no batteries, and once it's hung, it runs itself. The tradeoff is setup time and the need for a stable anchor point overhead.
Dry Bag Shower
A dry bag doubles well as a shower reservoir because it's already waterproof and seals tightly. To convert one:
- Fit a small spray nozzle or a punctured bottle cap into a hole cut near the bottom of the bag, sealed with waterproof adhesive so it won't leak at the seam.
- Fill the bag with water and leave it in direct sun for a few hours if you want warm water — dark-colored bags absorb heat faster than light ones.
- Hang the bag on its side from a branch or hook so the outlet points downward, and let gravity do the rest.
Because dry bags are meant for backpacking, this option travels light and rolls up small when empty. The same bag can also serve other camp uses when it's not rigged as a shower, which makes it a versatile piece of gear for minimalist trips.
Pressurized Sprayer Shower
For a stronger, more consistent stream, a garden-style pump sprayer can be adapted into a pressurized shower. These sprayers use a hand pump to build air pressure inside a sealed tank, pushing water out through a wand when you open the valve.
To adapt one for showering, attach a wide-pattern nozzle or a small perforated cap to the end of the spray wand so the output is diffuse rather than a thin jet. Make sure any connections are sealed well, since pressurized systems will leak at loose joints. Pump the sprayer before use and repressurize as needed while showering.
This method gives the most water-pressure-like experience of any DIY option, closer to a real shower head than a gravity system. It does add moving parts and something to maintain — seals and pumps wear out and may need occasional attention.
Rooftop Pressurized Shower
For vehicle-based camping, a large water container can be mounted on a roof rack and pressurized using a small air pump. Solar-warmed water and gravity combine with the added air pressure to produce a stronger, warmer flow than a hanging bag alone.
This setup takes more planning: the container needs secure mounting hardware rated for the load and for highway speeds, plus a valve and hose long enough to reach the ground comfortably. It suits people who already have roof rack infrastructure and want a shower system that's ready every time they park, rather than something assembled fresh at each site.
Choosing the Right Setup
Match the method to how you camp:
- Solo backpacking trips favor the handheld jug or dry bag — light, packable, no hardware.
- Car camping or group trips do well with a gravity-fed system, since weight and bulk matter less.
- Anyone wanting real water pressure should look at a pump sprayer conversion.
- Frequent overlanders or long-term vehicle campers get the most use out of a roof-mounted system.
General Tips
- Warm water quickly by leaving a dark-colored container in full sun for a few hours before use.
- Shower away from natural water sources, and use only biodegradable, low-impact soap if any at all, since runoff can affect soil and nearby plants.
- Check local rules before draining used shower water on the ground, especially in dry or sensitive environments.
- Test any new shower rig at home first — a leak is far more annoying to find at a campsite than in your own yard.