How to Brew Great Coffee with a Camping Percolator
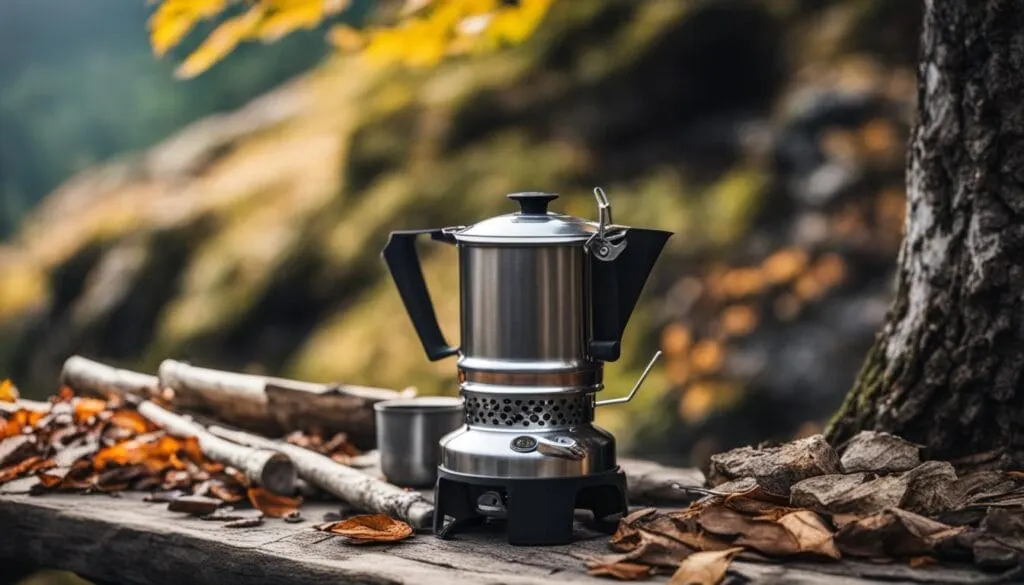
A percolator remains one of the most dependable ways to make coffee outdoors. It has no batteries, no fragile electronics, and it works on a camp stove or directly over coals. Understanding how it actually brews coffee makes it much easier to get a good cup instead of a bitter one.
How a Percolator Works
A percolator cycles hot water up through a tube and back down through a basket of coffee grounds, repeating this over several minutes. Because the grounds are brewed repeatedly rather than once, percolators are easy to over-extract. The main skill in using one well is controlling heat and time so the coffee doesn't turn bitter.
Choosing a Percolator
Percolators are generally made from stainless steel, aluminum, or enamel-coated metal.
- Stainless steel holds up best to repeated outdoor use and resists denting.
- Aluminum is light and heats quickly, which can make it easier to scorch coffee if you're not watching the heat.
- Enamel-coated percolators look attractive but the coating can chip with rough handling.
Pick a size based on how many people you're brewing for, and look for a percolator with a glass or clear knob on the lid so you can watch the color of the brew without opening it. A stable base is worth checking too, since percolators sit directly on a stove burner or on rocks near a fire.
Brewing Steps
The basic process is the same regardless of what the percolator is made from:
- Fill the bottom chamber with cold water up to the fill line.
- Insert the stem and basket, then add coarsely ground coffee to the basket. Coarse grounds are important — fine grind will clog the basket and over-extract quickly.
- Place the lid on and set the percolator over medium heat, not high heat.
- Once you see coffee bubbling up into the clear knob, keep the heat steady but reduce it if the perking becomes vigorous. A gentle, steady perk is what you want.
- Let it brew for roughly 8 to 10 minutes. Longer brewing extracts more, and stronger flavor with more perk cycles, but past a certain point it just turns bitter.
- Remove from heat, let it sit for a minute so grounds settle, then pour.
Avoid letting the percolator reach a rolling boil. Boiling agitates the grounds and pulls out harsher, bitter compounds. If you're brewing over an open fire, set the percolator at the edge of the coals rather than directly in the flame so the heat stays moderate.
Getting the Ratio Right
A reasonable starting point is about one tablespoon of coarse grounds per six ounces of water, then adjust to taste on your next trip. If the coffee tastes weak, use more grounds rather than brewing longer — extending brew time mostly adds bitterness, not strength.
Cleaning a Percolator
Cleaning right after use keeps the percolator working well and keeps future coffee tasting clean.
- Empty the used grounds and any remaining liquid.
- Disassemble the basket, lid, and stem.
- Wash all parts with warm water and a mild, biodegradable soap, scrubbing away coffee oils and residue. If you're at a campsite, wash well away from any water source.
- Rinse thoroughly — soap residue will affect the taste of your next brew.
- Let everything air dry completely before reassembling and packing it away, since trapped moisture can lead to mildew or metal staining between trips.
Tips for a Better Cup
Use whole beans and grind them coarsely just before brewing if you can; pre-ground coffee loses aroma over time and fine grounds clog a percolator basket. Keep the heat moderate rather than high throughout the brew — this single habit prevents most of the bitterness people associate with percolator coffee. If you want a flavor variation, a pinch of cinnamon added to the grounds is a simple way to change things up without extra equipment.
Other Ways to Brew Coffee While Camping
A percolator isn't the only option, and it's worth having a backup method in your kit.
- Pour-over: A lightweight dripper with a paper or reusable filter gives you more control over brew strength and produces a cleaner-tasting cup. It requires a kettle with a controlled pour and a bit more attention.
- French press: Full immersion brewing produces a heavier-bodied cup and is very forgiving of imprecise technique. It's compact and simple, though grounds can pass through the mesh if the grind is too fine.
- Portable espresso makers: Manual, non-electric espresso devices can produce a concentrated shot with minimal gear, useful if you want something closer to espresso without carrying a machine.
Each method trades off differently in weight, cleanup, and control, so it's worth trying a few at home before committing to one for a longer trip.
Final Thoughts
Percolator coffee has a distinct, hearty character that many campers prefer over other brewing methods. The main things to get right are a coarse grind, moderate and steady heat, and not over-brewing. Once you've dialed in your ratio and timing, it becomes one of the simplest and most reliable ways to start a morning at camp.