How to Brew Great Coffee with a Camping Percolator
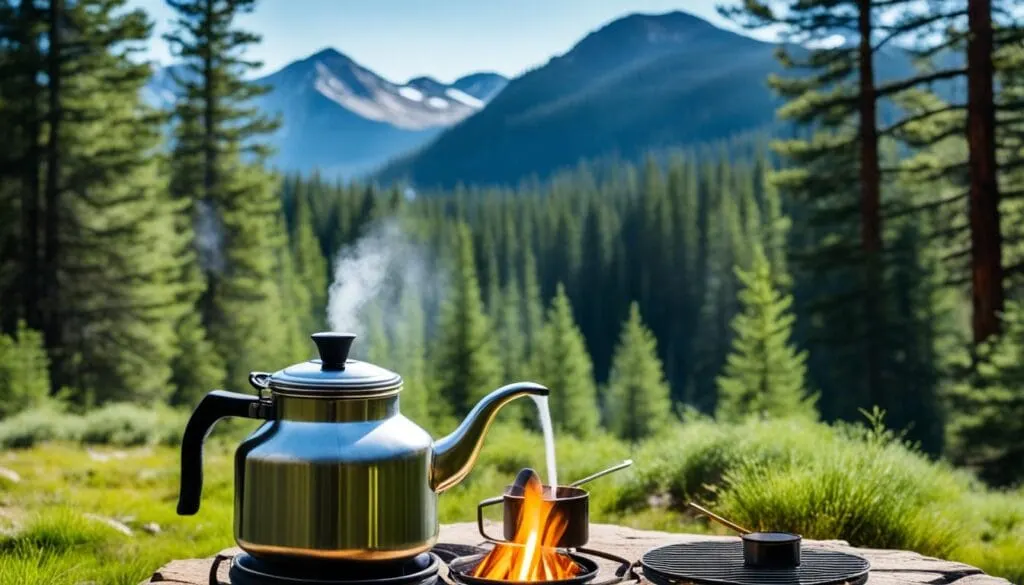
A percolator is one of the most reliable ways to make coffee outdoors. It has no paper filters to pack, no batteries, and no fragile glass carafe — just a metal pot that works over a campfire, camp stove, or even hot coals. Getting good results is mostly about technique: the right grind, the right heat, and knowing when to pull it off the fire.
How a Percolator Works
Inside the pot sits a hollow stem topped with a perforated basket that holds the coffee grounds. As the water below heats up, it's pushed up the stem and sprays down over the grounds, then drips back into the pot. This cycle repeats continuously, gradually extracting flavor. Because the same water passes through the grounds again and again, over-brewing is the main risk — not under-brewing.
Choosing a Percolator
Percolators are generally made from enamel-coated steel, aluminum, or stainless steel. Enamelware has a classic look and tends to be light, but the coating can chip if it's dropped or knocked around in a pack. Aluminum is inexpensive and heats quickly, though it dents easily and can develop a slightly metallic taste over time. Stainless steel is the most durable option and holds up well to repeated heating and rough handling, which makes it a solid choice for frequent camping use.
Beyond material, think about:
- Size: match capacity to how many people you're actually serving — a percolator that's too large for the amount of coffee you're brewing can extract unevenly.
- Base type: if you'll use it on a camp stove, make sure the base is flat and stable; if it's mainly for open flame, a wider base sitting directly on coals works fine.
- Handle and lid: a heat-resistant handle and a secure lid with a visible knob (so you can watch the brewing cycle) make it much easier to use safely around a fire.
Step-by-Step: Brewing Coffee
Use coarsely ground coffee — a fine grind will clog the basket or slip through the perforations and end up in your cup as sediment.
- Fill the bottom chamber with cold water, up to the level indicated by the manufacturer or below the stem's basket assembly.
- Insert the stem and set the grounds basket on top of it, then add coarse coffee grounds to the basket.
- Put the lid on and place the percolator over medium heat. High heat is the most common mistake — it causes over-extraction and a bitter, harsh cup.
- Once you see water bubbling up into the glass knob on the lid, reduce the heat slightly and let it perk gently. A gentle, steady percolation — not a rolling boil — is what you want.
- Let it brew for roughly 5 to 10 minutes depending on how strong you like it. Longer brewing produces a bolder, more bitter cup; shorter brewing gives something milder.
- Remove it from the heat, lift out the stem and basket carefully (they'll be hot), and let the pot sit for a minute so any fine grounds settle before pouring.
Cleaning and Care
Rinse and empty the grounds basket as soon as the pot has cooled — coffee oils left to sit will turn rancid and affect the taste of your next brew. Disassemble the stem, basket, and lid, and wash each piece separately with warm water and a mild dish soap. Skip abrasive scrubbers, which can scratch enamel or dull a stainless finish over time.
Let every part air dry completely before packing the percolator away. Trapped moisture is the main cause of rust on metal parts and musty odors that carry into your next pot of coffee. If mineral buildup or coffee staining becomes noticeable, a soak in a mixture of water and white vinegar followed by a thorough rinse will usually clear it.
Tips for a Better Cup
- Grind your coffee just before brewing if you can — pre-ground coffee loses flavor quickly once exposed to air.
- Keep the heat low and steady rather than high and fast. A percolator rewards patience more than most brewing methods.
- Taste periodically as it brews if you're new to a particular percolator, since brew time varies with pot size, altitude, and heat source.
- Check gaskets, handles, and the basket assembly for wear before a trip — a cracked seal or loose stem will affect how evenly the coffee brews.