Are you ready to hit the road and embark on your next camping adventure? Before you pack up your camper and head out, there’s one essential task you must tackle: sealing your camper roof. But what exactly should you use to ensure a watertight seal? In this comprehensive guide, I will walk you through the step-by-step process of sealing your camper roof, including the best practices and techniques you need to know. From cleaning and preparing the roof to applying the right sealant, I’ve got you covered. So, let’s get started and make sure your camper roof is ready to withstand any weather conditions that come its way.
Key Takeaways:
- Sealing your camper roof is a crucial step to prevent water damage and maintain the integrity of your RV.
- RV Roof Sealer is a durable and weather-resistant solution that offers a long-lasting seal for your camper roof.
- Before applying the sealer, make sure to thoroughly clean and prepare the roof to ensure optimal adhesion.
- RV Flex Repair Roof Tape and RV Flex Repair Caulking are essential for addressing any joints or seams that require extra attention.
- Proper post-application steps, such as allowing the sealer to dry completely and checking for missed spots, are important for a successful sealing job.
Contents
Why Use RV Roof Sealer?
RV Roof Sealer offers numerous advantages that make it the top choice for sealing your camper roof. With its long-lasting properties, this sealant provides decades of protection without the need for frequent reapplication. Its weather-resistant formula enables it to withstand extreme temperatures, ensuring maximum durability in both hot and cold climates.
One of the key benefits of using RV Roof Sealer is its ease of application, making it suitable for DIY enthusiasts. Whether you’re a seasoned camper or a first-time roof sealer, the user-friendly nature of this sealant allows for a hassle-free sealing process.
Furthermore, RV Roof Sealer comes with a Lifetime Warranty, offering peace of mind and assurance of quality. This warranty guarantees the effectiveness and performance of the sealant, providing you with long-term protection for your camper roof.
As an added bonus, RV Roof Sealer is available with free shipping, making it a convenient and cost-effective solution for all your camper roof sealing needs.
The Advantages of RV Roof Sealer:
- Long-lasting protection for decades
- Weather-resistant, suitable for all climates
- Easy to apply, ideal for DIY enthusiasts
- Lifetime Warranty for peace of mind
- Available with free shipping
Don’t compromise on the quality and durability of your camper roof sealant. Choose RV Roof Sealer for a long-lasting, weather-resistant solution that provides superior protection for your investment.
Preparation Steps for Sealing a Camper Roof
Before applying the RV Roof Sealer, it is important to prepare the camper roof for the sealing process. This involves several crucial steps that will ensure a successful and long-lasting seal. Follow these RV roof preparation steps to achieve the best results:
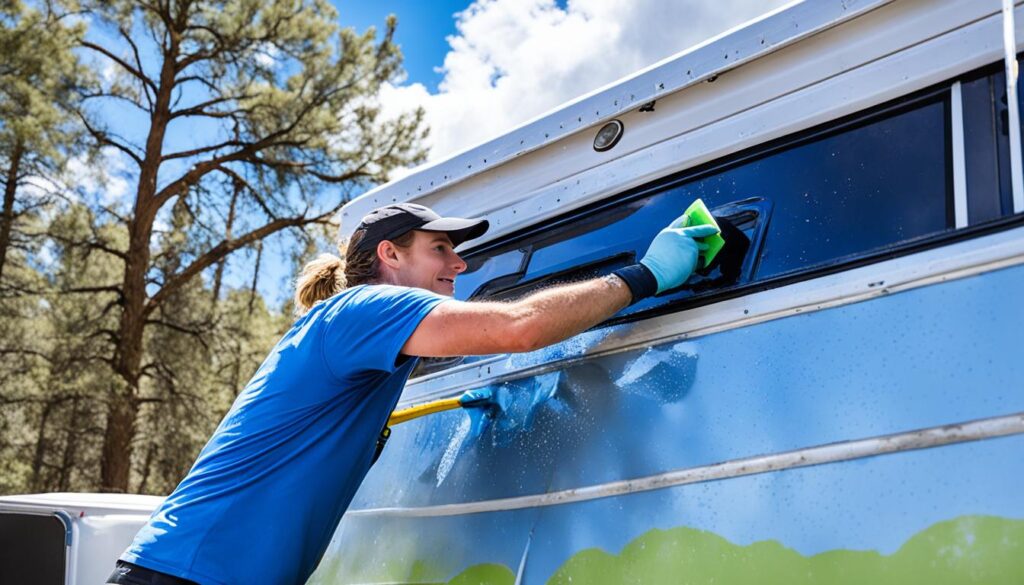
- Clean the camper roof thoroughly: Start by removing any dirt, debris, or previous sealants from the roof surface. Use a biodegradable soap and a scrub brush to gently scrub the roof, paying close attention to areas around vents, edges, and other fixtures. This step will create a clean surface for the sealer to adhere to.
- Wipe the roof with acetone: After cleaning the roof, wipe it down with acetone and clean rags. This will remove any residual soap or other contaminants, ensuring a pristine surface for the sealer to bond with.
- Inspect for special attention areas: Carefully examine the roof for any large joints or seams that may require special attention. These areas are prone to leaks and may need additional reinforcement. Take note of these areas for the next step.
- Apply RV Flex Repair Roof Tape: To reinforce the large joints or seams identified in the previous step, apply RV Flex Repair Roof Tape. Cut the tape to the required size and apply it firmly over the joints or seams. This will provide added protection against leaks.
By following these preparation steps, you will ensure that your camper roof is clean, free of contaminants, and ready for the application of RV Roof Sealer. Taking the time to properly prepare the roof will maximize the effectiveness and longevity of your sealing efforts.

Application Steps for Sealing a Camper Roof
Once the camper roof is cleaned and prepared, it’s time to apply the RV Roof Sealer. Follow the steps below to ensure a proper and effective application:
- Apply RV Flex Repair Roof Tape: Start by applying the RV Flex Repair Roof Tape to any large joints or seams on the camper roof. Cut the tape to the required size and use a roller for even and thorough application. This tape helps reinforce and seal any areas prone to leaks or damage.
- Use RV Flex Repair Caulking: Next, take a caulking gun and apply RV Flex Repair Caulking to any old or worn-out caulking and seams on the roof. This caulking helps create a watertight seal and improves the overall durability of the roof. Make sure to apply the caulking generously and evenly.
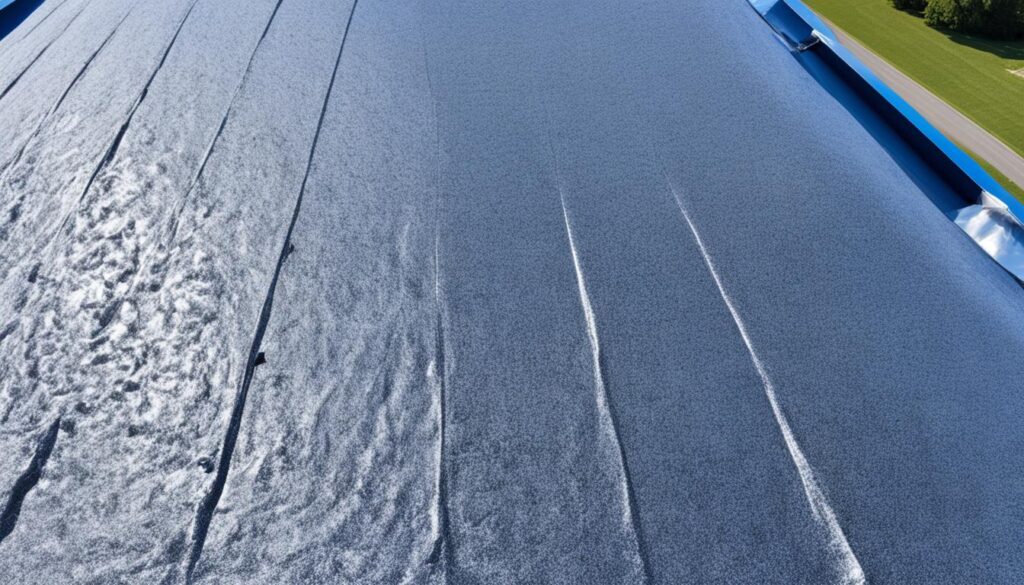
- Apply the RV Roof Sealer: Now, it’s time to apply the RV Roof Sealer itself. You can use a paintbrush or roller for this step, depending on your preference. Start from one end of the roof and work your way towards the other, ensuring thorough coverage. Pay extra attention to areas around vents and edges, applying a heavy coat for added protection.
Remember to always follow the manufacturer’s instructions and guidelines when using the RV Roof Sealer. Take your time during the application process to ensure a proper seal and avoid any missed spots.
Once you’ve completed the application steps, the RV Roof Sealer will start to dry. Allow it to dry completely before checking for any missed spots or areas that may require touch-ups. It’s important to make sure the sealer has fully cured before subjecting the camper roof to any harsh weather conditions.
Throughout the application process, it’s crucial to use high-quality products, such as RV Flex Repair Roof Tape and RV Flex Repair Caulking, along with the RV Roof Sealer itself. These products are specifically designed for camper roof sealing and offer long-lasting protection against leaks and damage.
By following these steps and using the right products, you can effectively seal your camper roof and enhance its durability and lifespan.
Post-Application Steps for Sealing a Camper Roof
After sealing the camper roof, there are a few important post-application steps that should be followed to ensure a successful and long-lasting seal. These steps include allowing the sealer to dry completely, checking for any missed spots or areas that require touch-ups, and cleaning the tools used during the sealing process.
First and foremost, it is crucial to allow the camper roof sealer to dry completely before using the RV again. The drying time may vary depending on weather conditions and humidity levels, so it is advisable to refer to the manufacturer’s instructions for specific drying guidelines. It is important not to rush this step, as premature use of the RV could compromise the effectiveness of the seal.
Once the sealer is fully dried, it is recommended to inspect the entire roof surface for any missed spots or areas that may require touch-ups. Carefully examine the roof, paying close attention to seams, joints, and other potential trouble areas. If any areas are identified that need additional sealing, use the same camper roof sealer to make the necessary repairs or touch-ups. This will ensure a consistent and watertight seal across the entire roof surface.
After completing the inspection and touch-up process, it is essential to clean the tools used during the sealing process. Cleaning the brushes and rollers helps maintain their effectiveness for future use and prevents any residual sealer from hardening and clogging the tools. Use soap and water to thoroughly clean the brushes and rollers, ensuring that all sealer residue is removed. Dispose of any disposable tools, such as gloves, in an appropriate manner.
“Proper post-application steps are vital to the success of sealing a camper roof. Allowing the sealer to dry completely, checking for missed spots, and cleaning tools after sealing are essential for a durable and effective seal.”
By following these post-application steps, you can ensure that your camper roof is diligently sealed and protected against the elements. Taking the time to allow proper drying, checking for any missed spots, and cleaning the sealing tools will contribute to a long-lasting and reliable seal, giving you peace of mind on your RV adventures.
Storage and Cleaning for Camper Roof Sealer
Proper storage and cleaning of camper roof sealer are vital to maintain its effectiveness and prolong its shelf life. Here are some essential tips to ensure the longevity and optimal functionality of your RV roof sealer:
Storing Camper Roof Sealer
- Store the leftover RV roof sealer in a dry and cool room with low humidity to prevent premature curing.
- If you have opened cans or pails of sealer, place a piece of plastic on the surface before sealing it tightly. This will help prevent surface curing and maintain the freshness of the sealer.
By following these storage guidelines, you can ensure that your camper roof sealer remains in good condition and ready for future use.
Cleaning Tools for Sealing
After completing the camper roof sealing process, it’s essential to clean your tools properly. This ensures that the tools remain in excellent condition and are ready for your next project. Here are some tips for cleaning your sealing tools:
- For brushes and rollers, rinse them thoroughly with warm water to remove any residual sealer. Use a mild detergent if necessary.
- Gently comb through the bristles of the brushes to remove any dried sealer or debris.
- Ensure that all the residue has been removed before allowing the tools to air dry.
- If required, disinfect the tools by soaking them in a mixture of warm water and bleach for a few minutes. Rinse thoroughly afterward.
- Dispose of any gloves used during the sealing process in a designated waste container.
Proper Storage of RV Roof Sealer
For unopened containers of RV roof sealer, store them in a cool and dry place away from direct sunlight. Follow the manufacturer’s instructions on the label for specific storage guidelines.

By storing your camper roof sealer correctly and cleaning your sealing tools after use, you can ensure that your next sealing project goes smoothly and effectively. Proper maintenance and storage practices will extend the lifespan of your sealer and keep it in optimal condition for future use.
Different Types of RV Roof Sealants
When it comes to sealing a camper roof, there are various types of RV roof sealants to choose from. Each type is designed for specific applications and offers unique benefits. Let’s explore the different options:
1. Self-leveling RV Roof Sealant: This type of sealant is perfect for most RV roof jobs. It is easy to apply and is ideal for sealing seams around skylights, vents, and other rooftop accessories. The self-leveling property ensures a smooth and even application, providing a watertight seal.
2. Non-sag RV Sealant: If you have vertical surfaces on your camper roof that need sealing, non-sag RV sealant is the way to go. This type of sealant stays in one place without dripping or settling, making it ideal for sealing vertical joints, edges, and seams.
3. RV Sealant Tape: For quick fixes and small repairs such as patching small holes or rips in a rubber roof, RV sealant tape is a convenient option. It offers a hassle-free solution and ensures a reliable seal. Simply cut the tape to the required size, apply it to the damaged area, and press down firmly for a secure bond.
When choosing a camper roof sealant, consider the specific needs of your roof and the type of application you require. It’s important to select the right type of sealant to ensure effective and long-lasting results.
FAQ
What are the best practices for sealing a camper roof?
The best practices for sealing a camper roof include cleaning and preparing the roof, applying RV Flex Repair Roof Tape and RV Flex Repair Caulking to joints and seams, and finally applying RV Roof Sealer. It is essential to allow the sealer to dry completely and check for any missed spots or areas that need touch-ups.
Why should I use RV Roof Sealer?
RV Roof Sealer is a long-lasting and weather-resistant solution for sealing a camper roof. It offers several benefits, including durability, resistance to extreme weather conditions, ease of application, and a Lifetime Warranty. It is also available with free shipping.
What steps should I take to prepare the camper roof before sealing?
To prepare the camper roof, you should start by cleaning it with biodegradable soap and a scrub brush to remove dirt and debris. After cleaning, wipe the roof with acetone and rags for a final clean surface. Check for any special attention areas that require RV Flex Repair Roof Tape for extra sealing before applying the RV Roof Sealer.
How do I apply RV Roof Sealer to the camper roof?
The application process involves applying RV Flex Repair Roof Tape to large joints or seams, followed by RV Flex Repair Caulking to old or worn-out caulking and seams. Finally, the RV Roof Sealer can be applied using a paintbrush or roller, ensuring heavy application around vents and edges.
What should I do after applying the sealer to the camper roof?
After applying the sealer, you should allow it to dry completely before using the RV. Check for any missed spots or areas that require touch-ups. Make the necessary repairs or touch-ups using the RV Roof Sealer. Clean and dispose of the tools used for sealing properly.
How should I store and clean the camper roof sealer?
Any leftover RV Roof Sealer should be stored in a dry, cool room with low humidity. For opened cans or pails, place a piece of plastic on the surface to prevent surface curing. Tools used for sealing, such as brushes, rollers, and gloves, should be cleaned and disposed of properly to maintain their effectiveness.
What are the different types of RV roof sealants available?
There are different types of RV roof sealants available, including self-leveling RV roof sealant, non-sag RV sealant, and RV sealant tape. Self-leveling sealant is suitable for most RV roof jobs, while non-sag sealant is used for vertical surfaces. RV sealant tape is a quick fix solution for patching small holes or rips in a rubber roof.


