Have you ever wondered how long black water can stay in an RV tank before it becomes a problem? Many RV owners are unsure about the ideal timeframe for emptying their black water tanks, which can lead to issues such as clogs, odors, and misreading sensors. In this guide, I will provide you with essential knowledge on managing your black water tank and maintaining optimal hygiene in your RV.
Key Takeaways:
- Frequent emptying of the black water tank is crucial to prevent problems like clogs and odors.
- A general rule of thumb is to wait until the tank is about two-thirds full before emptying it.
- Regular flushing and rinsing of the tank after each dump is essential to prevent build-up and maintain optimal functioning.
- Deep cleaning the black water tank using appropriate cleaning solutions and materials is necessary to remove residue and keep it odor-free.
- Proper management of the black water tank is essential for a hassle-free and enjoyable RV experience.
Contents
Understanding RV Septic Systems and Tank Types
RVs are equipped with various tanks that play essential roles in waste management and water storage. Understanding the different tank types is crucial for maintaining a clean and functional RV septic system. Let’s take a closer look at the three main tanks found in RVs: the black water tank, the grey water tank, and the fresh water tank.
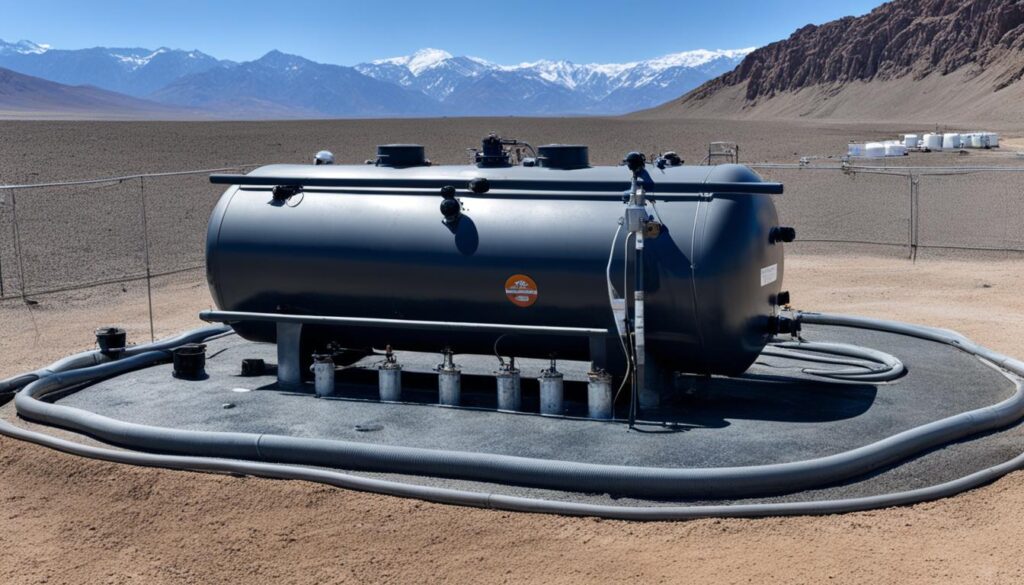
The Black Water Tank
The black water tank is responsible for storing waste water from the toilet. It is important to properly maintain the black water tank to prevent clogs, odors, and other issues. Regular maintenance includes proper dumping, flushing, and sanitizing the tank after each use. Using RV-specific toilet paper that dissolves easily is also recommended for optimal performance.
The Grey Water Tank
The grey water tank holds wastewater from showers, sinks, and kitchen activities. In some RVs, there may not be a dedicated grey water tank, and all wastewater is directed to the black water tank. However, if your RV has a separate grey water tank, it is essential to empty and clean it regularly to prevent odors and clogs.
The Fresh Water Tank
The fresh water tank stores clean water for daily use, such as drinking, cooking, and showering. Regular maintenance of the fresh water tank includes cleaning, disinfecting, and refilling it with fresh water as needed. It is important to follow proper procedures to ensure the quality and safety of the water stored in the tank.
Proper maintenance of all three tanks – the black water tank, the grey water tank, and the fresh water tank – is crucial for an enjoyable and hassle-free RV experience. By understanding the functions and taking appropriate measures for RV tank maintenance, you can avoid potential problems and ensure a clean and well-functioning septic system.

Emptying and Maintaining the Black Water Tank
Emptying the black water tank is an essential task for every RV owner, although it may not be the most pleasant one. To ensure proper waste management and a hassle-free RV experience, it’s crucial to understand the process of emptying and maintaining the black water tank.
To begin, locate the valves for the black and grey water tanks on the outside of your RV. These valves should be closed properly when not in use to prevent any leaks or odors. Once you’re ready to empty the black water tank, carefully open the valve and allow the tank to drain completely. It’s important to close the valve tightly after dumping to ensure a secure seal. This step is vital for preventing any potential leaks or unpleasant odors.
Regular maintenance of the black water tank is also necessary to keep it in optimal condition. Here are a few maintenance tips to follow:
- Use single-ply toilet paper specifically designed for RV use. This type of toilet paper dissolves easily and helps prevent clogs and build-up in the tank.
- Flush the black water tank regularly to remove any residue and prevent odors. Many RVs come equipped with built-in flushing systems or tools like the Camco Swivel Stick that aid in thorough cleaning.
- Sanitize the black water tank after each dump to maintain cleanliness and eliminate bacteria or odors. Using RV-specific tank sanitizers or cleaners ensures effective results.
- Periodically clean the black water tank using a garden hose. Flushing the tank with water and allowing it to drain thoroughly helps remove any remaining debris.
By following these maintenance practices, you can ensure a clean and odor-free black water tank. Properly managing and maintaining your black water tank will contribute to a trouble-free RV living experience.
Tips for Effective Black Water Tank Maintenance:
- Always keep the black and grey water tank valves closed when not in use to prevent leaks and odors.
- Invest in a quality built-in flush system or a Camco Swivel Stick for thorough tank cleaning.
- Use RV-specific single-ply toilet paper to avoid clogs and minimize tank build-up.
- Sanitize the black water tank after each dump using RV tank sanitizers or cleaners.
- Clean the black water tank periodically with a garden hose to remove residue and maintain optimal function.
| Task | Frequency |
|---|---|
| Opening and closing black/gray water tank valves | Before and after each trip |
| Emptying and draining black water tank | When the tank is two-thirds full or as needed |
| Flushing black water tank | After each dump |
| Sanitizing black water tank | After each dump |
| Cleaning black water tank | Periodically with a garden hose |
Seasonal and Temporary RV Tank Storage
Proper storage of RV tanks is essential for maintaining the longevity and functionality of your recreational vehicle. Whether it’s seasonal storage during the winter months or temporary storage between camping trips, taking the right steps will help prevent damage and ensure a smooth experience when you hit the road again.
Seasonal Storage
During seasonal storage, such as in winter, it’s crucial to protect your RV’s pipes and tanks from potential damage due to freezing temperatures. To prepare for winter storage, follow these steps:
- Deep Cleaning: Before storage, thoroughly clean your black and grey tanks to remove any residue and prevent build-up during the off-season.
- Black Tank Winterization: In warmer climates, consider storing your black tank with a full tank of water and a bacterial treatment. This helps prevent build-up and keeps the tank in optimal condition.
- Winterizing the RV: In colder climates, it’s crucial to winterize your RV’s water lines to prevent freezing. Follow the manufacturer’s instructions or consult a professional to ensure proper winterization.
Temporary Storage
Between camping trips, proper maintenance of your RV tanks is necessary to avoid clogs and unpleasant odors. Here are some tips for temporary storage:
- Immediate Dumping: After each trip, make sure to dump the black and grey tanks immediately. This prevents waste from sitting in the tanks and causing unwanted issues.
- Rinsing: After dumping, thoroughly rinse the black and grey tanks to remove any remaining residue and maintain cleanliness.
- Empty Tanks: For short-term storage, it’s best to store your RV with empty tanks. This minimizes the risk of odors and tank-related problems.
- Freshwater Tank Maintenance: Regularly maintain your freshwater tank by emptying it after each trip, as well as following proper winterization procedures during the off-season.
By following these seasonal and temporary storage tips, you can ensure your RV tanks remain in top shape, ready for your next adventure on the open road.

| Storage Type | Key Considerations |
|---|---|
| Seasonal Storage | – Protect against freezing temperatures – Deep clean black and grey tanks – Consider black tank winterization in warmer climates – Properly winterize the RV’s water lines |
| Temporary Storage | – Immediate dumping of black and grey tanks – Thorough rinsing after dumping – Store RV with empty tanks for short-term storage – Regular maintenance of freshwater tank |
Tips and Tricks for Proper Black Tank Maintenance
Proper maintenance of your RV black water tank is essential for a clean and trouble-free camping experience. Follow these tips to ensure your tank stays in optimal condition:
1. Flushing the Tank: To thoroughly clean your black tank, use a built-in flush valve or a tool like the Camco Swivel Stick. This will help remove any residue and ensure proper waste breakdown.
2. Using Treatment Solutions: Adding a black tank treatment or using homemade cleaning solutions can help break down waste and prevent odors. Look for treatments specifically designed for RV black tanks.
3. Dumping and Rinsing: After each camping trip, remember to dump and rinse your black tank to prevent clogs and misreading of sensors. This step is crucial for maintaining optimal tank performance.
4. Choosing RV-Specific Toilet Paper: Opt for RV-specific toilet paper that dissolves easily in water. This will prevent clogs and ensure smooth flow through the tank. Avoid using regular household toilet paper or other non-RV-friendly alternatives.
5. Cleaning Frequency: Clean your black tank every time it is filled or before storing your RV. Finding the right time and place to clean, such as a campground site or a dump station, is crucial for proper waste disposal.
By following these tips and tricks, you can maintain a clean and well-functioning RV black water tank, allowing you to enjoy your camping adventures without any unpleasant surprises.
FAQ
How long can black water stay in an RV tank?
The black water tank in an RV should be emptied when it is about two-thirds full. Waiting too long to empty the tank can cause clogs, odors, and misreading sensors. So, it is important to regularly monitor the tank level and empty it as needed.
What is a black water tank?
The black water tank in an RV is specifically designed to hold waste water from the toilet. It is one of the three tanks commonly found in RVs, the other two being the fresh water tank for clean water storage and the grey water tank for wastewater from showers and sinks.
How do I properly maintain the black water tank in my RV?
Proper maintenance of the black water tank includes flushing and rinsing the tank after each dump to prevent build-up. Using single-ply toilet paper, regularly sanitizing the tank, and periodically deep cleaning it with the appropriate cleaning solutions and materials are also essential for odor-free and trouble-free living.
How do I empty the black water tank in my RV?
To empty the black water tank, locate the valves for the black and grey tanks on the outside of the RV and ensure they are closed properly when not in use. Open the black tank valve and allow the tank to drain completely. After emptying, make sure to close the valve tightly to prevent leaks or odors.
How should I store my RV’s black water tank?
Seasonal storage requires deep cleaning the black and grey tanks before storage. In warm climates, storing the black tank with a full tank of water and a bacterial treatment helps prevent build-up. In colder climates, winterizing the RV is necessary to protect the water lines from freezing. Temporary storage between camping trips requires immediate dumping and thorough rinsing of the black and grey tanks to prevent clogs and odors.
What are some tips for proper black water tank maintenance?
Some tips for proper black water tank maintenance include using a flush valve or a tool like the Camco Swivel Stick for thorough cleaning, adding a treatment or using homemade cleaning solutions to break down waste and prevent odors, and using RV-specific toilet paper that dissolves easily. It is also important to know when and where to clean the tank and to clean it regularly, either after each trip or before storing the RV.