Are you planning your next camping trip in your RV and wondering how to keep warm during those chilly nights? When it comes to RV water heaters, understanding the different options available is essential for a comfortable camping experience. But how do you know if your RV heater is gas or electric, and which one is the best camper water heater for you?
RVs come equipped with various types of water heaters, including traditional tank-style heaters and tankless heaters. Traditional water heaters can be powered by either gas or electricity, while some RVs have combo water heaters that offer both options. Knowing the type of water heater in your RV is crucial for proper usage and maintenance.
So, let’s dive into the world of camper water heaters and discover the key differences between gas and electric options. Get ready to make an informed decision about the best camper water heater for your next adventure!
Key Takeaways:
- RV water heaters can be powered by either gas or electricity.
- Traditional tank-style heaters come in two sizes – 6 gallon and 10 gallon tanks.
- Tankless water heaters heat water on demand without the need for a storage tank.
- Proper maintenance is crucial for keeping your RV water heater in good working condition.
- If storing your RV during winter, it is important to properly winterize the water heater.
Contents
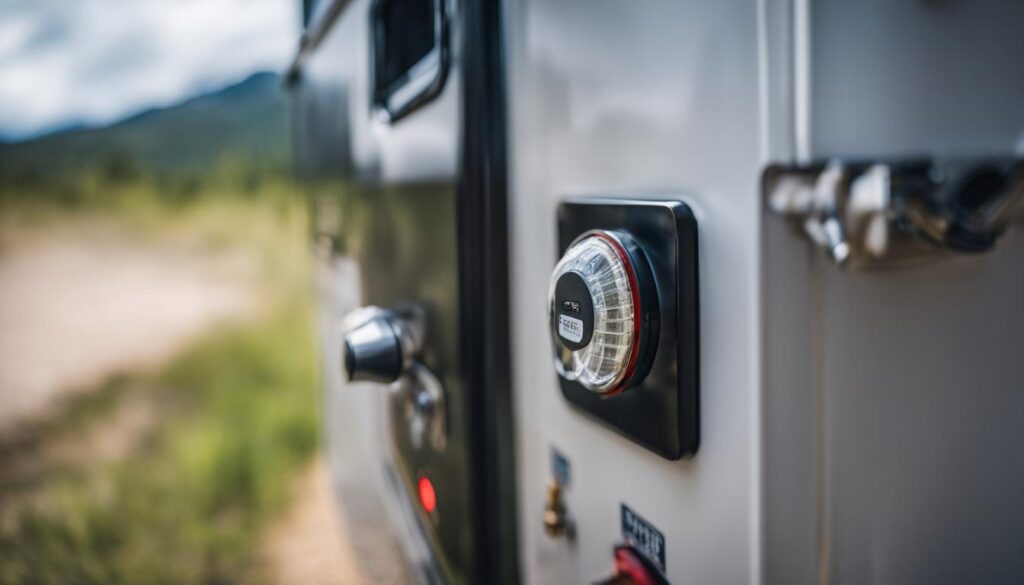
Types of RV Water Heaters
When it comes to choosing the right water heater for your camper, understanding the available options is crucial. RV water heaters typically come in two types: traditional tank-style heaters and tankless heaters.
The traditional tank-style heaters are available in two sizes: 6-gallon and 10-gallon tanks. These heaters can be powered by either gas or electricity, offering flexibility depending on your camping needs and preferences. The gas-powered water heater provides quick and efficient heating, making it ideal for boondocking or dry camping scenarios. On the other hand, the electric water heater is convenient when you have access to shore power.
Alternatively, tankless water heaters have gained popularity among RV owners. These heaters heat water on demand, eliminating the need for a storage tank. Tankless heaters are compact and energy-efficient, making them a space-saving and eco-friendly choice. It is important to note that tankless water heaters require a certain amount of water pressure to function properly, so it’s essential to ensure your RV’s water system can meet the requirements.
To help you make an informed decision, let’s compare the pros and cons of gas and electric water heaters for campers:
| Gas Water Heater | Electric Water Heater |
|---|---|
| Provides quick and efficient heating | Convenient for use with shore power |
| Requires a propane supply | Requires access to shore power or a generator |
| Heats water even during power outages | Less expensive to install |
| Potential risk of gas leaks | May take longer to heat water |
By considering your camping style, power source availability, and desired features, you can choose the water heater that best suits your needs. Remember, always ensure proper installation and follow safety guidelines to enjoy hot water during your camping adventures.

How to Use an RV Water Heater
To fully utilize your RV water heater, it is essential to understand the proper steps for filling and turning it on. Follow these instructions to ensure a seamless experience when using your RV water heater.
Filling the RV Hot Water Heater
Prior to turning on your RV water heater, you need to make sure the tank is filled with water. There are two primary methods for filling the tank:
- Connect your RV to a city water source: If you have access to a city water hookup at your camping site, simply connect your RV to it using a hose. This allows for a direct supply of water to fill the tank quickly.
- Fill the freshwater tank: If a city water hookup is not available or if you prefer to use your freshwater tank, you can manually fill it. Locate the freshwater tank on your RV, typically located on the exterior or in a designated compartment. Using a hose or container, fill the tank with water until it reaches the appropriate level.
Ensure there is enough water in the tank to cover the heating element, as running the heater without sufficient water may cause damage.
Turning on the RV Water Heater
Once the tank is filled, you can proceed to turn on the RV water heater. The exact location of the control panel and switch may vary depending on the make and model of your RV, but it is typically located in the interior of the vehicle.
“To turn on the RV water heater, locate the control panel and switch, which is usually labeled ‘Water Heater’ or ‘Hot Water Heater.'”
Switch the water heater on using the designated switch on the control panel. Keep in mind that if you have a combo water heater, you may have the option to choose between gas and electric heating methods. Select the desired heating method based on your needs and available resources.
Waiting for the RV Water Heater to Heat Up
After turning on the RV water heater, it is important to allow sufficient time for the water to heat up before using it. The heating time can vary depending on the size of the tank, but it typically takes around 30 minutes to an hour for the water to reach the desired temperature.
While waiting for the water to heat up, take this opportunity to prepare for other activities such as setting up your campsite or gathering shower supplies. Monitoring the water temperature indicator, typically located on the control panel, can help you determine when the water is hot and ready to use.
It is worth noting that tankless water heaters provide hot water on demand, eliminating the need for a waiting period. However, ensure that your RV has sufficient water pressure for the tankless heater to operate optimally.

| Size of Tank | Average Heating Time |
|---|---|
| 6 gallons | Approximately 30 minutes to 1 hour |
| 10 gallons | Approximately 1 hour to 1.5 hours |
How to Maintain an RV Water Heater
Proper maintenance is crucial for keeping your RV water heater in good working condition. Taking care of your water heater will not only extend its lifespan but also ensure that it functions efficiently when you need it most. Here are some essential maintenance steps to follow:
1. Sanitizing your RV Hot Water Heater
It is recommended to sanitize your RV water heater at least once or twice a year. This process helps eliminate any bacteria, mold, or mildew that may accumulate in the tank over time. Here’s how to sanitize your RV hot water heater:
- Prepare a bleach and water solution by mixing 1/4 cup of bleach with one gallon of water.
- Turn off the water heater and disconnect the propane or electric power source.
- Close the water heater bypass valve if your RV is equipped with one.
- Open all the faucets in your RV, ensuring both hot and cold water lines are open.
- Pour the bleach and water solution into the freshwater tank.
- Connect your RV to a city water source or use the onboard water pump to circulate the solution throughout the water system.
- Flush the system by running water through all the faucets until you no longer smell bleach.
- Close all faucets and allow the bleach solution to sit in the water heater tank for at least 12 hours.
- Drain the tank by opening the pressure relief valve and draining the water heater.
- Refill the freshwater tank and flush the system with clean water.
- Open all the faucets to ensure any remaining bleach is completely flushed out of the system.
This sanitization process will help keep your RV water heater clean and free from any harmful contaminants.
2. Removing Buildup and Sediment
Over time, sediment and mineral buildup can affect the performance of your RV water heater. To remove these deposits, you can use vinegar and an RV water heater rinser. Follow these steps:
- Turn off the water heater and disconnect the power source.
- Access the water heater tank by removing the exterior panel or cover.
- Locate the cold water inlet and attach the RV water heater rinser.
- Open the hot water faucets in your RV.
- Pour white vinegar into the rinser until it fills the tank.
- Turn on the rinser and let the vinegar circulate through the water heater for about 15 minutes.
- Turn off the rinser and let the vinegar sit in the tank for an additional 15 minutes.
- Drain the tank by opening the pressure relief valve and draining the water heater.
- Rinse the tank thoroughly with clean water to remove any remaining vinegar.
- Close the pressure relief valve and reconnect the power source.
This process will help remove buildup and sediment, improving the overall efficiency of your RV water heater.
3. Draining the RV Water Heater
Draining the RV water heater after each use is not necessary unless the RV will be stored for an extended period of time. However, if you plan to store your RV, it is important to drain the water heater to prevent any damage caused by freezing temperatures.
Follow these steps to drain your RV water heater:
- Turn off the water heater and disconnect the power source.
- Open the pressure relief valve to release any built-up pressure.
- Connect a garden hose to the drain valve located on the bottom of the water heater.
- Place the other end of the hose in a suitable drainage area.
- Open the drain valve and allow the water to completely drain from the tank.
- Closing the drain valve, remove the garden hose, and ensure it is properly stored.
- Reconnect the power source and turn on the water heater when needed.
4. Regular Inspections and Anode Rod Replacement
Regular inspections are essential for maintaining your RV water heater’s performance and durability. Additionally, checking the anode rod is crucial as it helps prevent corrosion within the tank.
“Regular inspections and checking the anode rod are also important for ensuring the longevity of the water heater.”
To inspect the anode rod:
- Turn off the water heater and disconnect the power source.
- Locate the anode rod, usually found near the water heater’s drain valve.
- Inspect the anode rod for signs of corrosion or deterioration.
- If corrosion is present, it is recommended to replace the anode rod.
- Consult your water heater’s manual or a professional for guidance on choosing and replacing the anode rod.
- Reconnect the power source and turn on the water heater.
Regular inspections and anode rod maintenance will help ensure the longevity and optimal performance of your RV water heater.
By following these maintenance steps, you can keep your RV water heater in excellent condition, ensuring a reliable supply of hot water during your travels.
| Maintenance Steps | Frequency |
|---|---|
| Sanitizing water heater | Once or twice a year |
| Removing buildup and sediment | As needed |
| Draining water heater | When storing for an extended period |
| Regular inspections and anode rod replacement | Periodically, as needed |
Regular maintenance will help prolong the lifespan of your RV water heater and ensure it provides hot water reliably throughout your adventures.

Winterizing an RV Water Heater
When the winter season approaches and you plan to store your RV, it is crucial to properly winterize your water heater. Taking the necessary steps will help safeguard your water heater from freezing temperatures and potential damage. Here’s a guide on how to successfully winterize your RV water heater.
First, you need to turn off the water heater and allow the water inside to cool down. This ensures a safe handling process during the winterization procedure. Next, you must fully empty the water tank, removing all water from the system. To do this, locate the drain plug at the bottom of the tank and open it, letting the water drain completely.
In addition to draining the tank, it is essential to disconnect the water heater from the rest of the RV’s water system. This can be done using a bypass valve, which diverts water away from the water heater. By isolating the water heater, you prevent the potential freezing of water lines and the heater itself. Following these steps will help protect your RV’s water heating system during the cold winter months.
When the winter season is over and you’re ready to use your RV again, it is important to de-winterize the water heater. This process involves reversing the winterizing steps and preparing the water heater for regular use. Remember to follow the manufacturer’s instructions and go through the proper de-winterizing procedure to ensure the water heater functions optimally.
FAQ
How do I determine if my RV water heater is gas or electric?
RV water heaters can be either gas or electric. To determine the type of water heater in your RV, you can check the control panel or consult the owner’s manual. Gas water heaters typically have a switch or knob labeled “gas” or “LP,” while electric water heaters will have a switch labeled “electric” or “AC.”
What are the different types of RV water heaters?
There are two main types of RV water heaters: traditional tank-style heaters and tankless heaters. Traditional water heaters can be powered by either gas or electricity, while tankless heaters heat water on demand without the need for a storage tank.
How do I use an RV water heater?
To use an RV water heater, ensure that the tank is filled with water before turning it on. This can be done by connecting the RV to city water or filling the freshwater tank. Once the tank is filled, turn on the water heater using the switch on the control panel and wait for the water to heat up, which can take around 30 minutes to an hour depending on the tank size.
How do I maintain an RV water heater?
Proper maintenance is crucial for keeping your RV water heater in good working condition. It is recommended to sanitize the water heater at least once or twice a year using a bleach water mixture and running it through the water system. Cleaning the water heater with vinegar and an RV water heater rinser helps remove buildup and sediment. Regular inspections and checking the anode rod are also important for ensuring the longevity of the water heater.
How do I winterize an RV water heater?
When winterizing your RV, it is important to properly winterize the water heater. This involves turning off the heater, allowing the water to cool, emptying the tank completely, and disconnecting it from the rest of the water system using a bypass valve. Following these steps prevents any damage to the water heater or water lines during freezing temperatures. When de-winterizing in the spring, remember to include the water heater in the process.